July 2016 Name Tag-Card Video

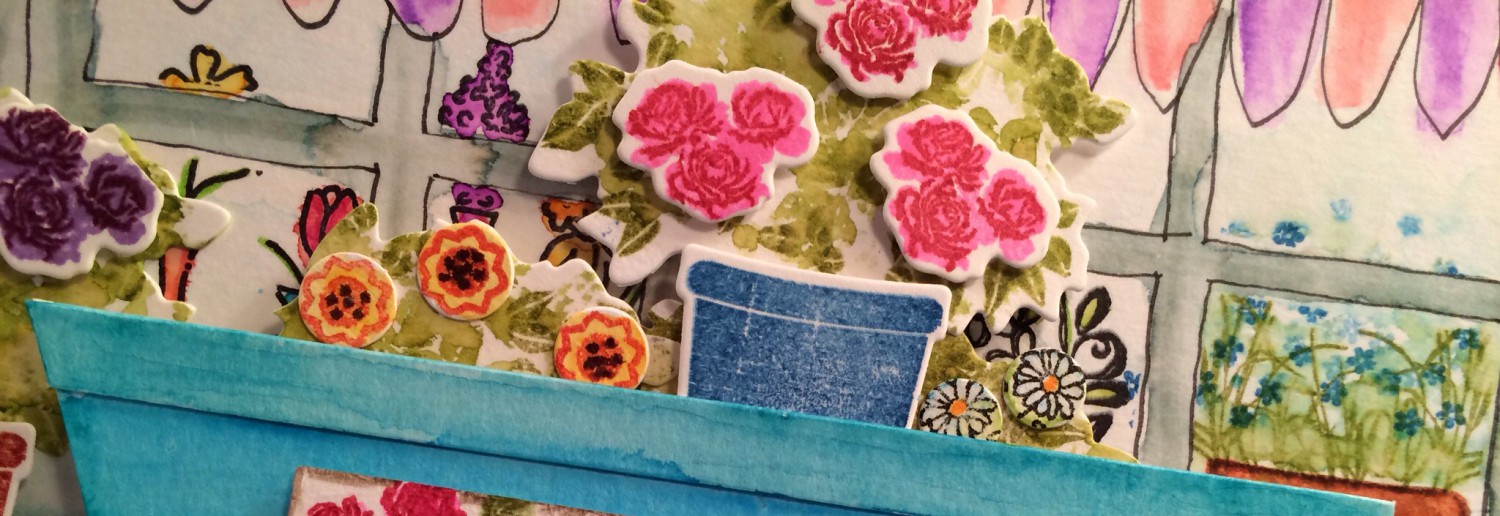
Hey Crafters!!  I’m going with a “Summer” theme for this month’s name tag and turning the same layout into a shaped card.  


I’be been working on my resume’ after years of being at home with my kids and most recently my grand babies.  Applying for jobs online, which is nerve racking when you can not see the people, their facility, etc.  Not to mention, taking timed online clerical assessments, eek!  

Then, the sudden passing of an aunt Friday before last (my dad’s sister and one of my favorite uncle’s wife, this uncle was my dad’s best friend and he was my uncle long before he married my aunt). Our big family on my father’s side is shrinking (we lost 3 last year and 1 this year) and even though I am a Christian, grieving takes its toll on me.  As my favorite people pass or loose their people, it somehow compounds what I’m feeling.  I worry about all of the firsts after their person is gone (birthdays, holidays, anniversaries and especially Christmas, etc.).  

Supplies:

Canson 140 Lb. water color paper (9×12 inch pad from Wal-Mart Super Center).

Misc Blue card stock

Stamps:  Fluffy Passenger by Penny Black, Clear Monogram and Frames Stamps by Martha Stewart and Riley’s ABCs by Lawn Fawn.  

Dies:  Stampin’UP!/Sizzix Labels Collection 125598

Inks:  Ranger Archival Jet black ink (heat set with the Milwaukee heat tool from the lovely Jennifer McGuire).

Stampin’UP!  Water based Dye reinkers in Night of Navy(watered down for the 2 different versions of Gray), Calypso Coral, Pacific Point, Certainly Celery, Real Red, Tempting Turquoise, Pixie Pink.  

Pentel Aquash Painter w/small nib with water.

Easter Flat Marble Magnets – Video

Hey Crafters!!  Happy Easter!  I’ve got a fun Magnet craft to share today.  If you’re reading this post in an email, pop over to the blog for the video and scroll down to the bottom of the post.  

 
Peeps bunnies!  
  Chicks!! 
Ducks!?  The beaks are saying, ducks to me.  LOL. 

I had great plans for even more, but ran out of these flat marbles.  I only had 1 bag tucked away and several of them were unusable due to  cracks in the back or pits in the tops, but I had enough to give away to several people.  

The peeps bunnies and little bunnies were from $1.00 stamps by studio g or Inkadinkado, they’ve been out of the packaging for ages.  The ducks are from a new $1.50 crafts art stamp from Michael’s this season.  The carrot from the video is by katie&co. For studio g and the bunny with floppy ears is by Alison Wong for studio g, both $1.00 stamps from seasons past.  

Stamp in Memento Tuxedo black ink, Colored with Copics or Bics, Punched out with a 1 inch Martha Stewart Punch, glued to the back of the flat marbles with Ranger’s Glossy Accents (it’s acid free and dries pretty fast).  I usually leave them to dry overnight.  Then glue the magnets to the marbles with E6000.  You’ll want to let them dry in a well ventilated area, I usually put them at the other end of my craft room, garage or outside.  More specific tips are included in the video tutorial.


Happy Easter!!  Enjoy!

March 2016 Name Tag-Card Video

Hey Crafters!!  Happy St. Patrick’s Day!  The birds are migrating and the Spring bulbs are blooming.  Let’s bring out our inner Leprechaun and get crafting…

  
For today’s tag I improvised and used a $1.00 Pilgrim stamp by studio g or Inkadinkado and turned him into a Leprechaun by doing some selective inking with Memento dew drop ink pads and coloring with Copic markers.
I did not have a Leprechaun stamp, so this was an easy way to make one.  Watch the video and see how I work this out.  


For Better video quality…”click here”…to watch at YouTube

Kathy Rac’s 30 Day Feb 3 2016 Embossed Valentine Heart 

Check out her post here.Hey Crafters!!  Today Kathy colored a darling mouse from Stamping Bella.  My Android tablet has a mind of it’s own, and will  not let me put the link after my sentence.  But we’re having fun coloring today anyway.  Ha Ha Ha… I did a quick video of the stamping and water color. Then assembled the card after. I still can not work out editing on my new tablet either. Maybe I can share the video later.  I’m also entering this in the Simon Says Stamp: Have Heart challenge. 

image

I chose to work on some Valentines and used this lovely heart stamp given to my by the fabulous I stamped it in versamark ink and gold embossed it with Gold embossing powder by stampcraft (Michael’s brand).  And water color painted it in with some Tim Holtz picked raspberry stain diluted with a little bit of water from the TH fine aqua painter. Heat set till dry, then stamped the sentiment Be Mine by stampcraft ($1.00 Michael’s), in Ranger Archival Jet Black. Pulled out some pre-cut mini hearts from the Lawn Fawn Stitched Journaling card die set. Then I realized the font of the Be Mine was similar to the Vintage Market alpha and cut the letter for VALENTINE and glued those down in a staggered way. My card seem so empty at this point. I decided to use those little glasses from Heidi Swapp and glued a couple more red hearts inside them and filled them with glossy accents. Added glossy accents to some of the random die cut hearts and left 2 flat. This will be fun to give one of my loved ones this Valentine’s Day. It’s just around the corner!!
image

Somehow I failed to update my post so it would go live, amidst the photo and video clean up process on my ipad2 and inabilit to edit videos on the LG G tablet running android 10.1. I just WANT something as simple and similar to iMovie as I can possibly get. That is not asking much, is it? I just need to trim sections out, and have voice over capability. It seems so simple and yet it’s complicated. LOL

I have a partial video of the Heart part and created the card afterwards.  

Here is a video of a goodie package Judy Hayes sent me during the Season’s Givings Blog Hop end of 2014 (dies, ribbon, stamps, etc.)

Visit Judy Hayes blog here  http://judyhayesdesign.blogspot.com
Products used:
Canson Water Color paper, Recollections Pale Pink card stock, The Paper Studio Cream heavy weight card stock for a card base cut to make an A2 sized card.
Inks: Versamark and Ranger Archival Jet Black.
Adhesive: Glossy Accents
Stampcraft Gold embossing powder and Milwaukee Heat tool (compliments of Jennifer McGuire).
Dies: Lawn Fawn Stitched Journaling Card set (mini hearts in various colors, already cut) and Tim Holtz Alterations/ Sizzix alpha strip die says Carnivale, I have always called this die Vintage Market 656623. Not sure about the Carnivale sticker on it?
TH Distress stains in salty ocean and picked raspberry applied with TH Aqua painter fine tip.

Kathy Rac’s 30 Day, Feb 2 2016 Distress Ink Blending

Hey Crafters!!  Today Kathy made an amazing interactive card with some fun laundry stamps, birds and a yoga girl. There was a hop today with some discount codes for a couple of online card classes and a give away… See her post here.

I went off the grid.  Any surprise there?  LOL  I did some ink blending, but it didn’t turn out quite like Jennifer McGuires in the hop.  And it’s not my best work, but I’m sharing it anyway, because it IS what I colored today even tho I’m posting quite late! 

image

This is the finished card and my stamping got a bit cray cray.  But in the midst of trying to download photos from my ipad2 since it’s too full to move any edited videos to iphoto, I had to move photos and videos I’m not done with yet to my computer and or my Seagate mass storage USB.  Ahem…  and watched the hop and made my card all at the same time.

image

I stamped my little birds from Lawn Fawn’s Science of Love stamp set first.  Then stamped them again on post it note tap and cut them out for masks.  Stamped the large glasses from Simon Says Stamp set called, I See You SSS101568.  Then filled in with smaller glasses from Heidi Swapp stamp set HS01132, just where ever I felt I could get away with them.  How’s that for a stamping technique?  Using Tim Holtz Distress Inks in mermaid lagoon, then peeled paint, then fossilized amber, sponged inks over the card and masks with the distress tool with felt. 

image

Removed the masks and was hoping to get by without coloring my birds, like Jennifer did on some of her cards today!  But it just wasn’t going to happen, they looked too blank for Me.  And I colored them with Copics:  Y18, Y17, YR68, R14, B32, B0000, G07, G99.

image

My green bird is too dark, I probably should have gone with G06 and G07, but I was afraid she would be too light and not contrast with the peeled paint distress ink.  Ah well…I had some crazy smudging going on too, since I used Memento ink for my masks!  It does not dry readily.  I should have used Archival.  Ho Hum…  I will still give this card to my honey and he will enjoy it.  đŸ˜‰

Dec 2015 Name Tags

Hey Crafters!!  December’s name tag is finally here.  LOL. It really snuck up on me.  If you’re reading this post in an email, pop over to my blog for a 10 minute video at the bottom of this post.

  
I’ve used Papertrey Ink’s Poinsettia stamp set with Stampin’UP! Pacific Point dye ink and a couple of Crayola washable markers in blue to create this month’s tag. If you subscribe to my blog, you know this is one of my favorite techniques to do and I call it Faux Water Color. đŸ˜‰


It’s Fun!  It’s Artistic!  And…It’s Easy!  Enjoy!

Supplies:

Stamps:

PapertreyInk, Poinsettia Stamp set (small poinsettia).

The Paper Studio, Months of the Year (December, masked off for Dec).

Inks:  

Ranger Archival Jet Black (Dec).

Stampin’UP! Pacific Point, dye.

Markers:

Crayola washable markers in Dark blue and Light blue.  Fine point Sharpie in black for writing my name on the tag.

Sept. 2015 Name Tags, No Line Pumpkin

Hey Crafters!!  I hope you’re all having a Great Fall.  This month’s tag is sketched with a fine point Sharpie marker and then colored with Copic alcohol markers.  If I had a large open pumpkin stamp, it would have been water coloring, because that is what I was in the mood for.

  
While watching some Copic videos about what colors are available, I learned that sketch designers use a blue marker to draw with because it disappears when they color over it with alcohol markers.  How cool is that!?  No Line coloring is so popular right now and I want You to see how easy it is.  

If you’re reading this in an email, pop over to my blog for the video. Enjoy!!  (Edited to add: I’m sitting here watching tv a couple of days after posting  this.  We had a busy day visiting a Fall celebration called Pumpkin Daze in Republic, MO and I realized, I’ve written Oct on these Sept tags!!  Sheesh, I’ve been coughing for 2 weeks and finally got some cold medicine and feel much better the last couple of days)  Octobers cards will be coming soon.  LOL

Supplies:

Heavy Weight White card stock by The Paper Studio, cut at 3 1/4″ x 2 1/2″, to fit in name badges purchased at Wal-mart Super Center.

Pale Blue Sharpie Marker, Black Fine point Sharpie Marker.

Copics:  G99, Yg06, G43, Y17, YR68, R29, R56, R14, R17, R22, R24, E99, E35.  Use what you have, any alcohol markers will work fine.

Ranger Archival Jet Black ink for sentiment, Katie & Co. stamp, “Happy Fall”. 

Faux Water Color for Smaller Images

Hey Crafters!!  It’s Day 8 of Kathy Racoosin’s 30 Day color challenge.  Kathy did an amazing thing today, by tracing a roll of tape for shapes within shapes, but I’m just doing some fast water coloring.  I like to sit down and do this when I get new stamps.  It’s also a great thing to take to Pot Luck Lunch with card makers at the church.  I can’t make cards a visit at the same time, but I can color effortlessly with my crayola washable markers and an aqua painter!  LOL

Click over to my blog for the Video at the bottom of this post.  Enjoy!


Supplies:  Canson Cold Press Water Color Paper Pad (9×12″ from Wal-mart)

Inks:  StazOn or Ranger Archival Jet Black Ink (let dry well or heat set before adding water).  Crayola or Cra-Z-art Washable kids markers.

Stamps:  Simply Sketched by Stampin’UP!  hostess set and Penny Black critter party.

September 2014 Name Tags

Hey Crafters!! Happy Fall! Time is hurtling past me as what ever I have hurt above my lumbar fusion is taking it’s toll on me, and I’m late with this tag…

IMG_7107.PNG
This month’s tag is made using a home made stamp that my Katie made in 2001, when she was 12. LOL I made table clothes, for my mother and myself, stamping the leaf in acrylic paint probably the year Katie made this stamp. And it’s always a nice surprise, when Fall rolls around, each year, and I reach for that gorgeous table cloth. I forget about these fun things I have made years ago!

IMG_7106.JPG

I needed something quick and easy, so the rock’n roll technique fits that bill nicely! My cards are cut to 3 1/4 in. x 2 1/2 in. to fit the name badges from Wal-mart, heavy weight white card stock by The Paper Studio, picked up at my local Hobby Lobby. Leaf stamped with Stampin’UP! inks in Pumpkin Pie and the edges rolled in Cherry Cobbler for the first generation leaf stamped on the R side of the card. Then, second generation stamping on the left side of the card, without re-inking the leaf stamp, breathing on it to reactive the ink. I almost like that 2nd generation leaf better! LOL Then, clipping the corners with a corner rounder and sponging around the edges of the tags with Rich Razzleberry. The month, Sep. was stamped in Ranger’s Archival Jet Black ink, with The Months of the Year calendar set by, The Paper Studio. Copics R17 Lipstick Red and RV69 Peony to color in the veins of the leaves.

Enjoy!!

View my Video Here

Papertrey Ink 7th Anniversary Day 3, Card 1 Eiffel Love

Hi Crafters!! We were to choose 7 items in 7 minutes, then take 17 minutes or less to make a project. I chose to make a card. My 7 items were Recollections 65 lb Card stock pack, Shades of Red, Tim Holtz Eiffel Tower die, Recollections Love Banner and Hearts background stamp sets, PTI Vintage Picnic stamp set and 2 inks, Ranger Archival Jet Black and Stampin’UP! Cherry Cobbler.

20140207-140922.jpg

If you want to enjoy the insanity, view Video Here!