
Hey Crafters, welcome to paulettesprettypapercrafts!
Here is a five dollar off coupon to honeybee stamps. Enjoy.
Hey Crafters, welcome to paulettesprettypapercrafts!
Here is a five dollar off coupon to honeybee stamps. Enjoy.
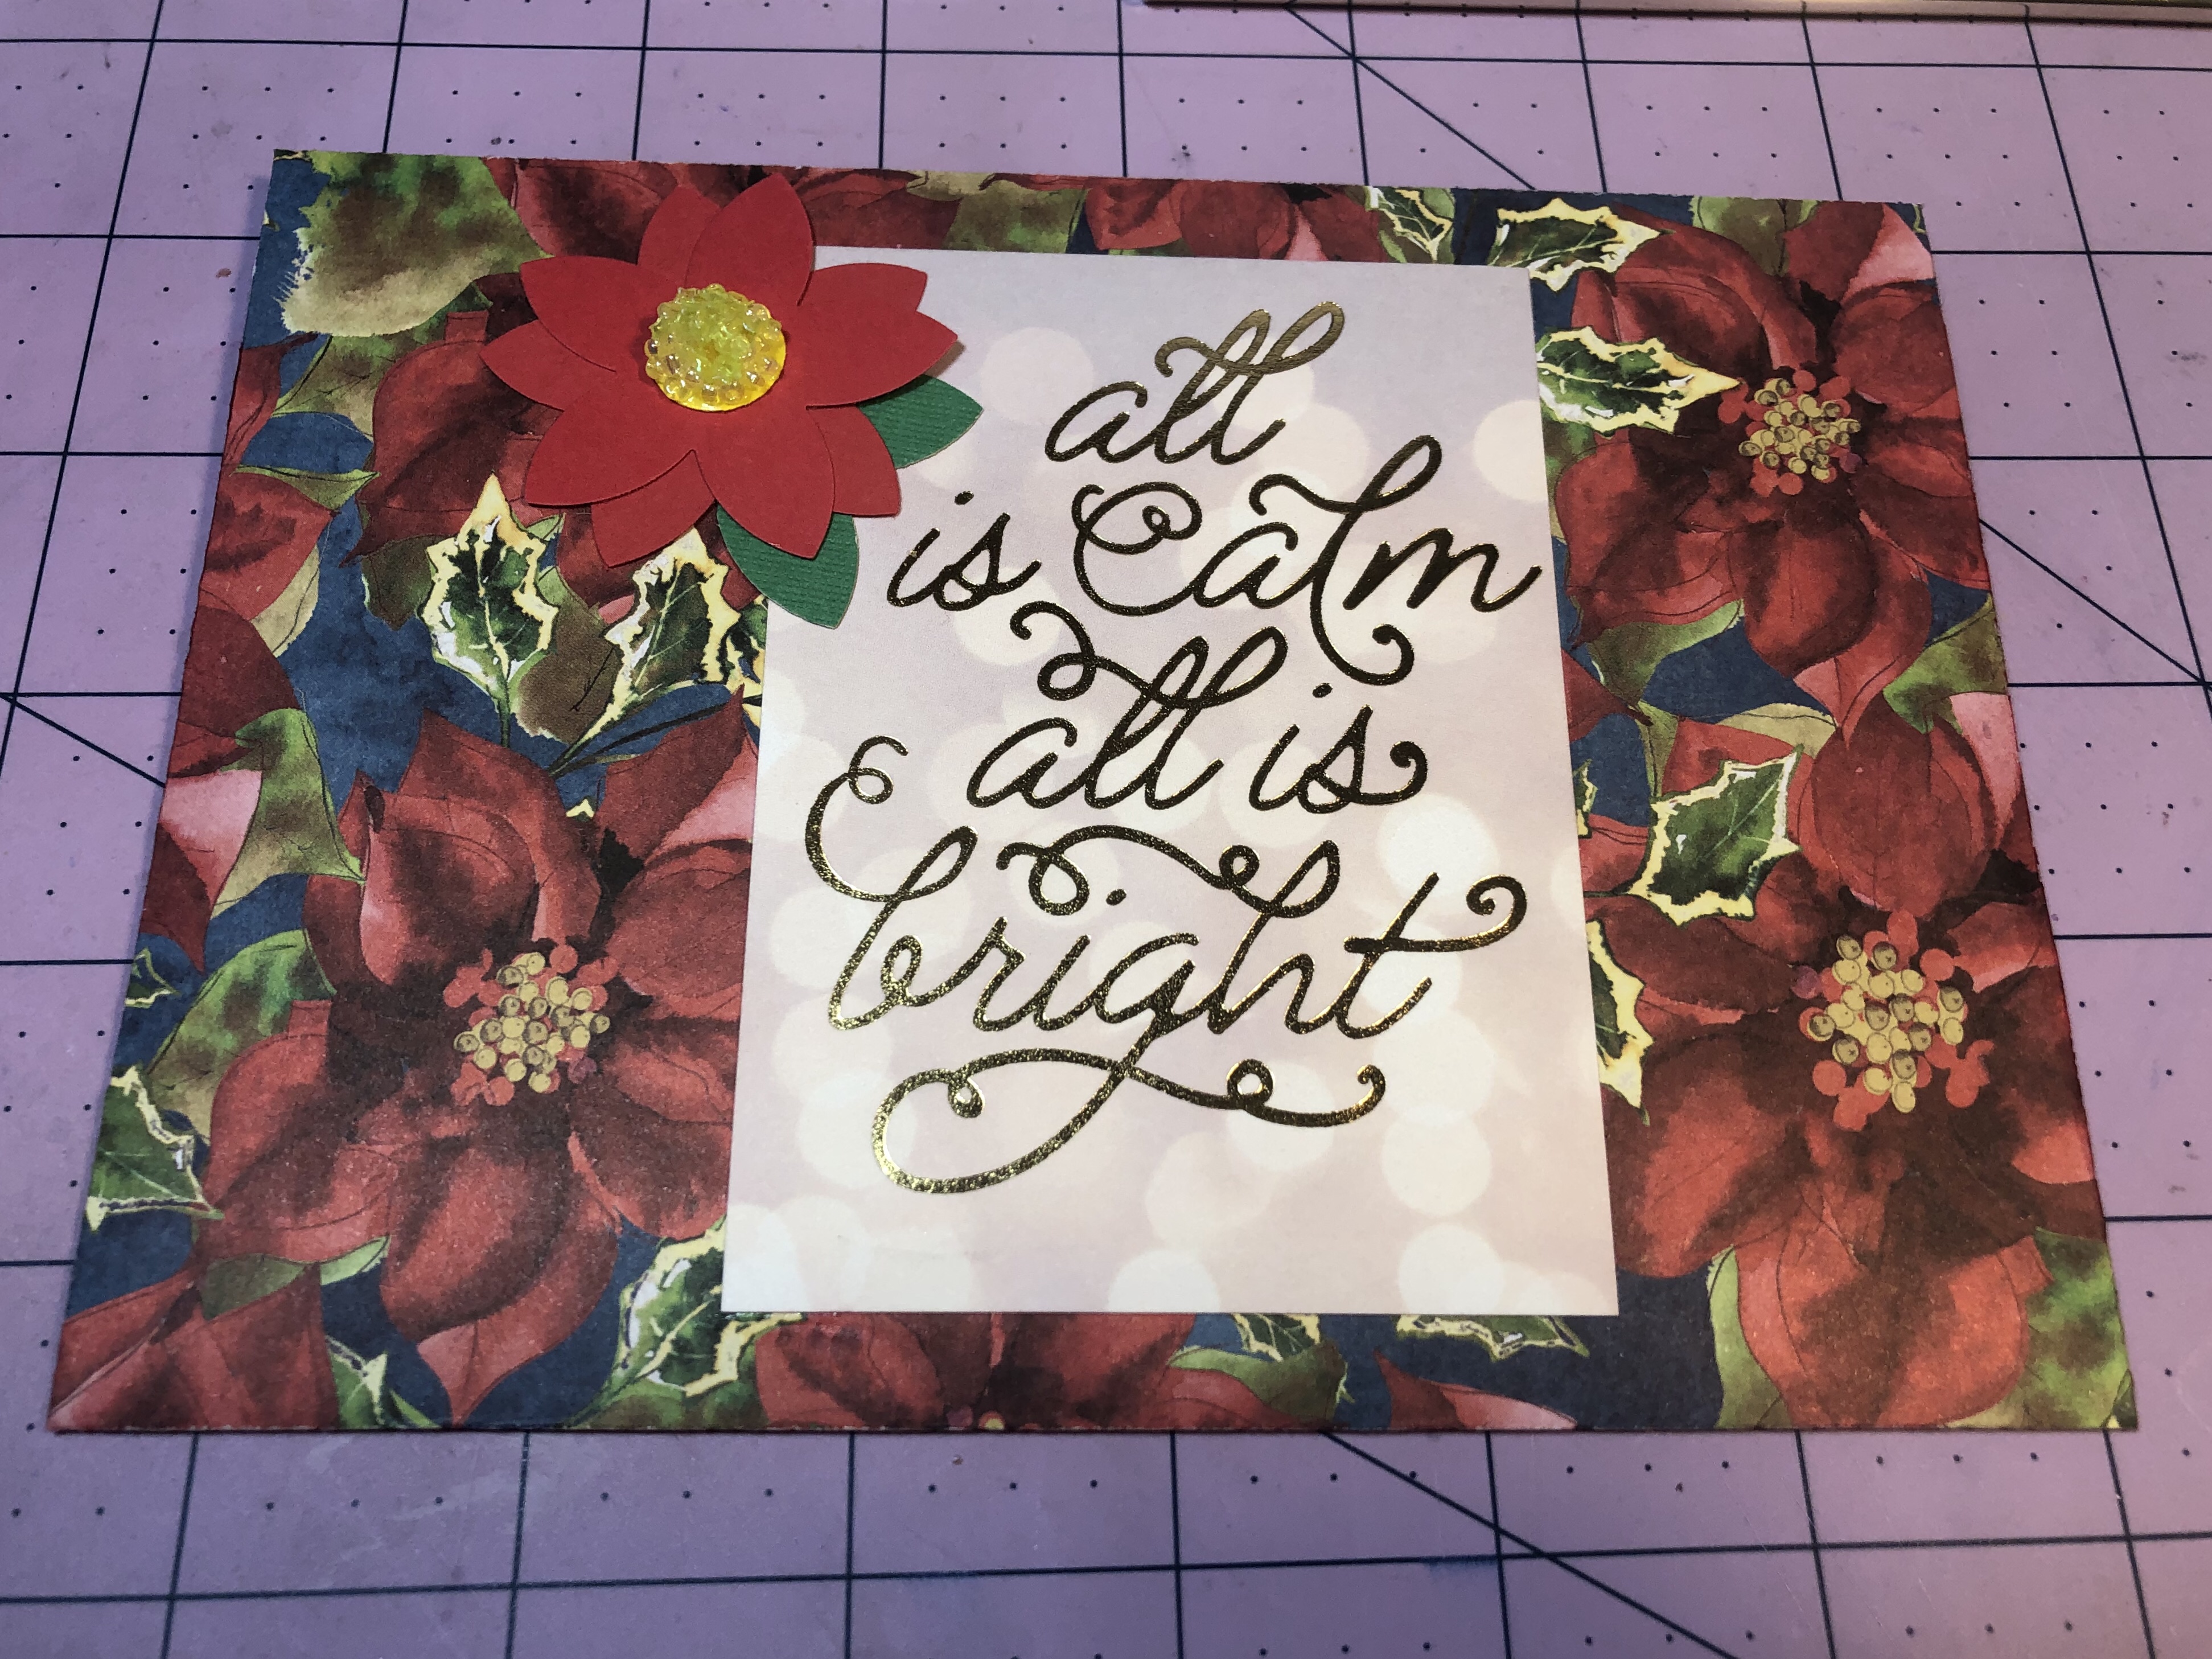
Hey Crafters, Merry Christmas !!
Enjoy this 10 dollar code. I get 10 dollars at MFT when you spend it. Thank You, My Favorite Things Stamps.
Hey crafters welcome to Paulette’s Pretty Paper Crafts!!
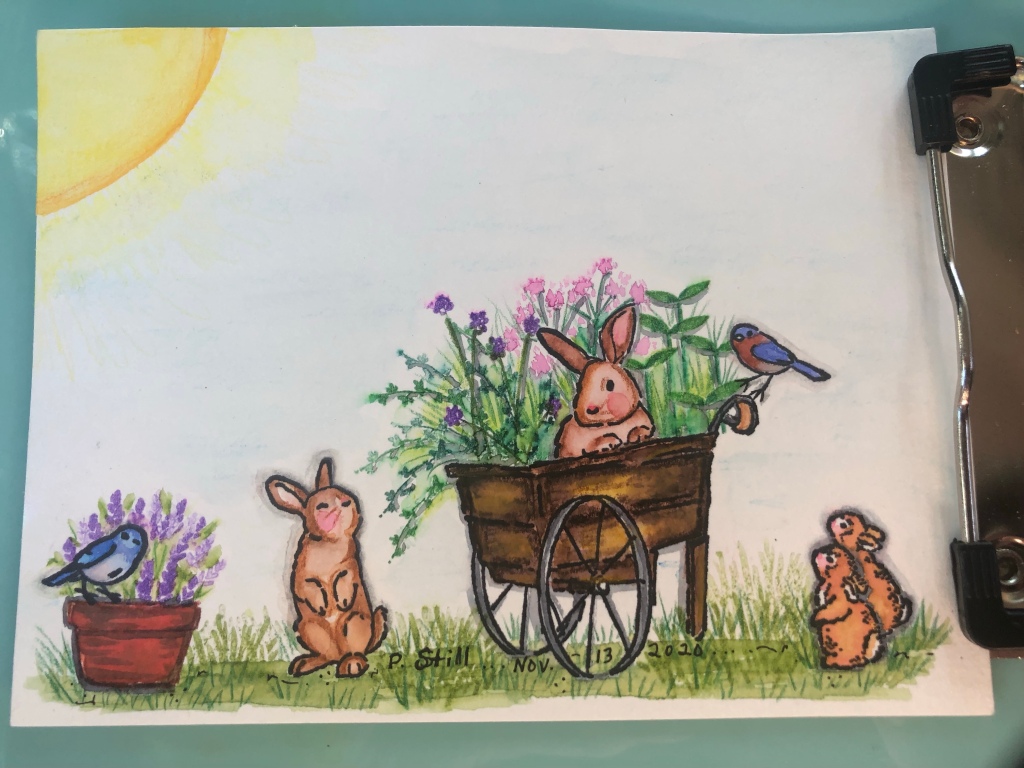
I’m playing in Kathy‘s 30 day color challenge which is only 11 days this time.
I have chosen to use some art impressions stamps, the large bunnies, flower pot, birds, cart and vines on the left side of the cart.
The baby bunnies on the right are impression obsession but I thought they would fit in really well with this scene.
I also pulled miscellaneous flowers and plants from other stamps sets and the grass is from a Stampendous set. I like to pull things together to create my own little scenes as I enjoy creating this type of card the most.
I have used watercolor pencils to color in all of these images and I did stamp the flowers and the greenery that are in the flower cart and in the flower pot with Crayola washable kids markers. The rubber stamps take this type of coloring and stamping really well.
Then I take my Crayola washable kid’s markers and I scribble them down onto a slick surface where I can pick them up with my Pentel Water brush and distribute the colors wherever I want them.
Thanks for stopping by. I hope that you are all are finding time to color and enjoy Kathy Racoosin’s 30 day color challenge! I especially love that it is just coloring some thing.
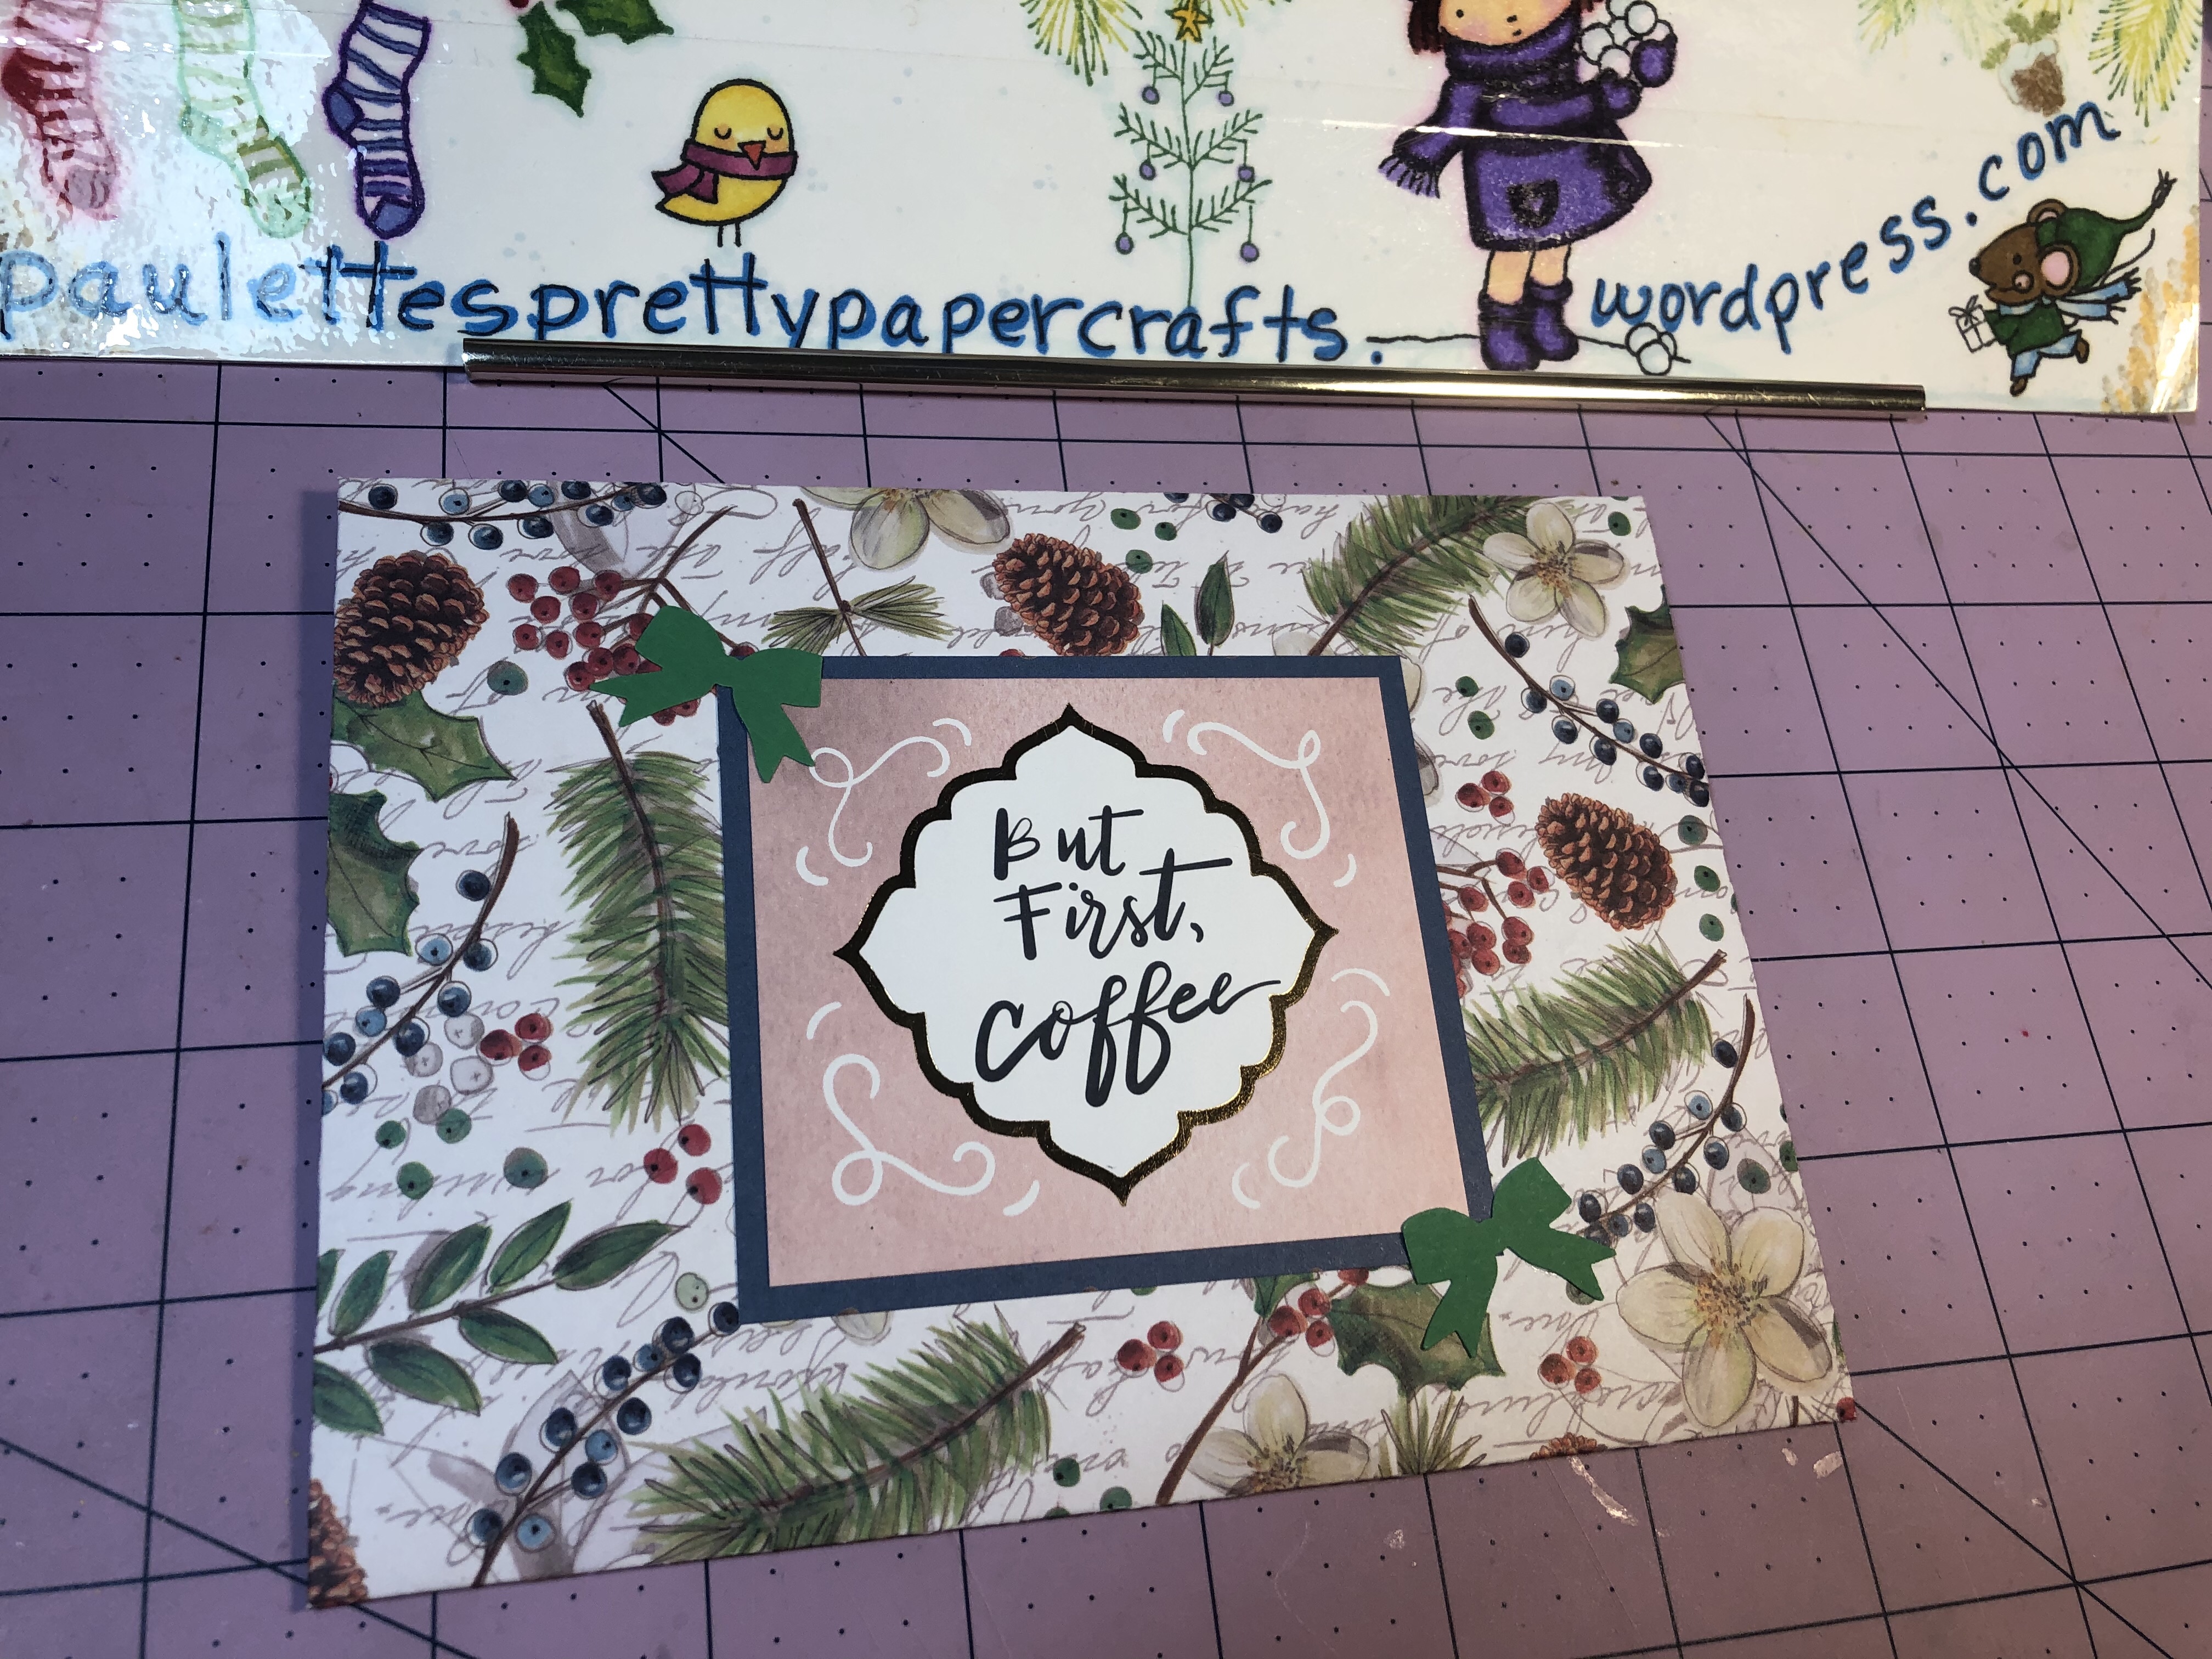
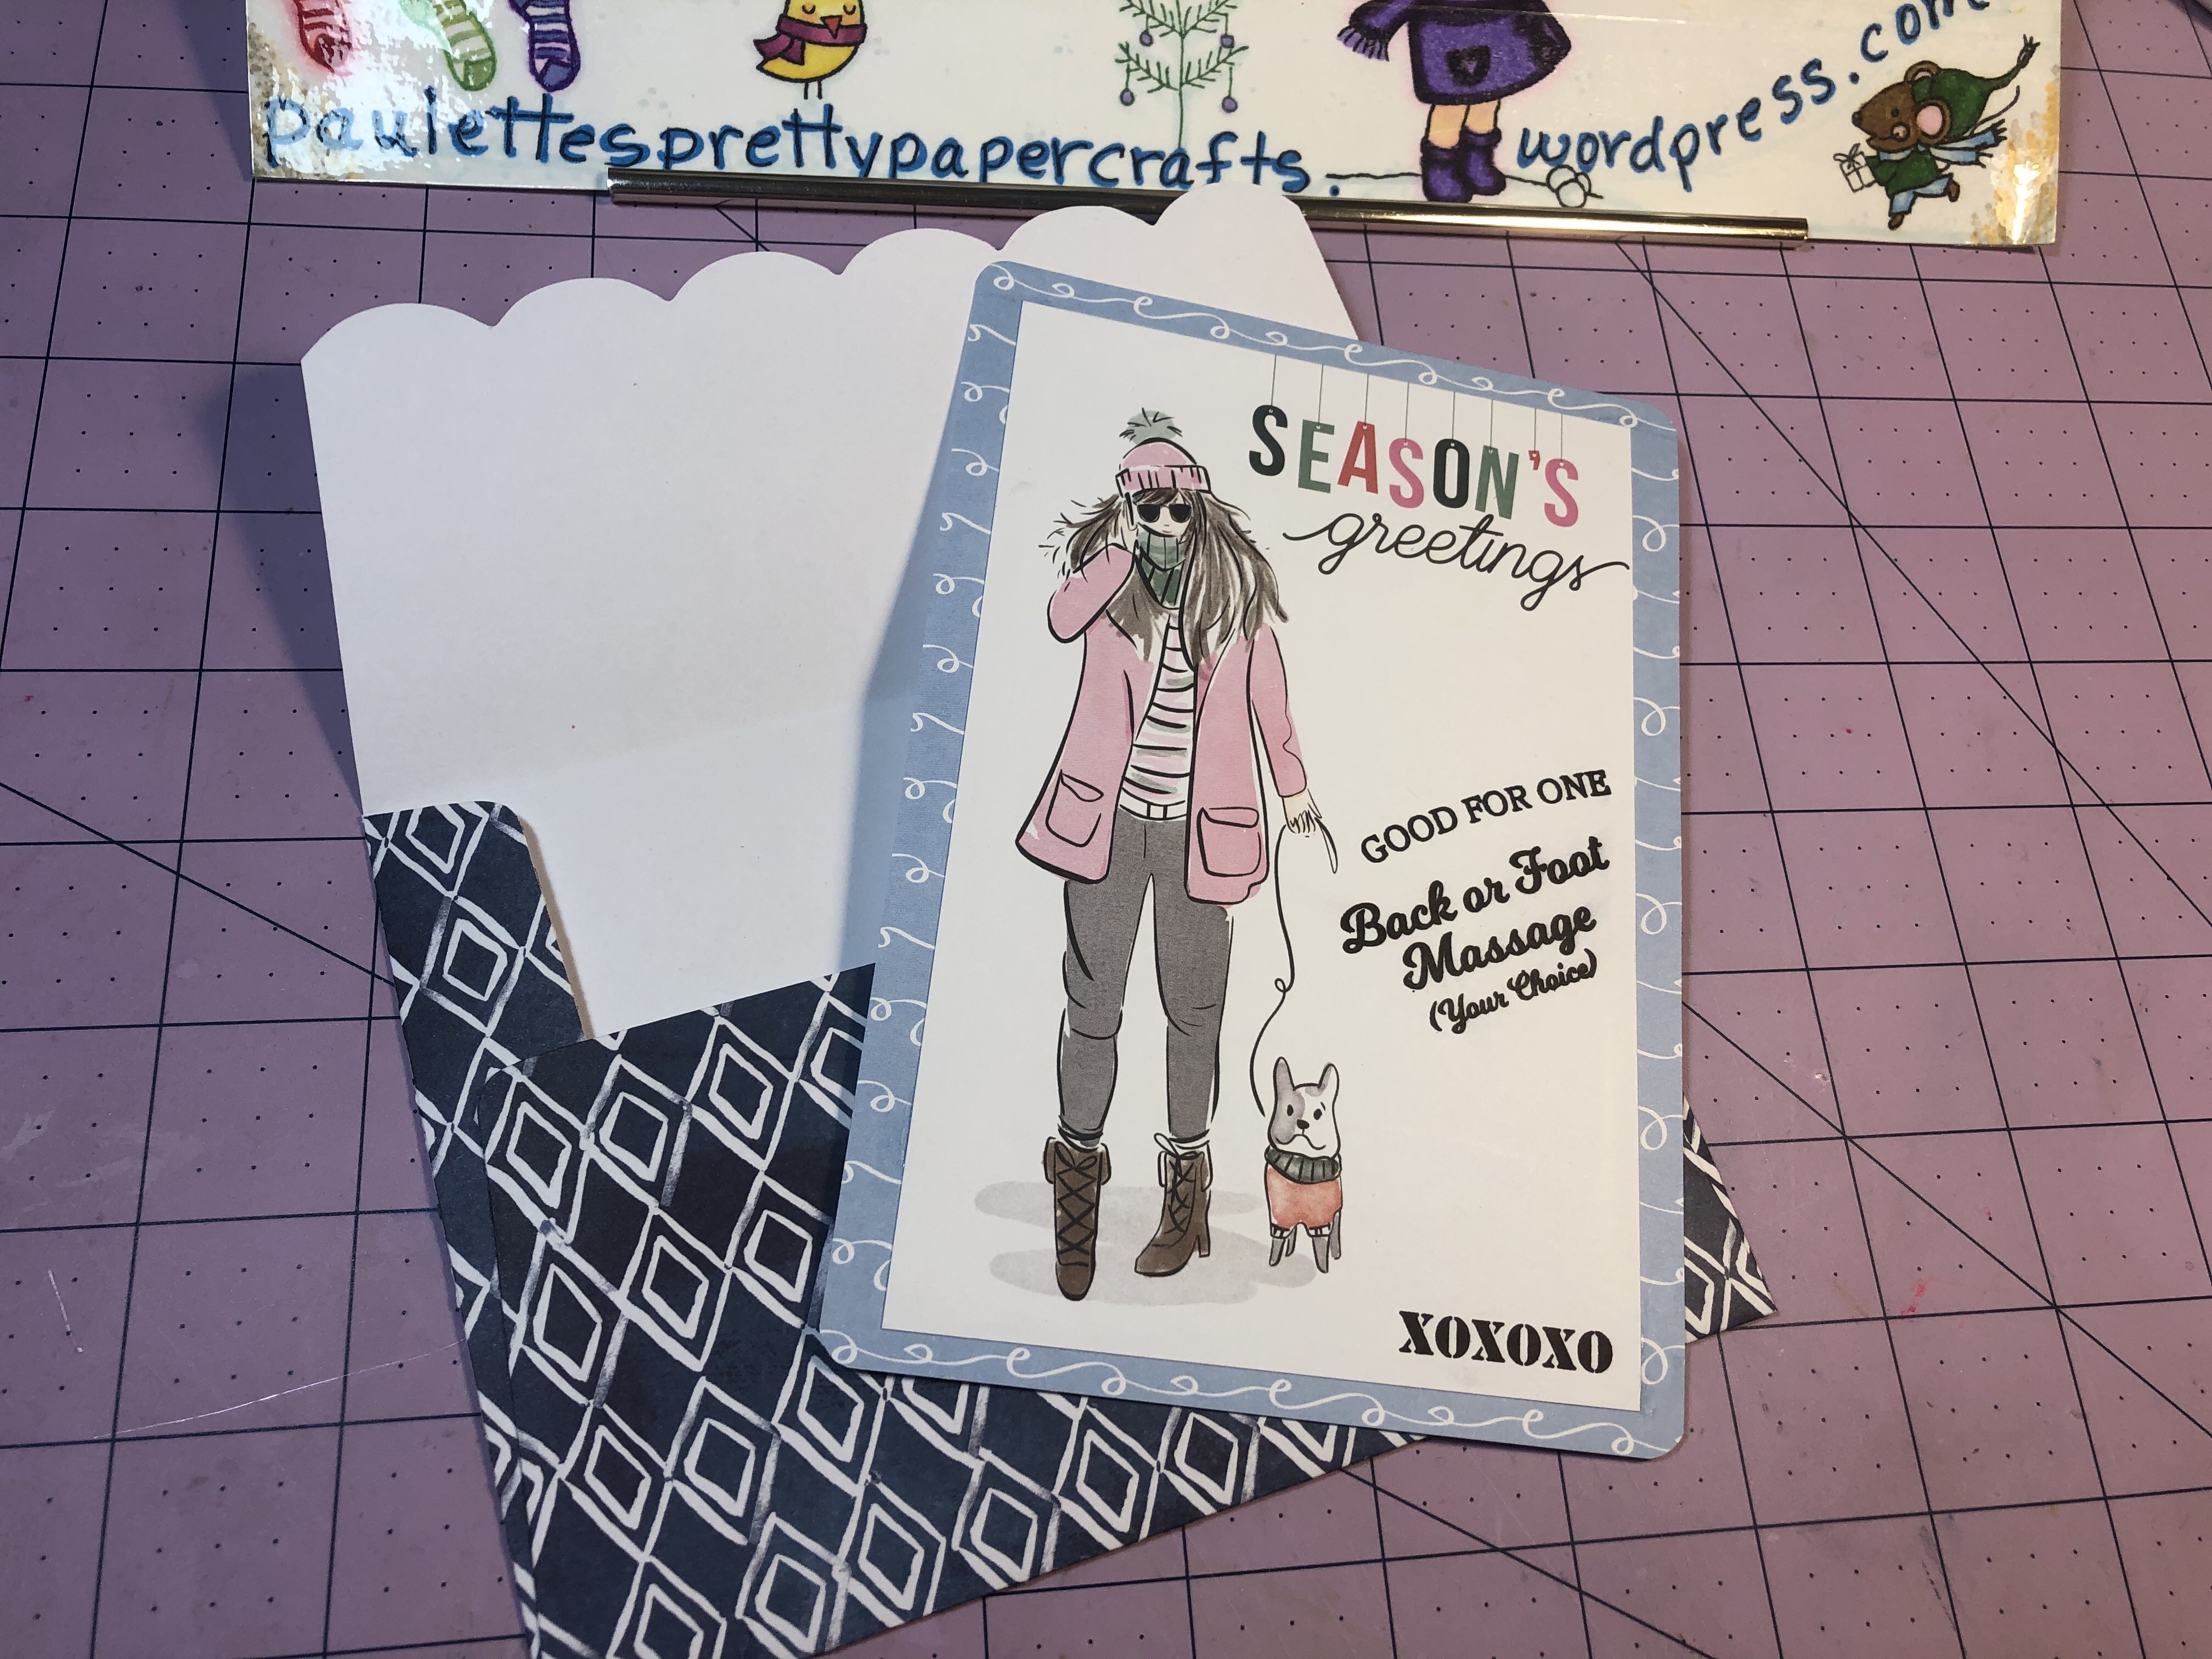
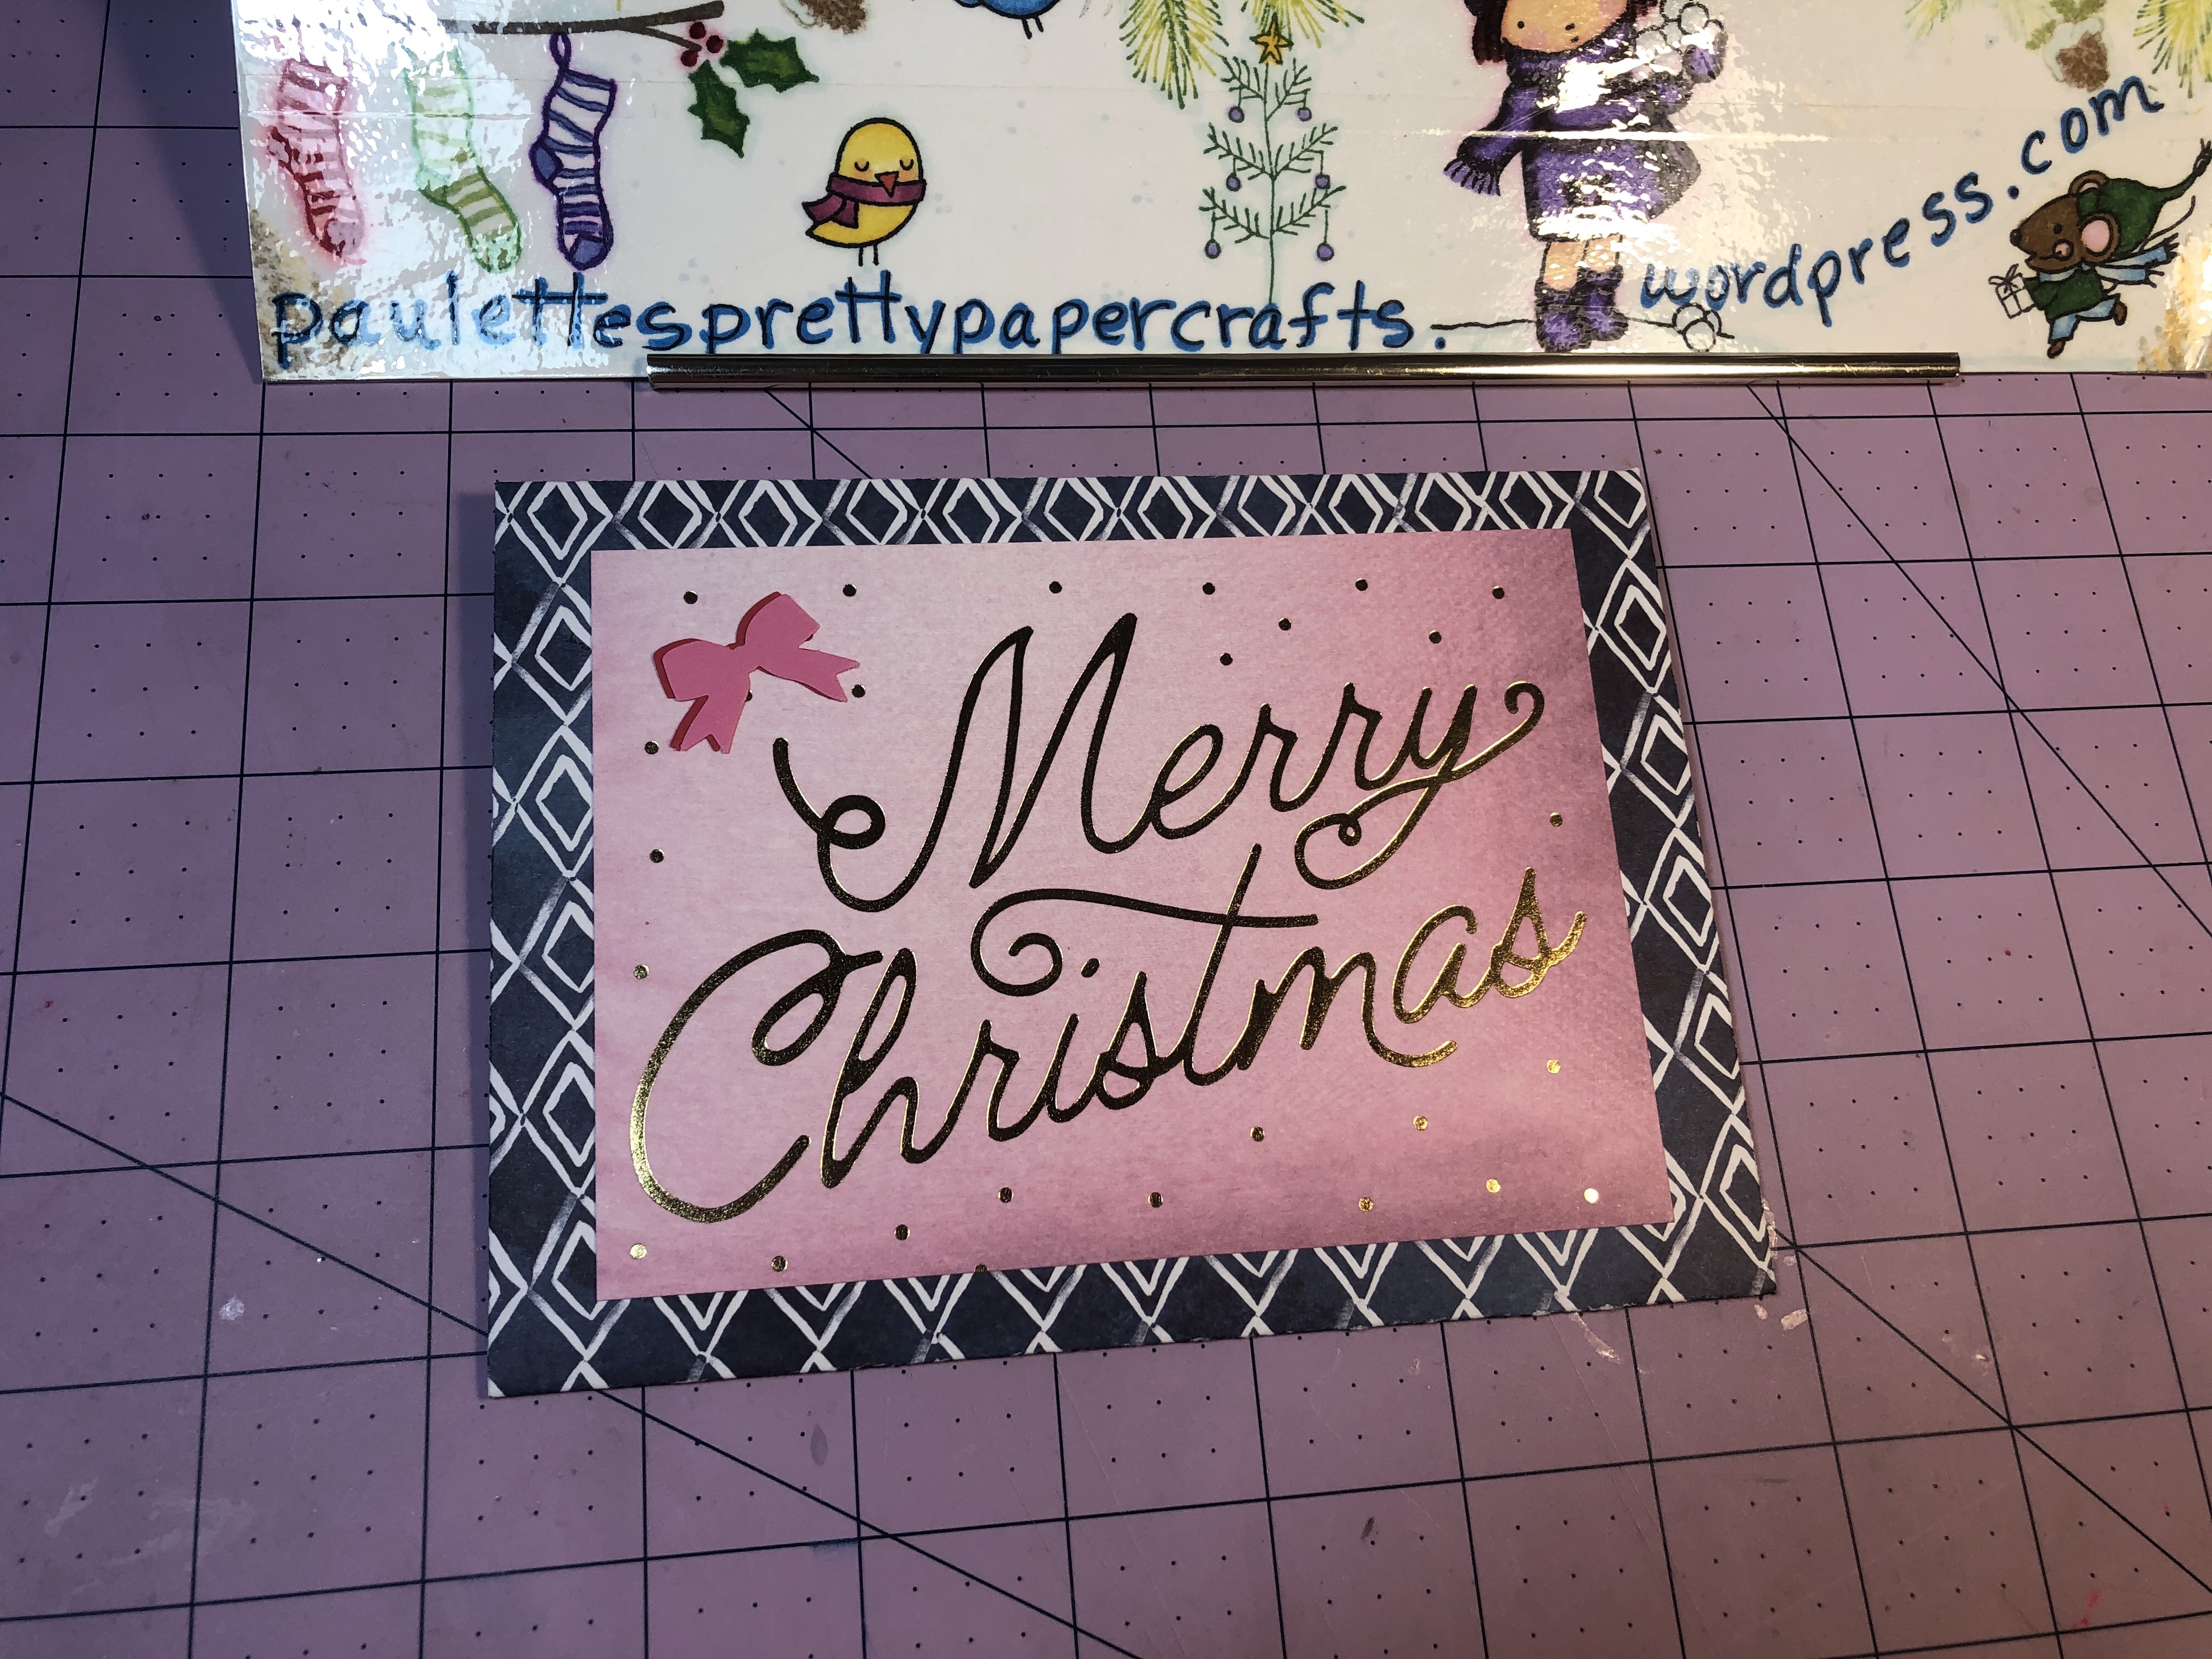
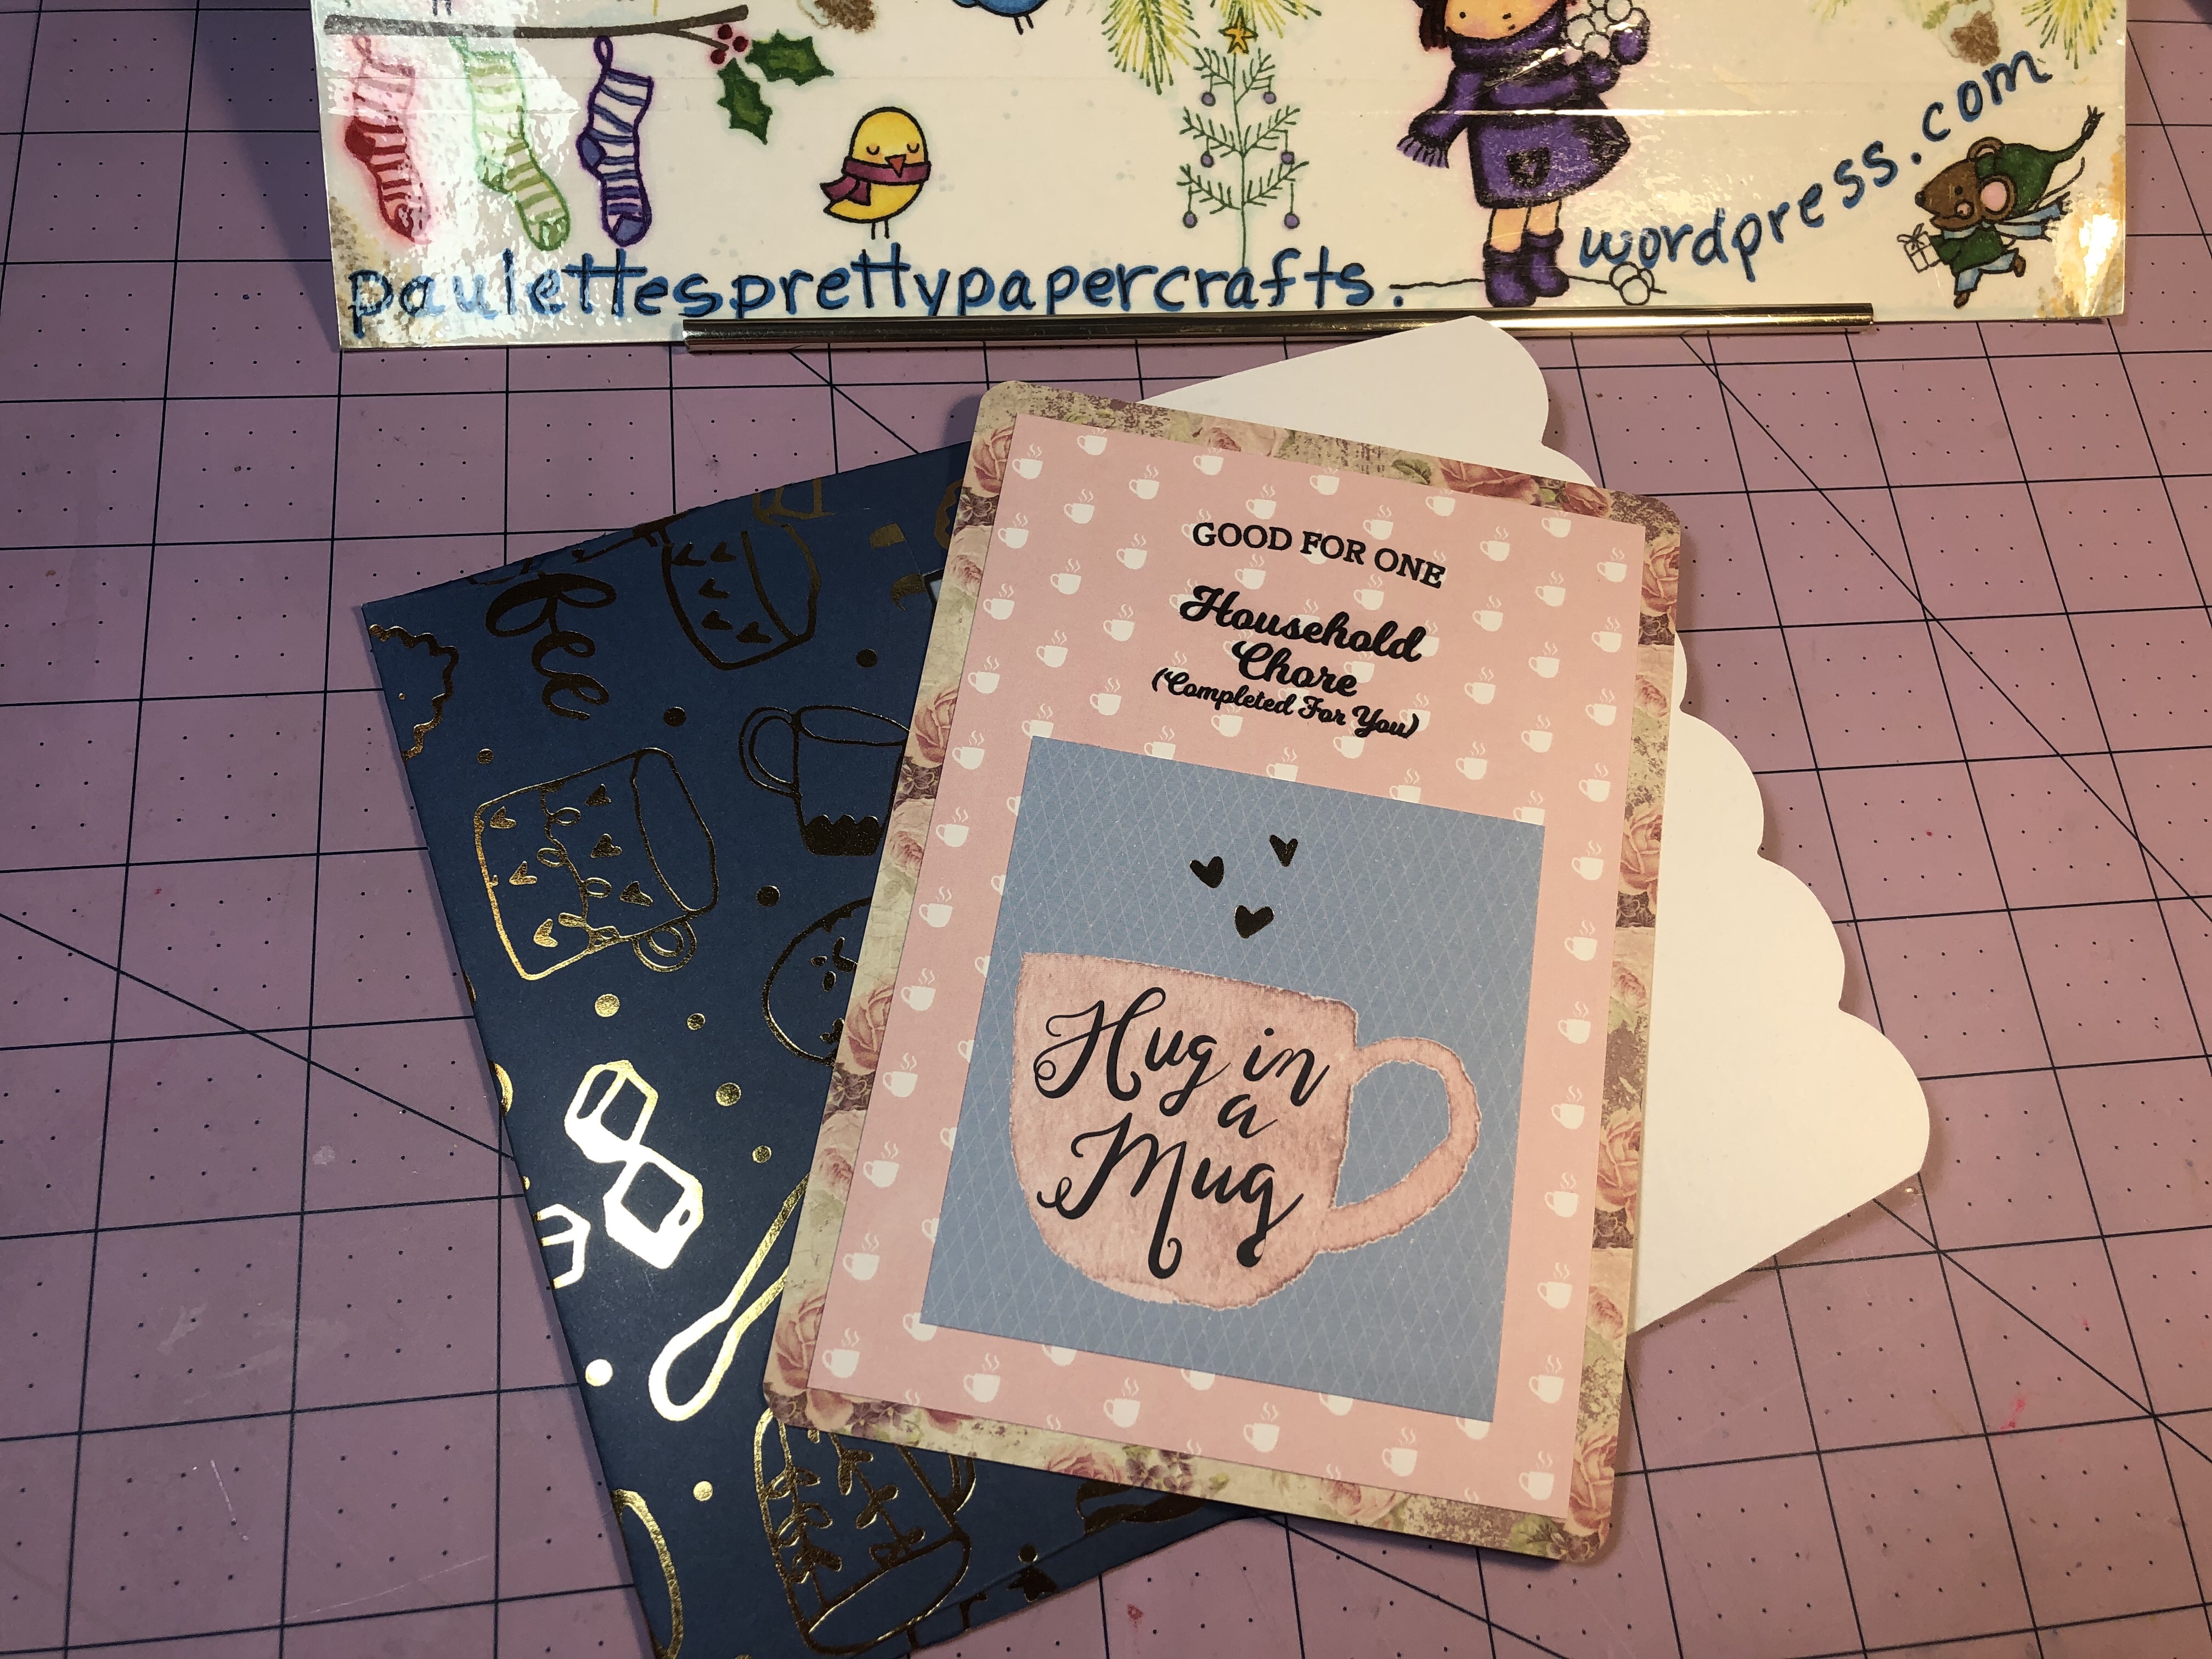
Hey crafters!! Welcome to Paulette’s pretty paper crafts. This is a fun project that I did for a coworker.
I‘ve just uploaded a movie to YouTube!
You can check it out here


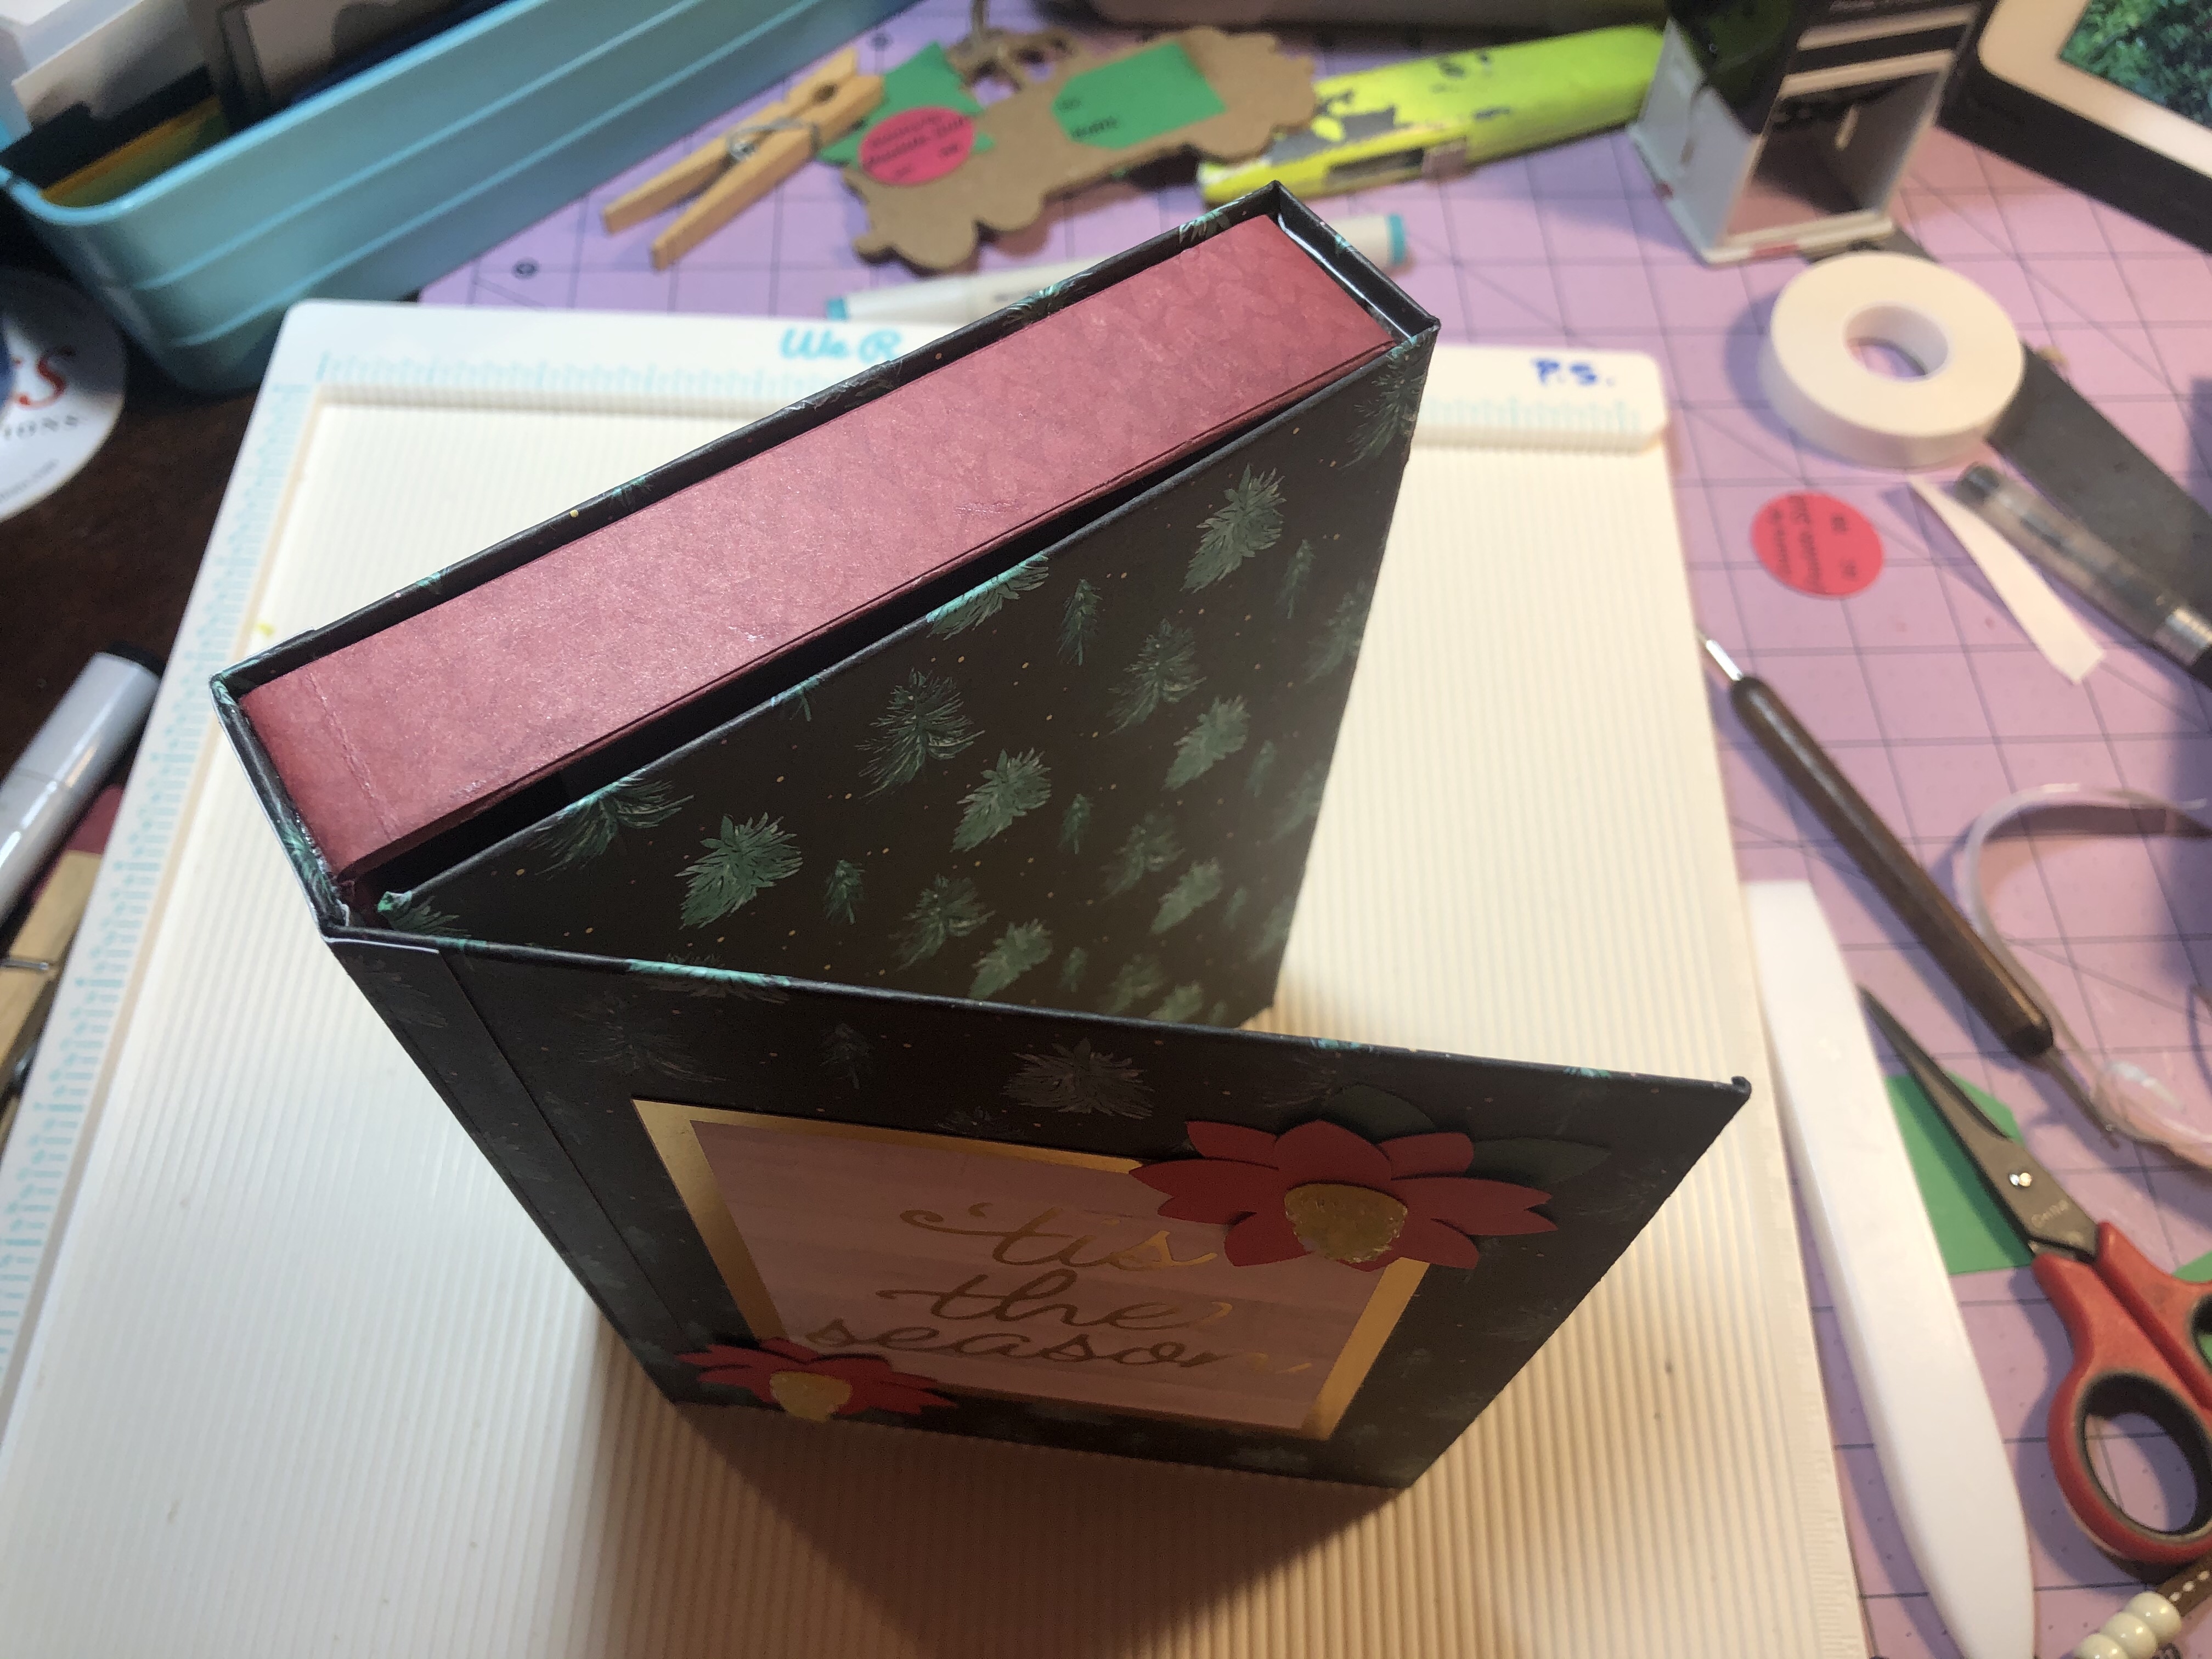
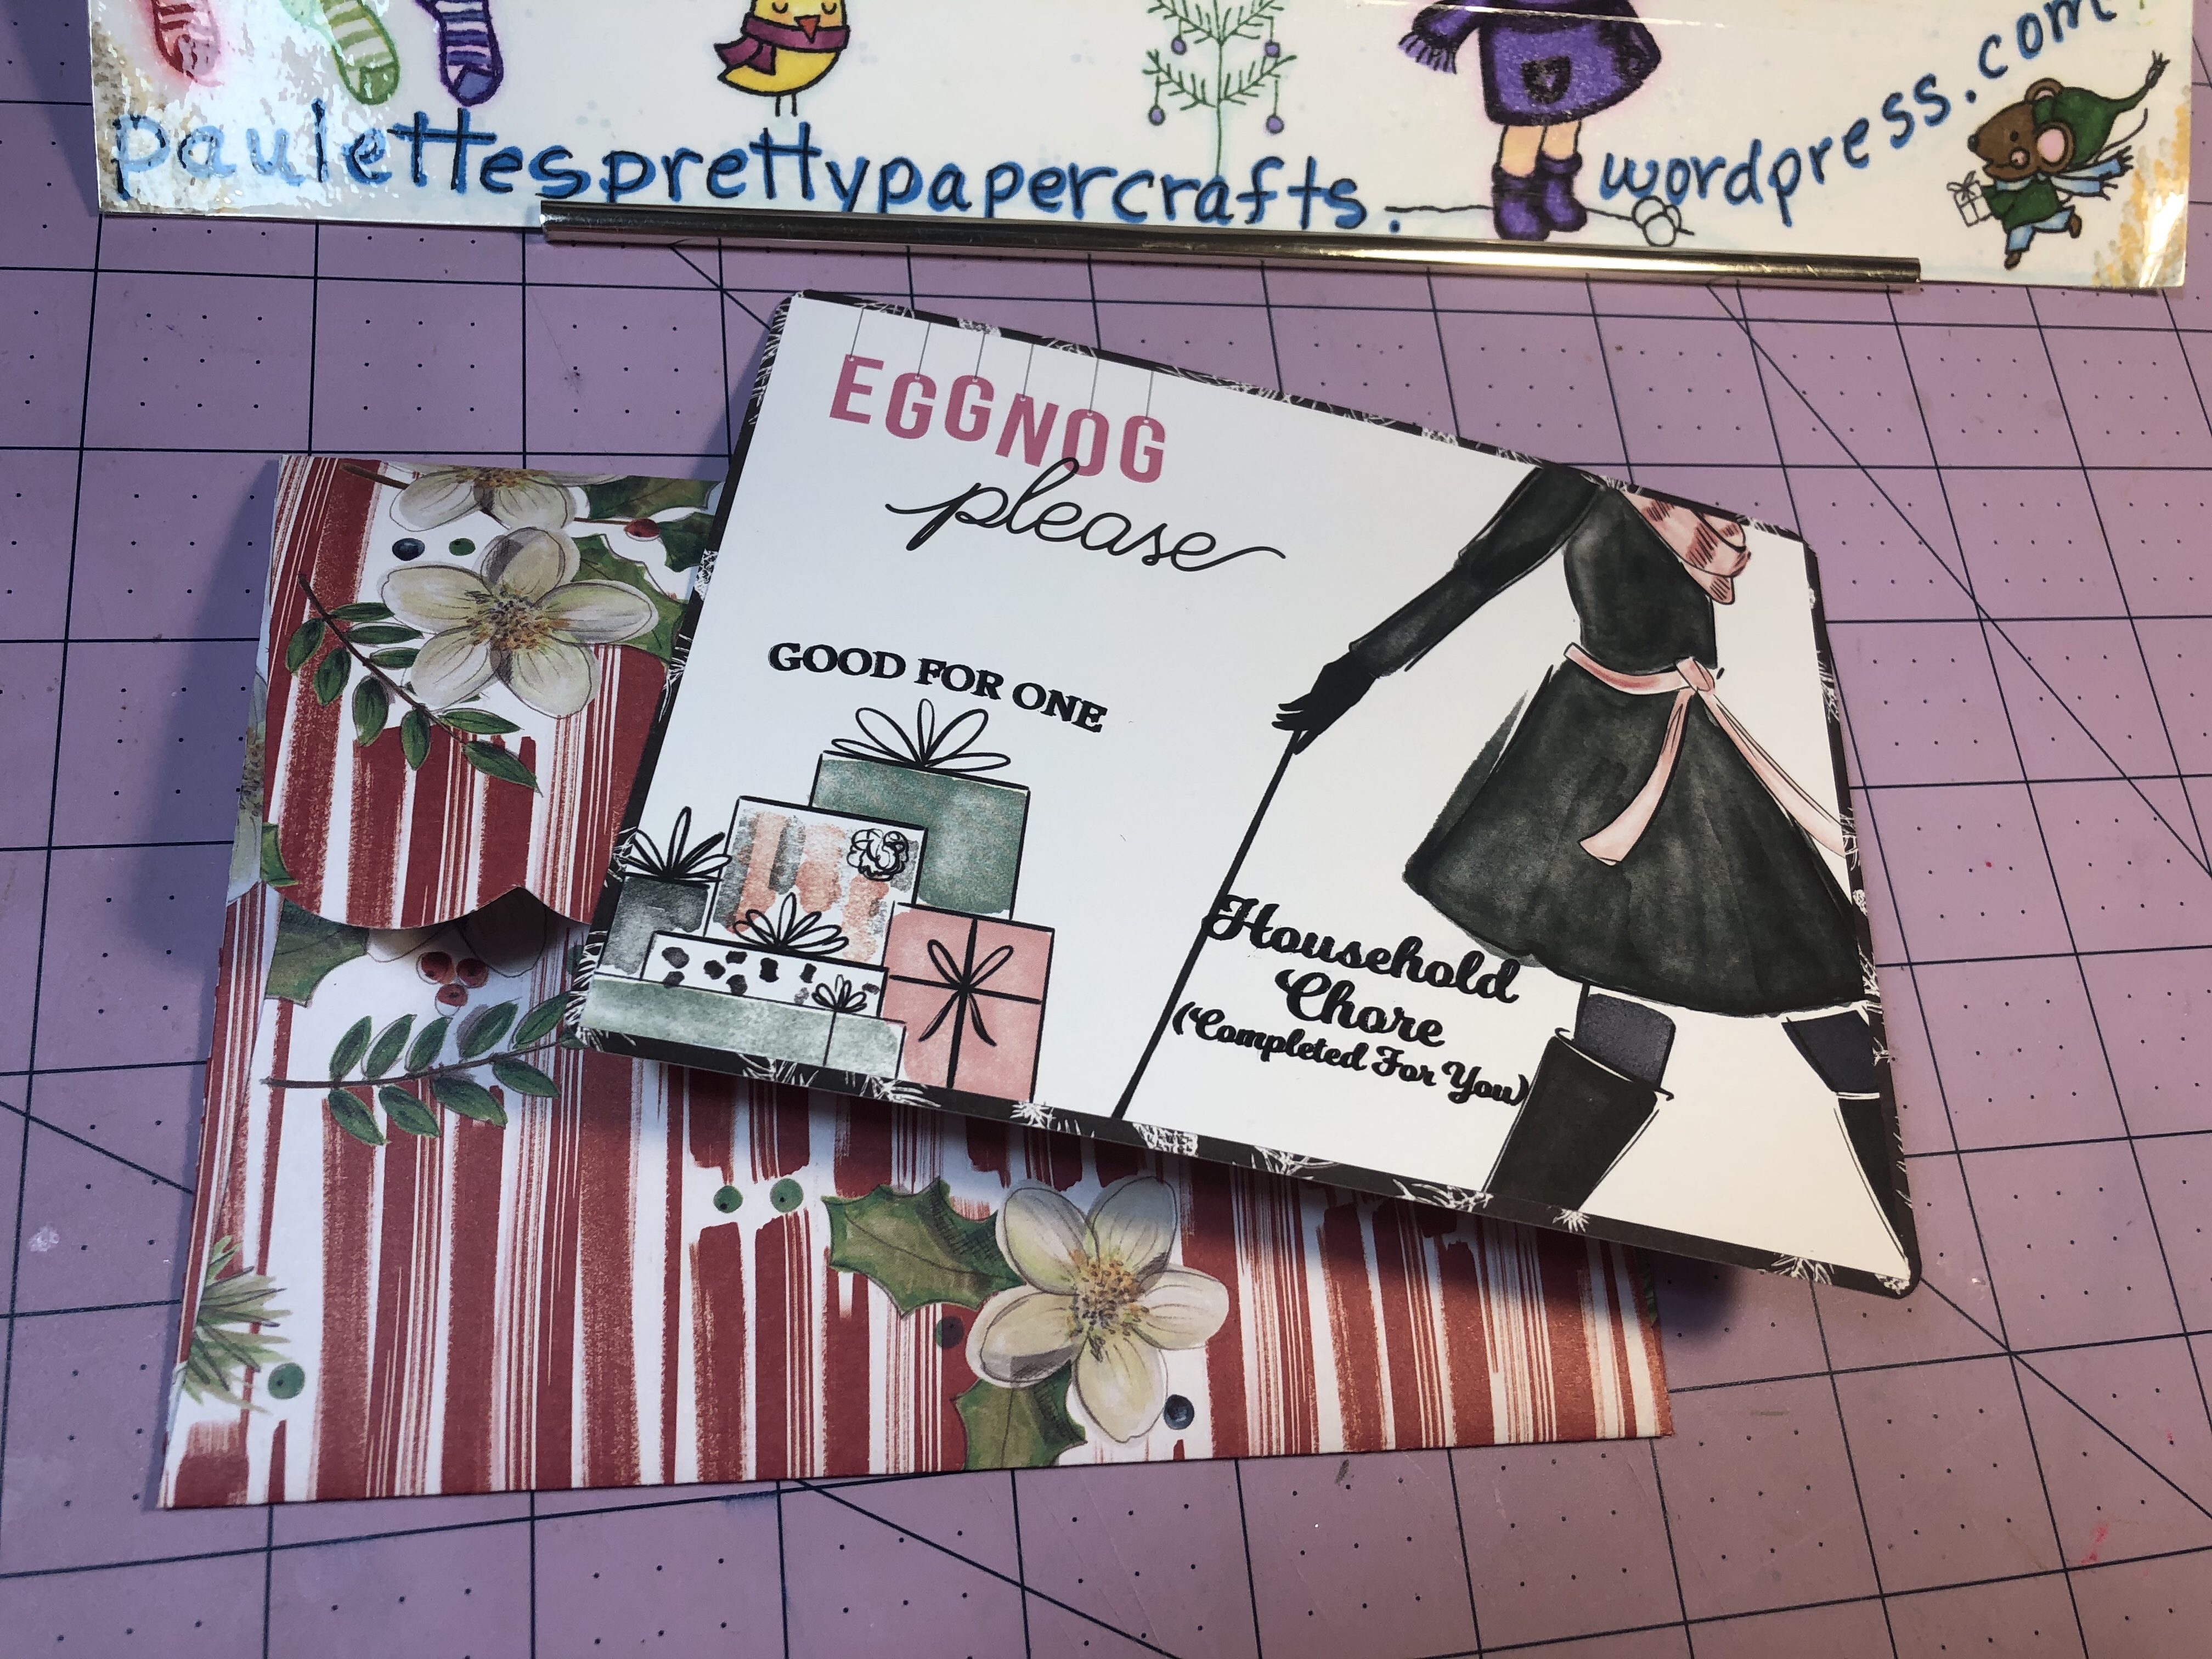
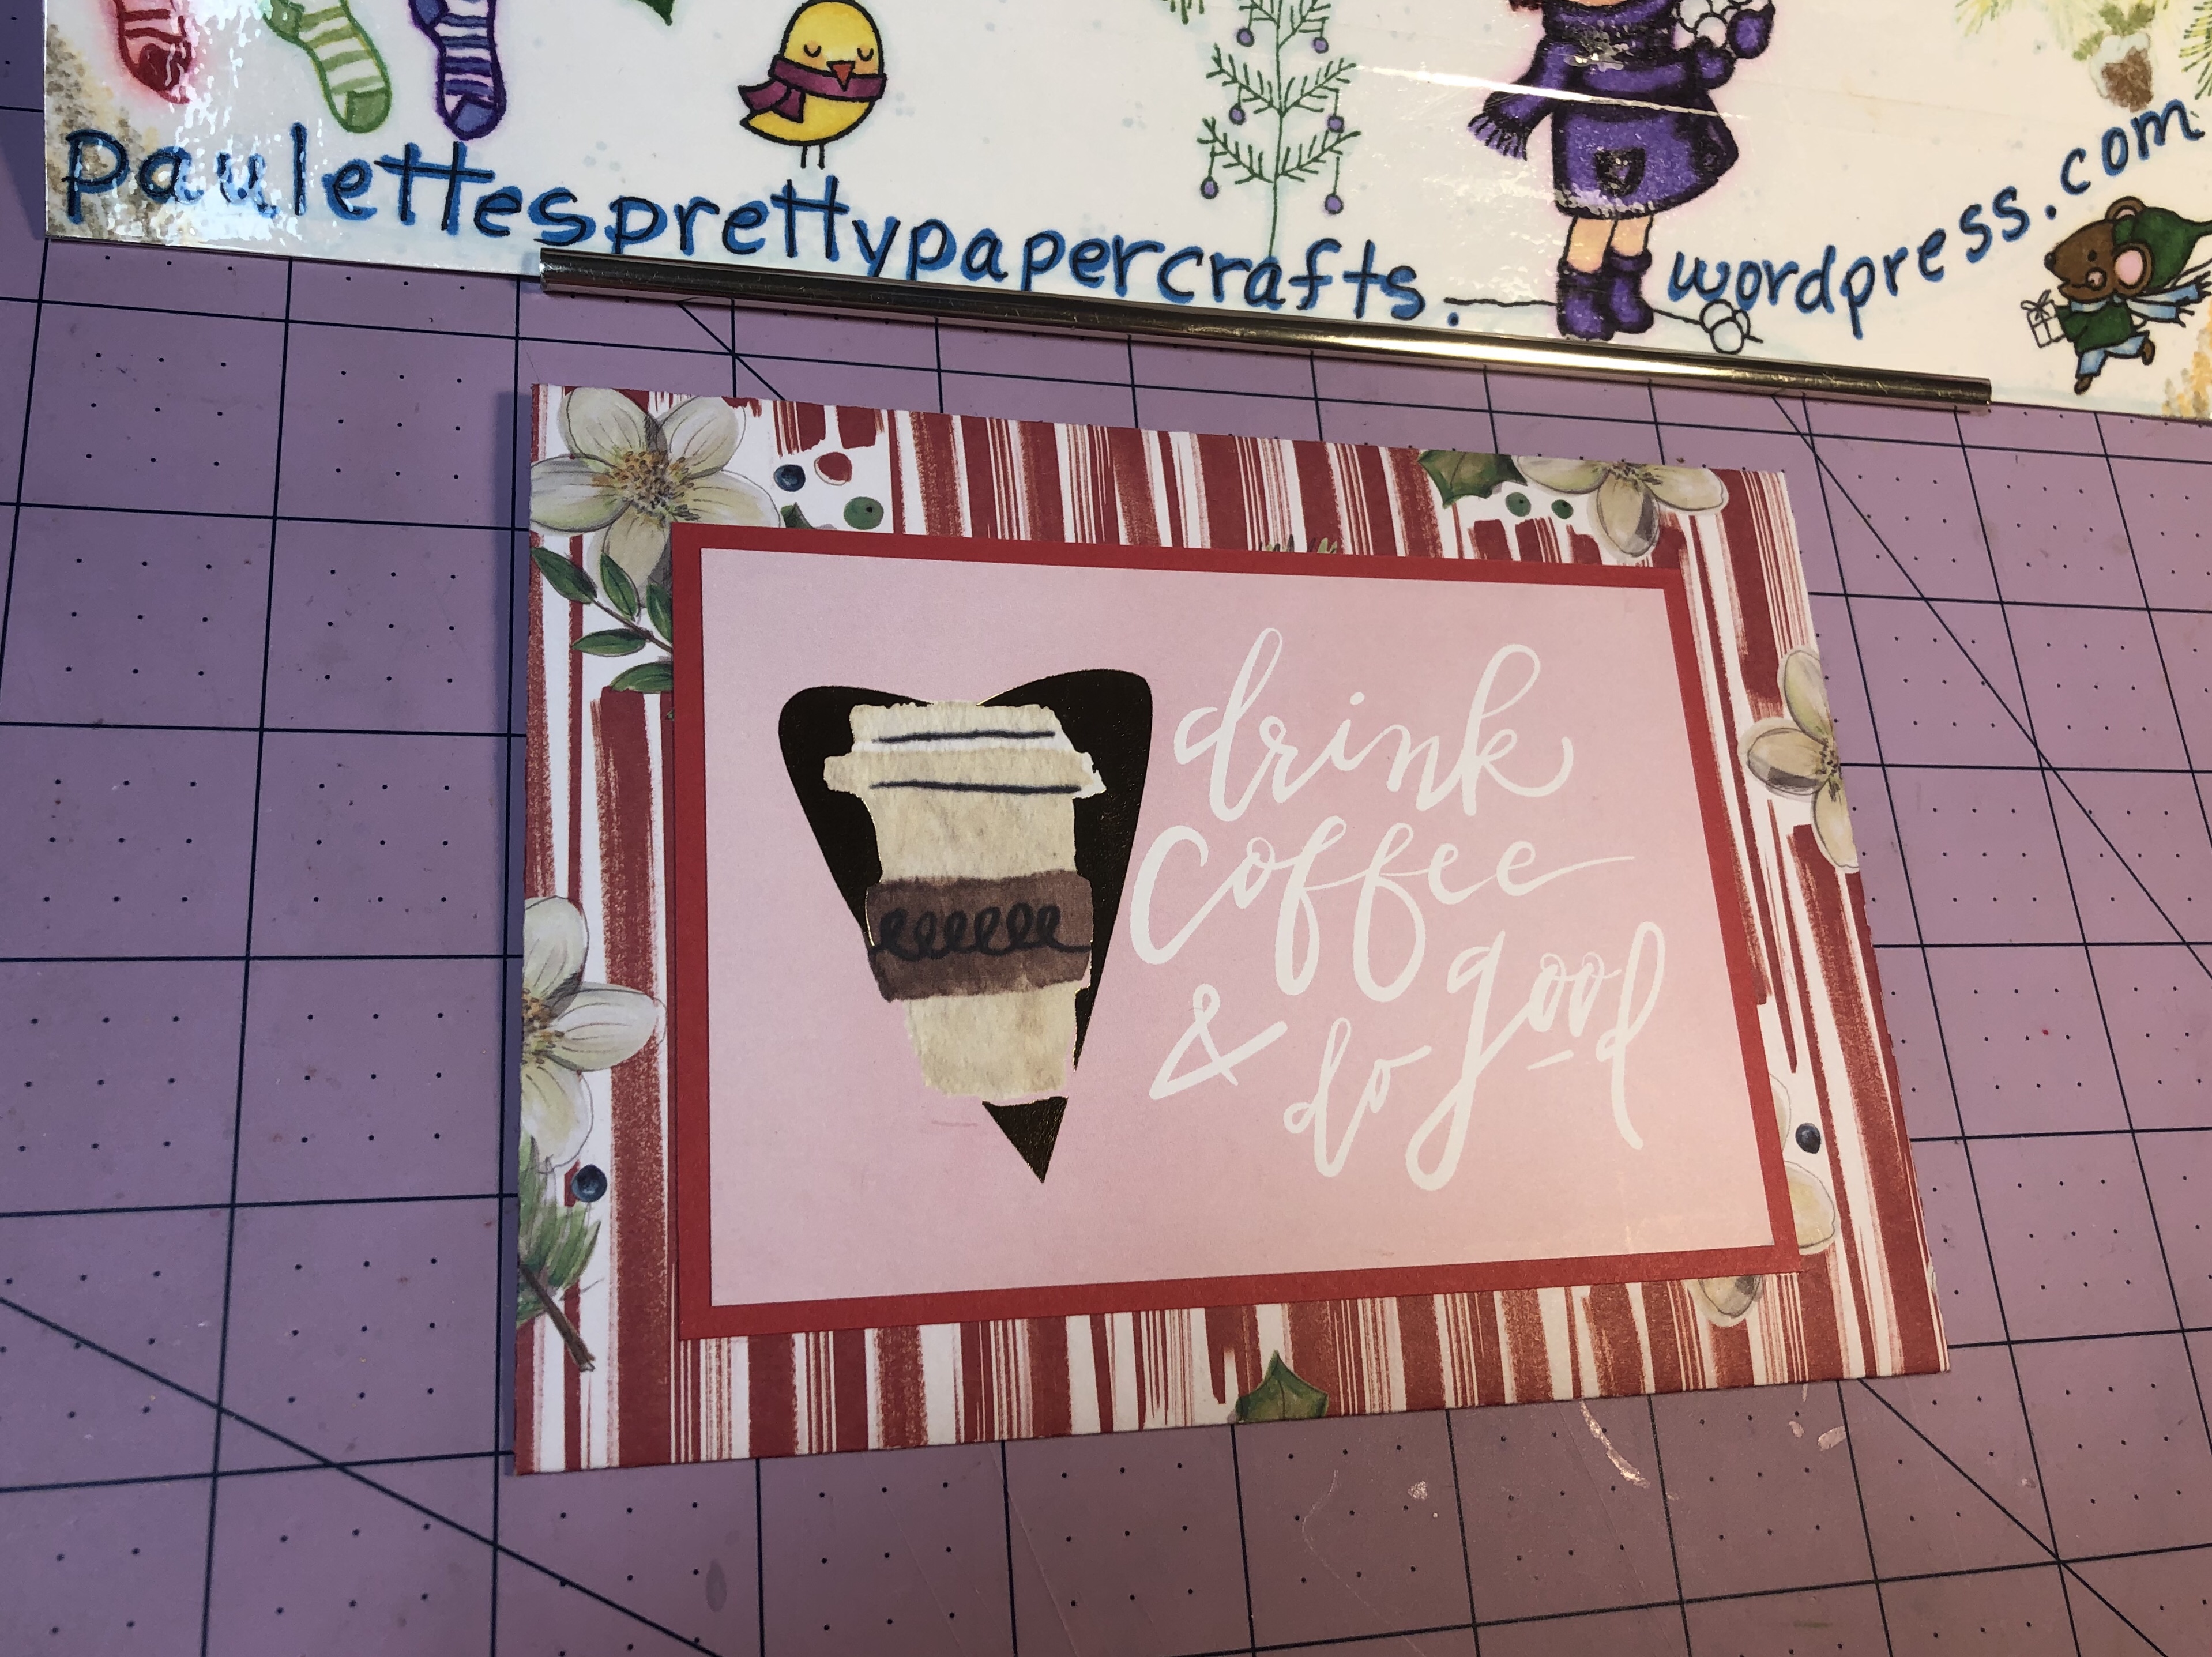


Click here Posh Paper Lady 5 x 7 in trifold box to see how Sherry makes this box. Prepare to become addicted to her bags, boxes and note pads! Because she is amazing!
Thanks for stopping by today. 
Hey Crafters!! Well, I guess I jumped the gun. I got so excited about Kathy Racoosin’s 30 Day Color Challenge that I thought it started a couple of Days Ago! But, it starts on November 1, 2019 for the 14th Color Challenge.
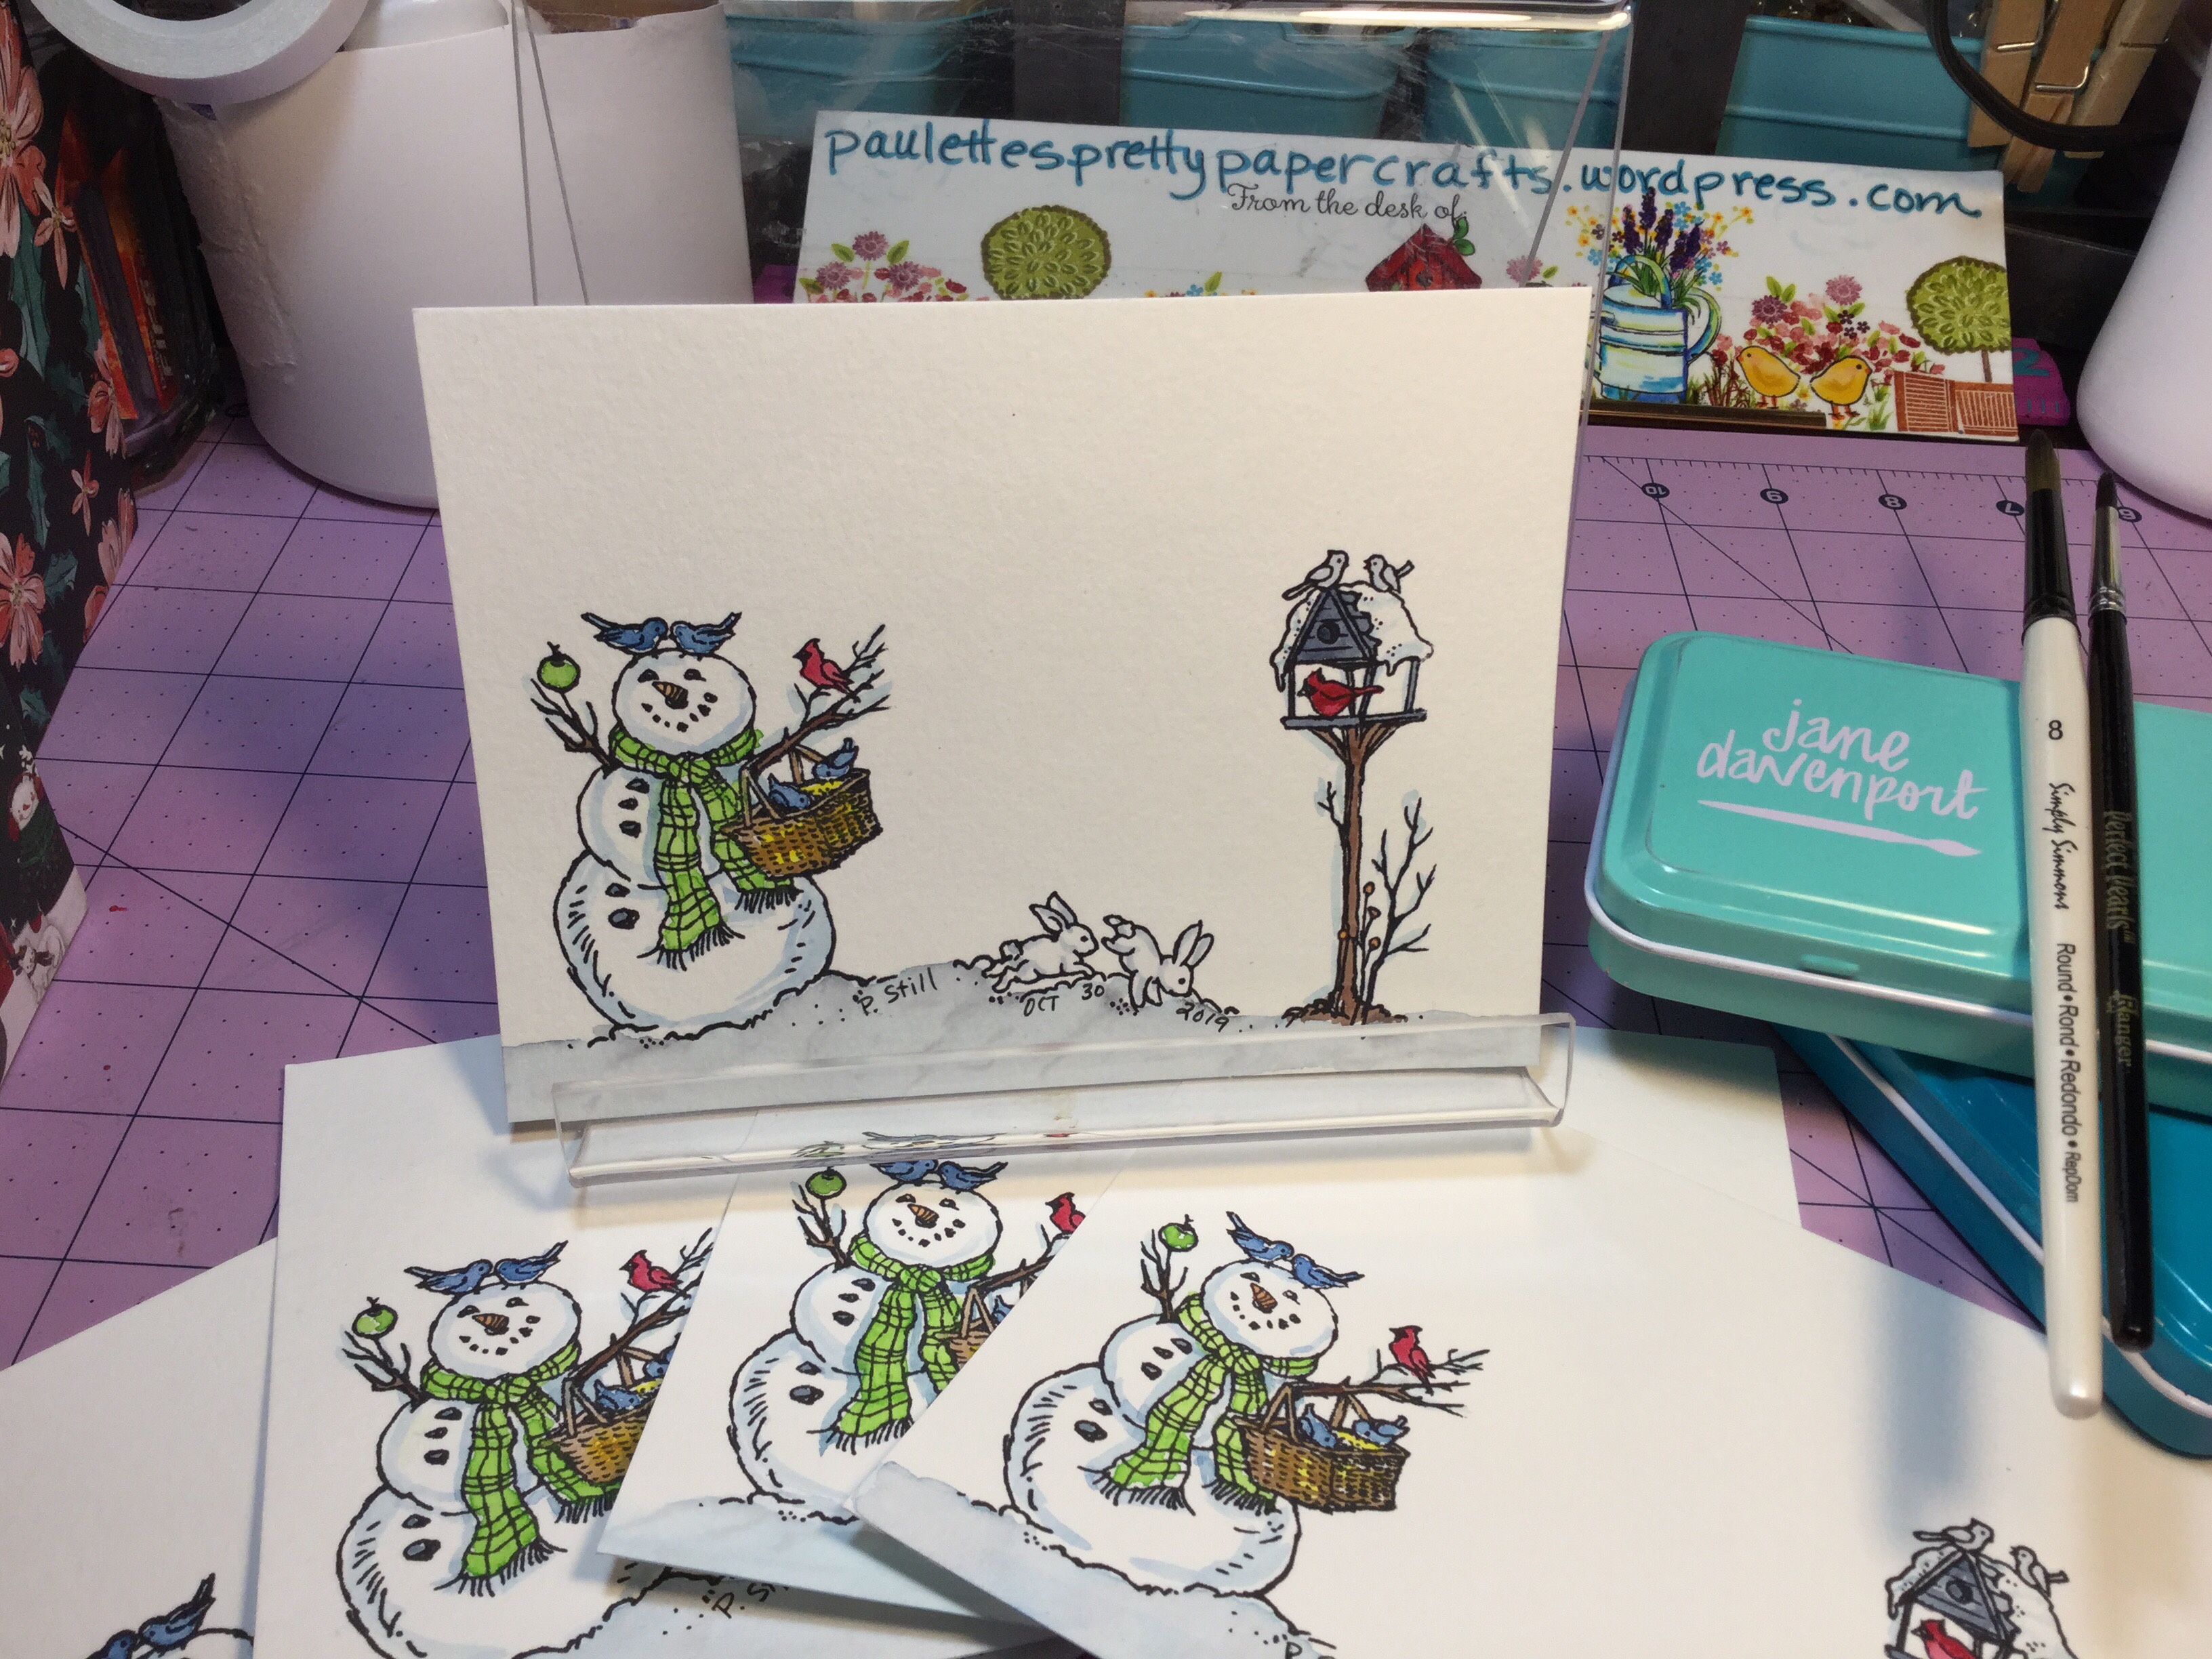
I stamped theses snowman scenes with Stampendous set called Cling Giving Snowmen CRS5108. I picked it up yesterday in Branson, MO at the Scrapbooks Forever Store.
Stamped in Ranger Archival Jet Black ink and colored with Jane Davenport water colors and a Simply Simmons Size 8 round brush for acrylic paints and a Perfect Pearls small round brush for the finer details.
I bough some new to me glue, Creatoogy Glitter and Sequin Glue at Michael’s Arts and Crafts the other day. And added some glitter.

Better with Glitter or Without? It’s hard to get a happy medium with glitter!
Have a Great Day!
Paulette
Hey, Crafters!! It’s time for Kathy Racoosin’s 30 Day Color Challenge!! Just click on her name to go to her blog and see what it’s all about.
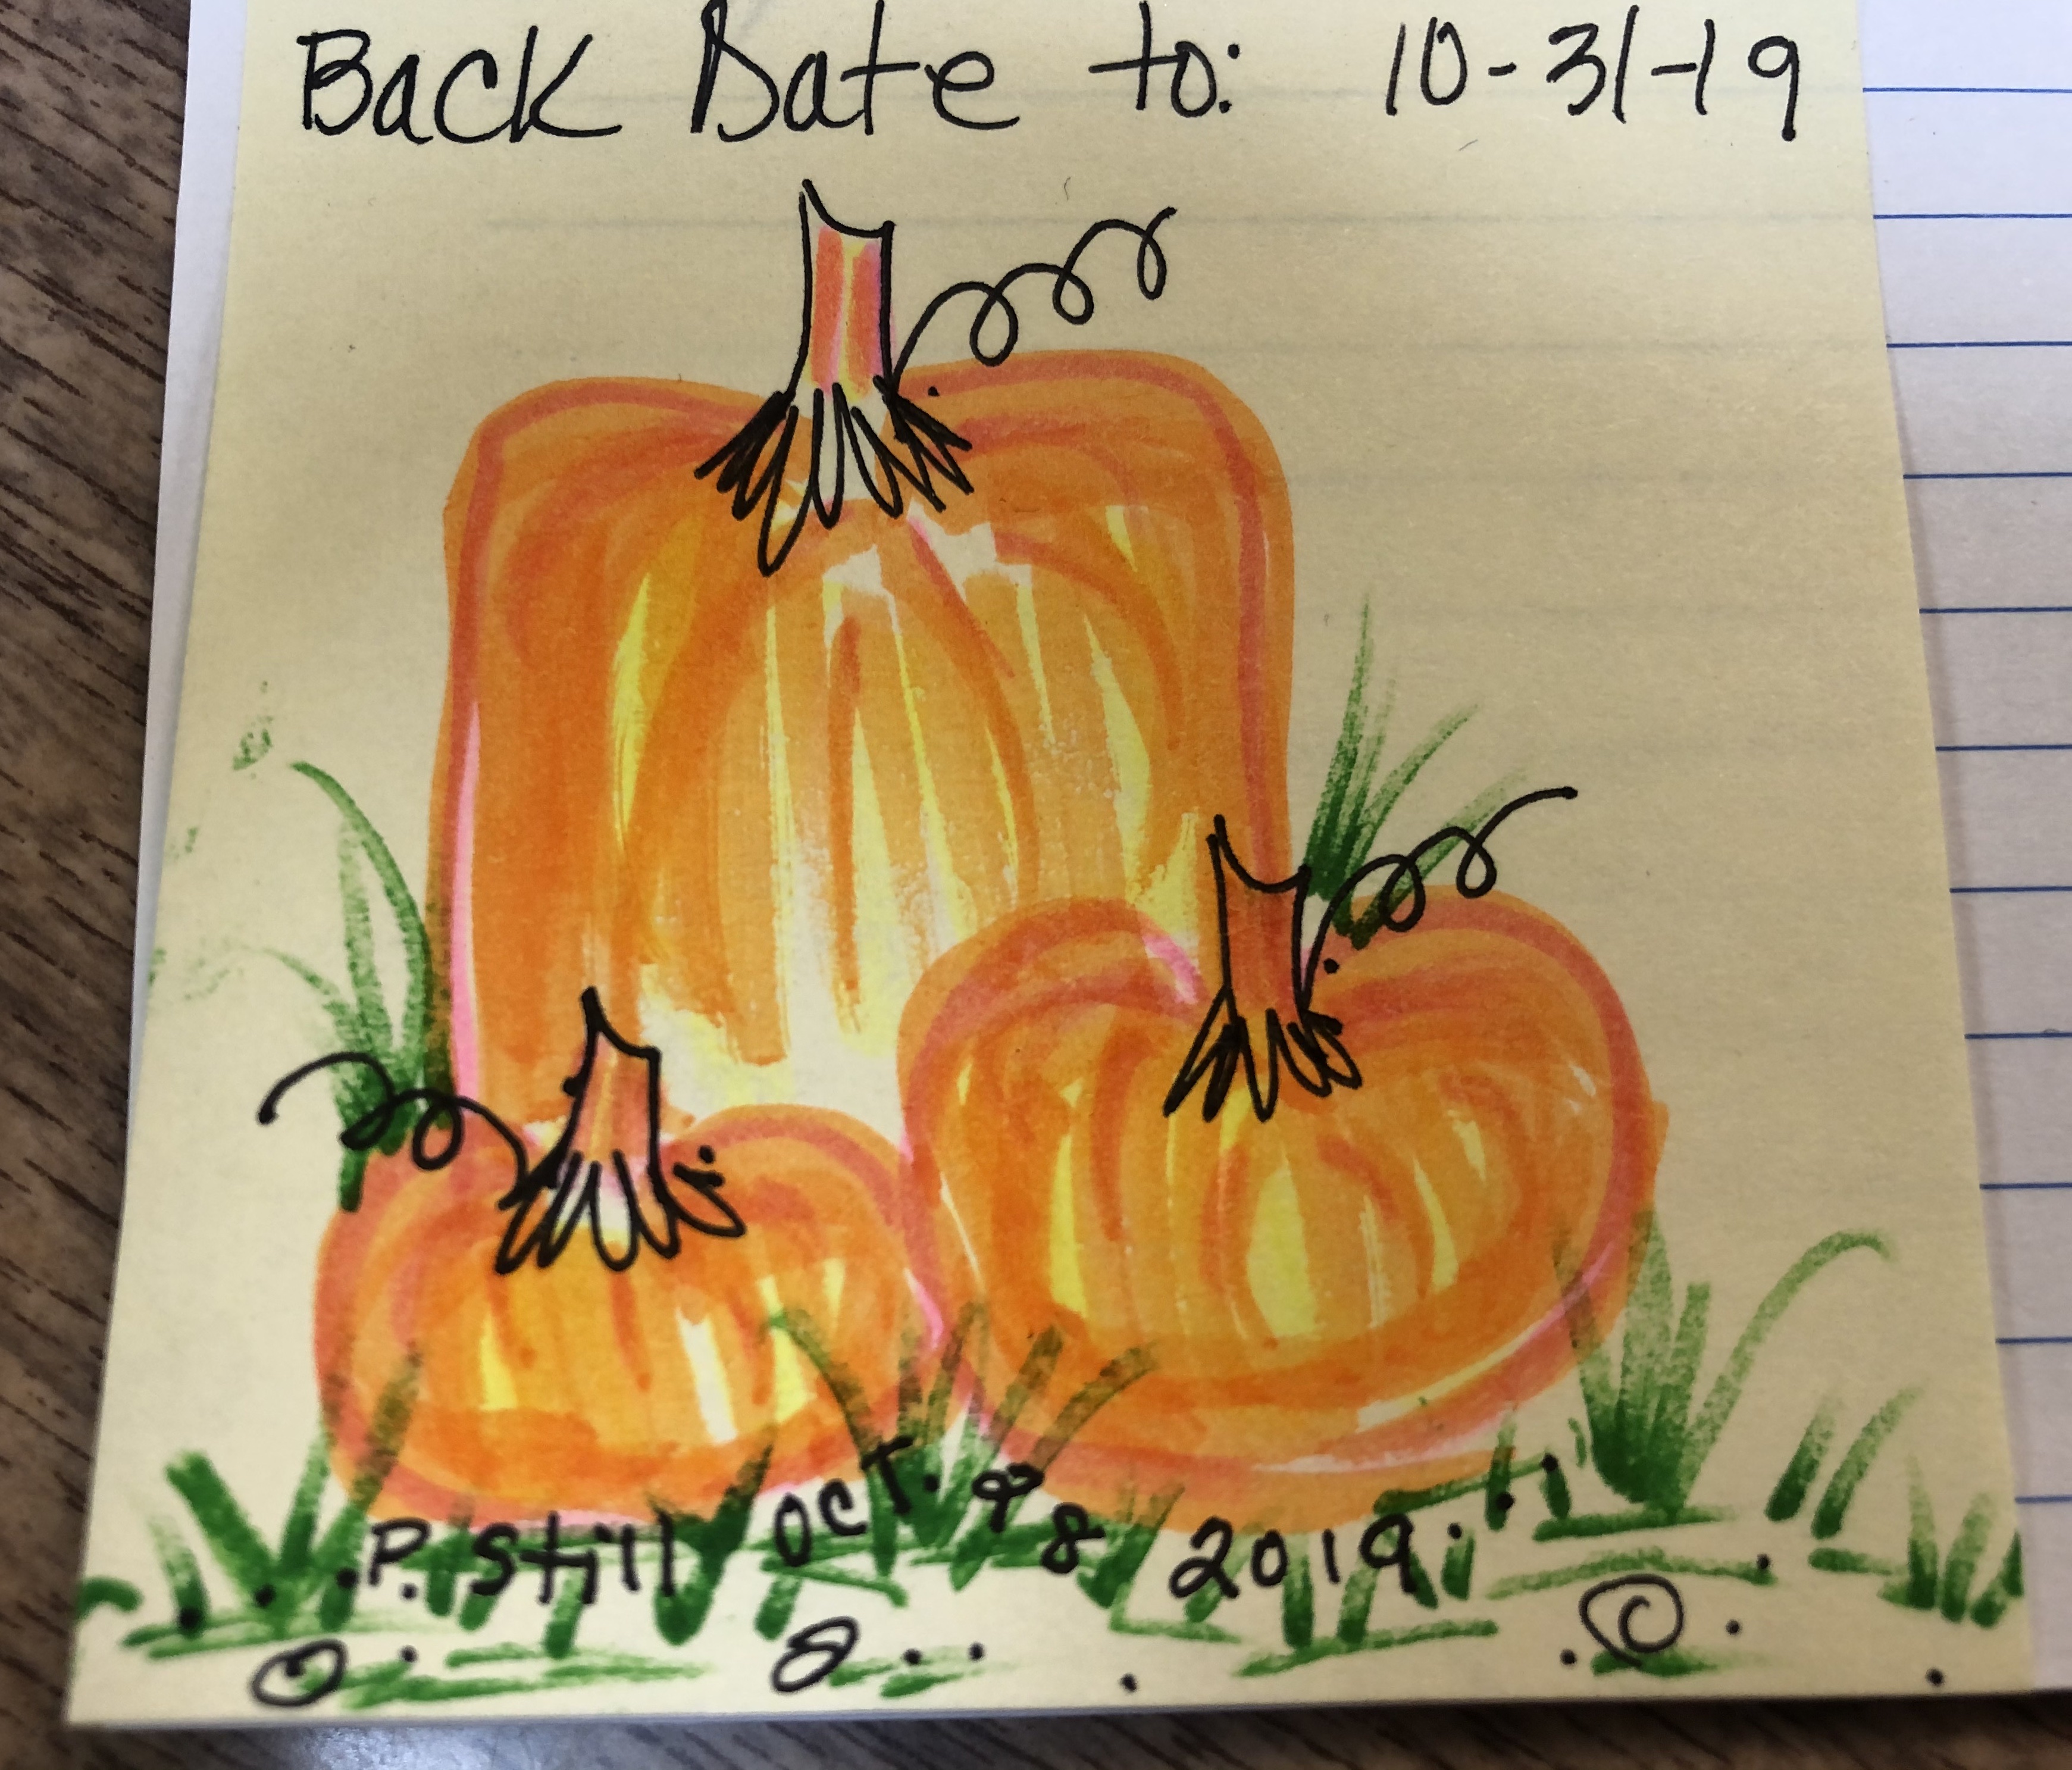
This is what I colored today! When the only coloring medium you have at your finger tips is Highlighters!! And you wish you were at home in your craft room coloring!! LOL 😂
It has been so long since I blogged that I almost forgot how to do it. 
I hope that you all are having a great fall, getting ready for Halloween and then Thanksgiving is quickly upon us.
I am starting to work on Christmas gifts at the end of October which is so out of character for me.
Thanks for stopping by.
Paulette
Hey Crafters!! I hope you all had a great memorial day. And enjoyed this 3 day weekend. Thank you to all the service men and women who have given their time and their lives so that the rest of us can enjoy doing what we love and live the American dream. Don’t forget to say, thank you.

Love this old weathered piece of wood I painted in 2001. It hung on my door bell for quite a while. Wow, 9-11. I didn’t realize until I was posting this evening. I cried. I prayed. I cried more. I made this sign. I cried again and again. Everyone was putting a U.S. flag on their front porches. I didn’t have one that was suitable for outside, so I improvised.
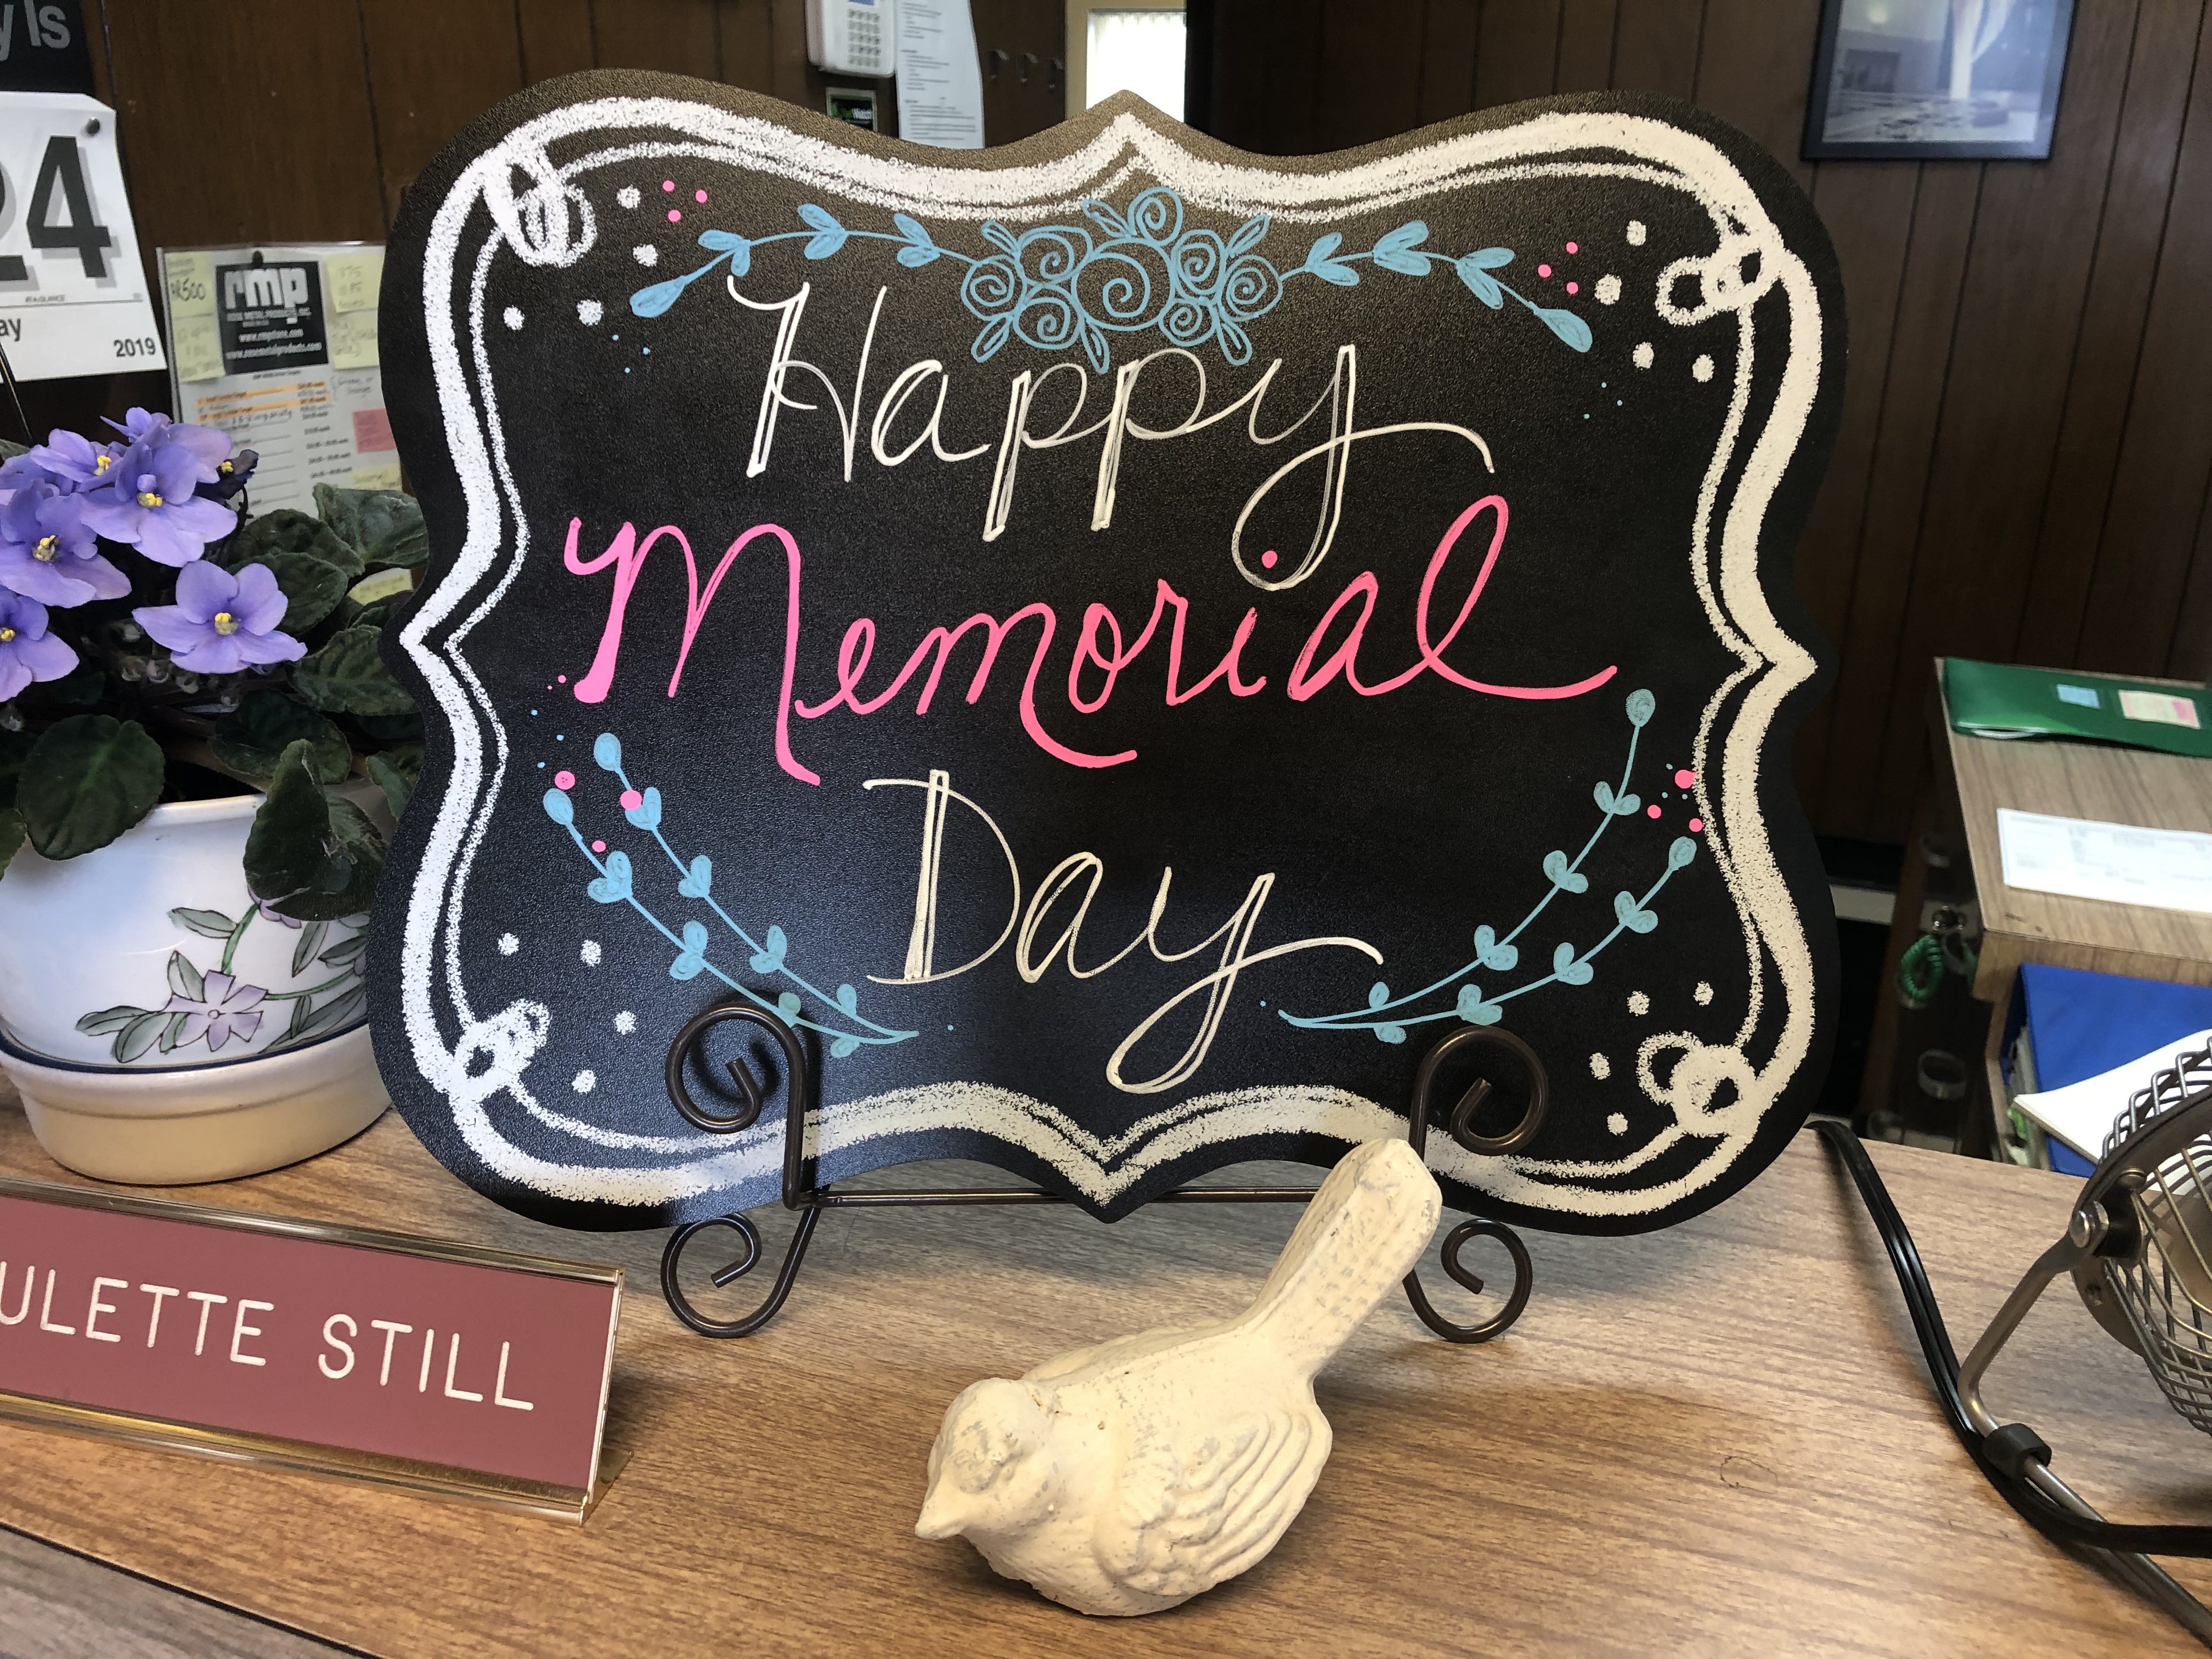
I’m in love with these plastic chalk boards and the liquid chalk markers. They are so much fun. I’ve been decorating every holiday for my desk at work. This one came from Hobby Lobby at 50 o/o off, so it was $4.00. I got my markers at Walmart in the craft department. I love that it could be used sideways or standing up tall.
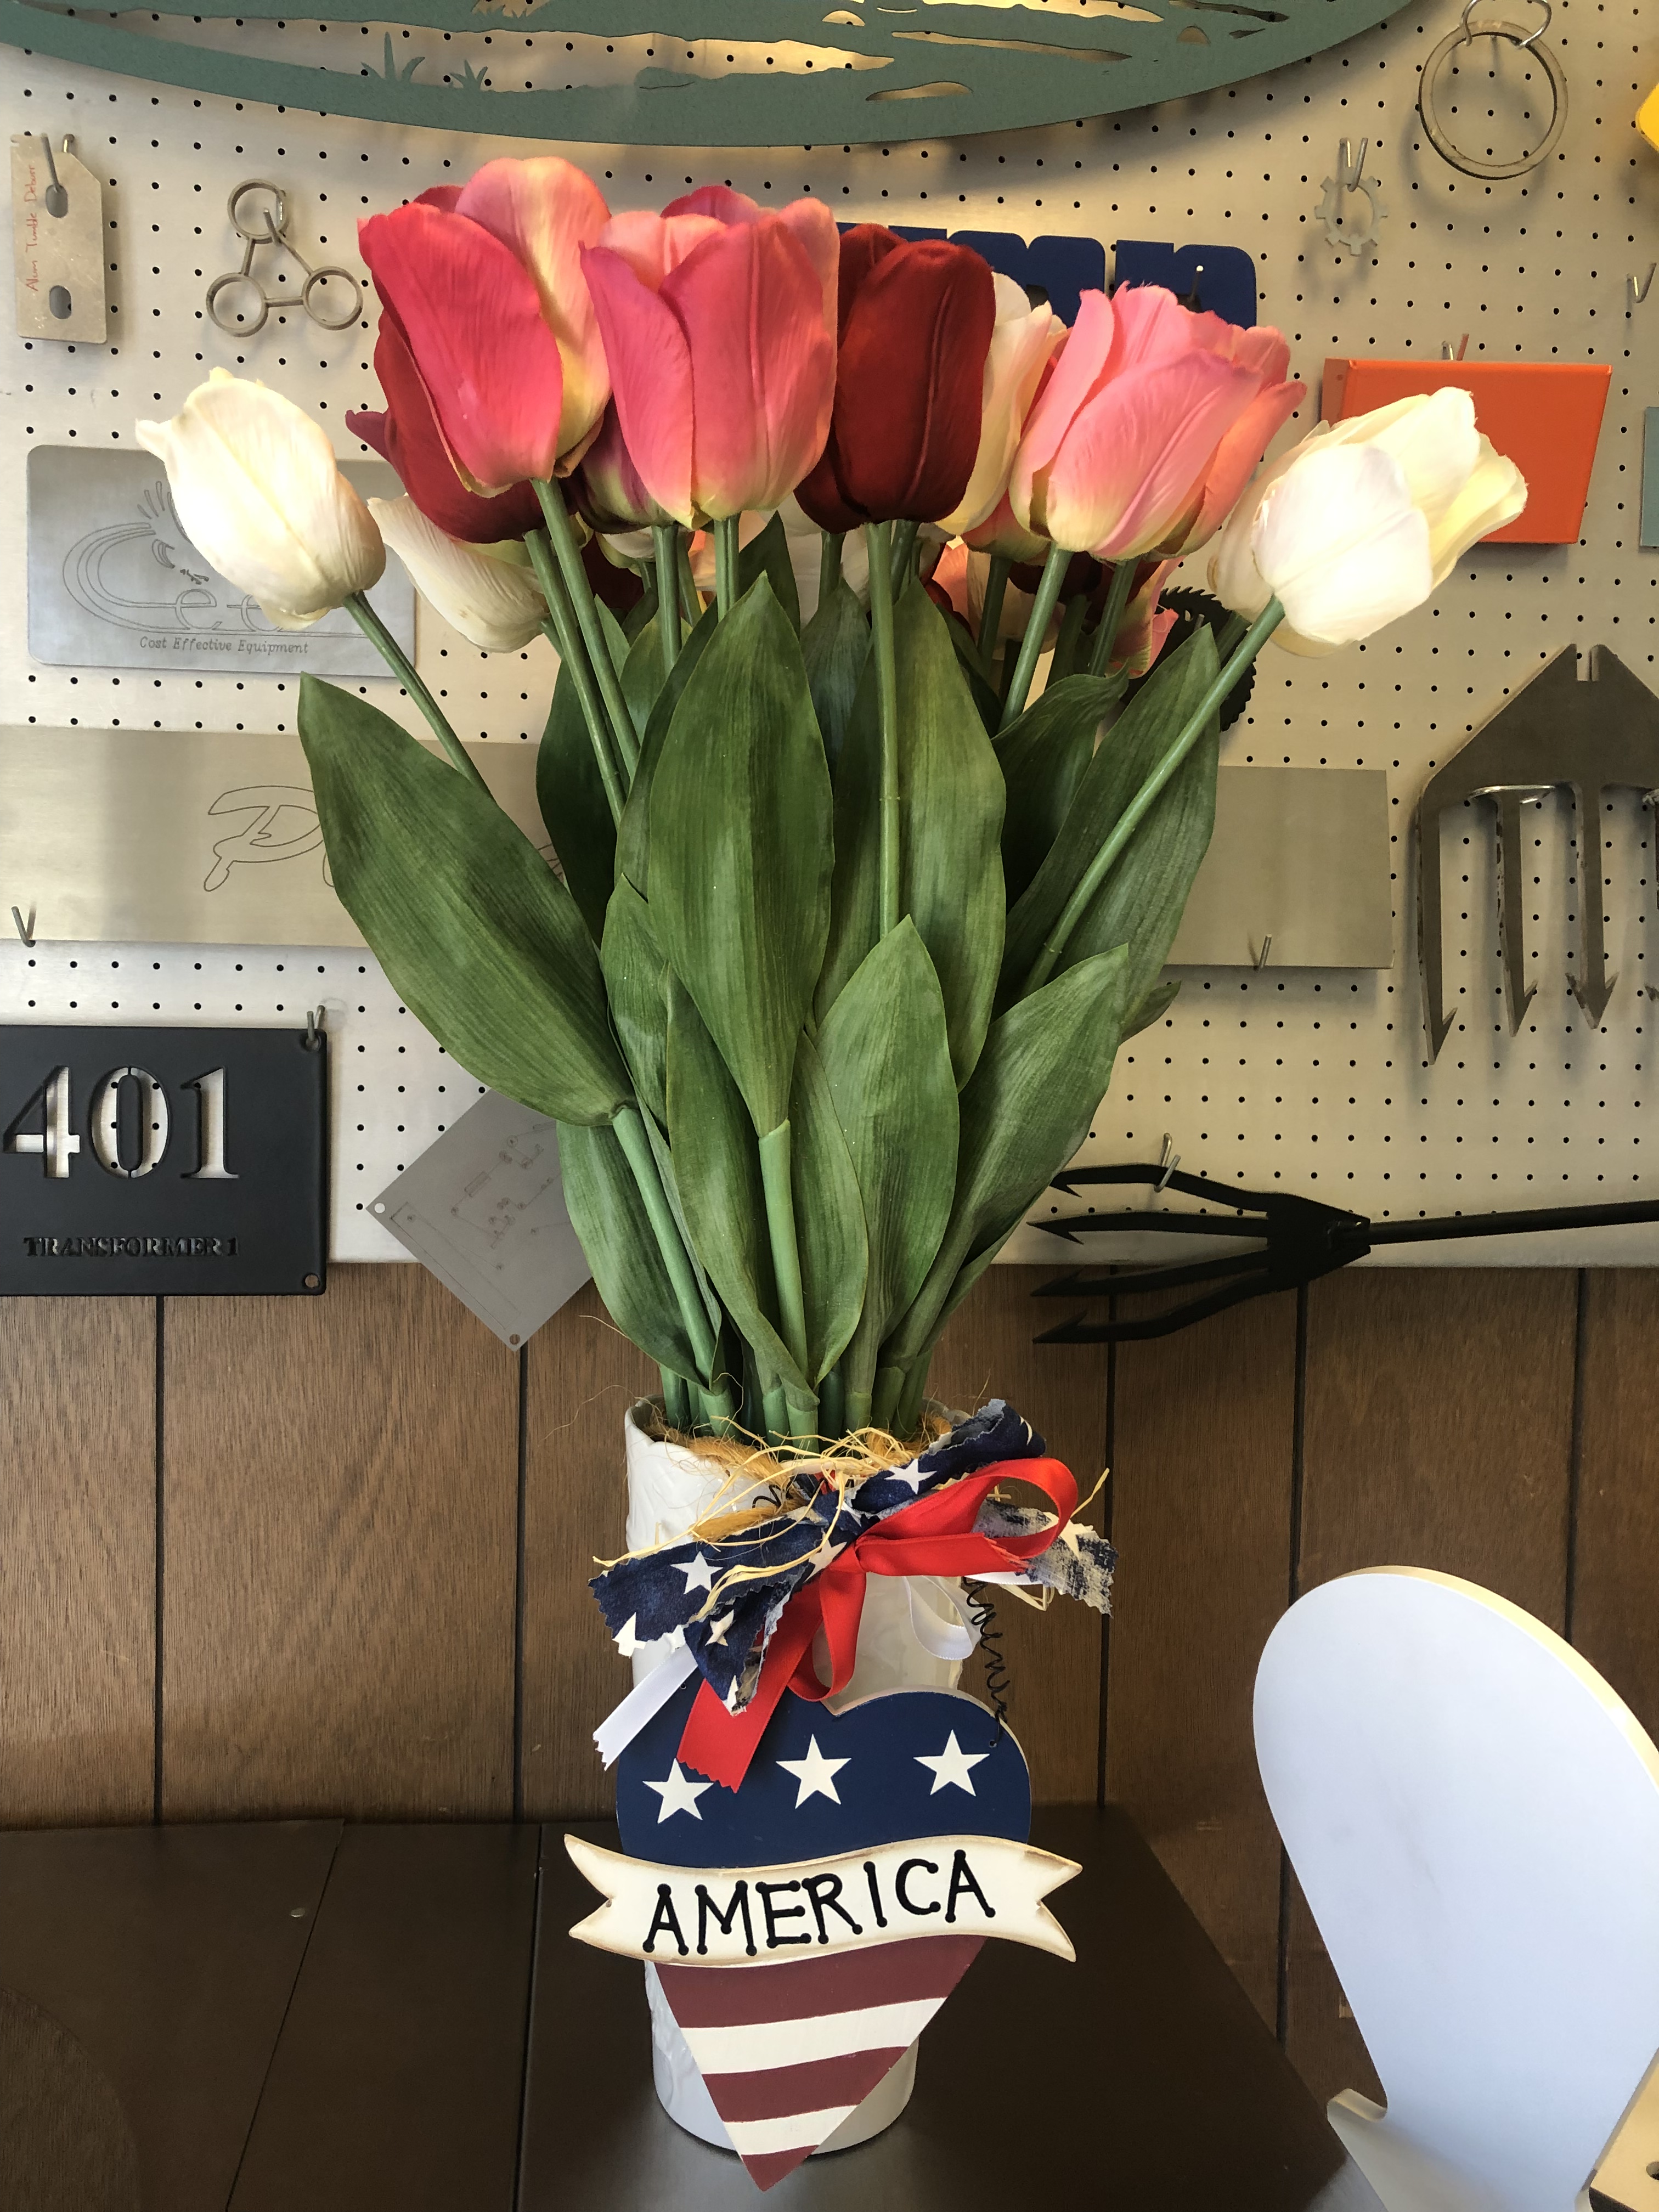
Some very realistic tulips from a craft store dumpster about 6 years ago. They are about 2 feet tall. You can’t see this beautiful ceramic vase. This photo does not do them justice. A cute wood America sign
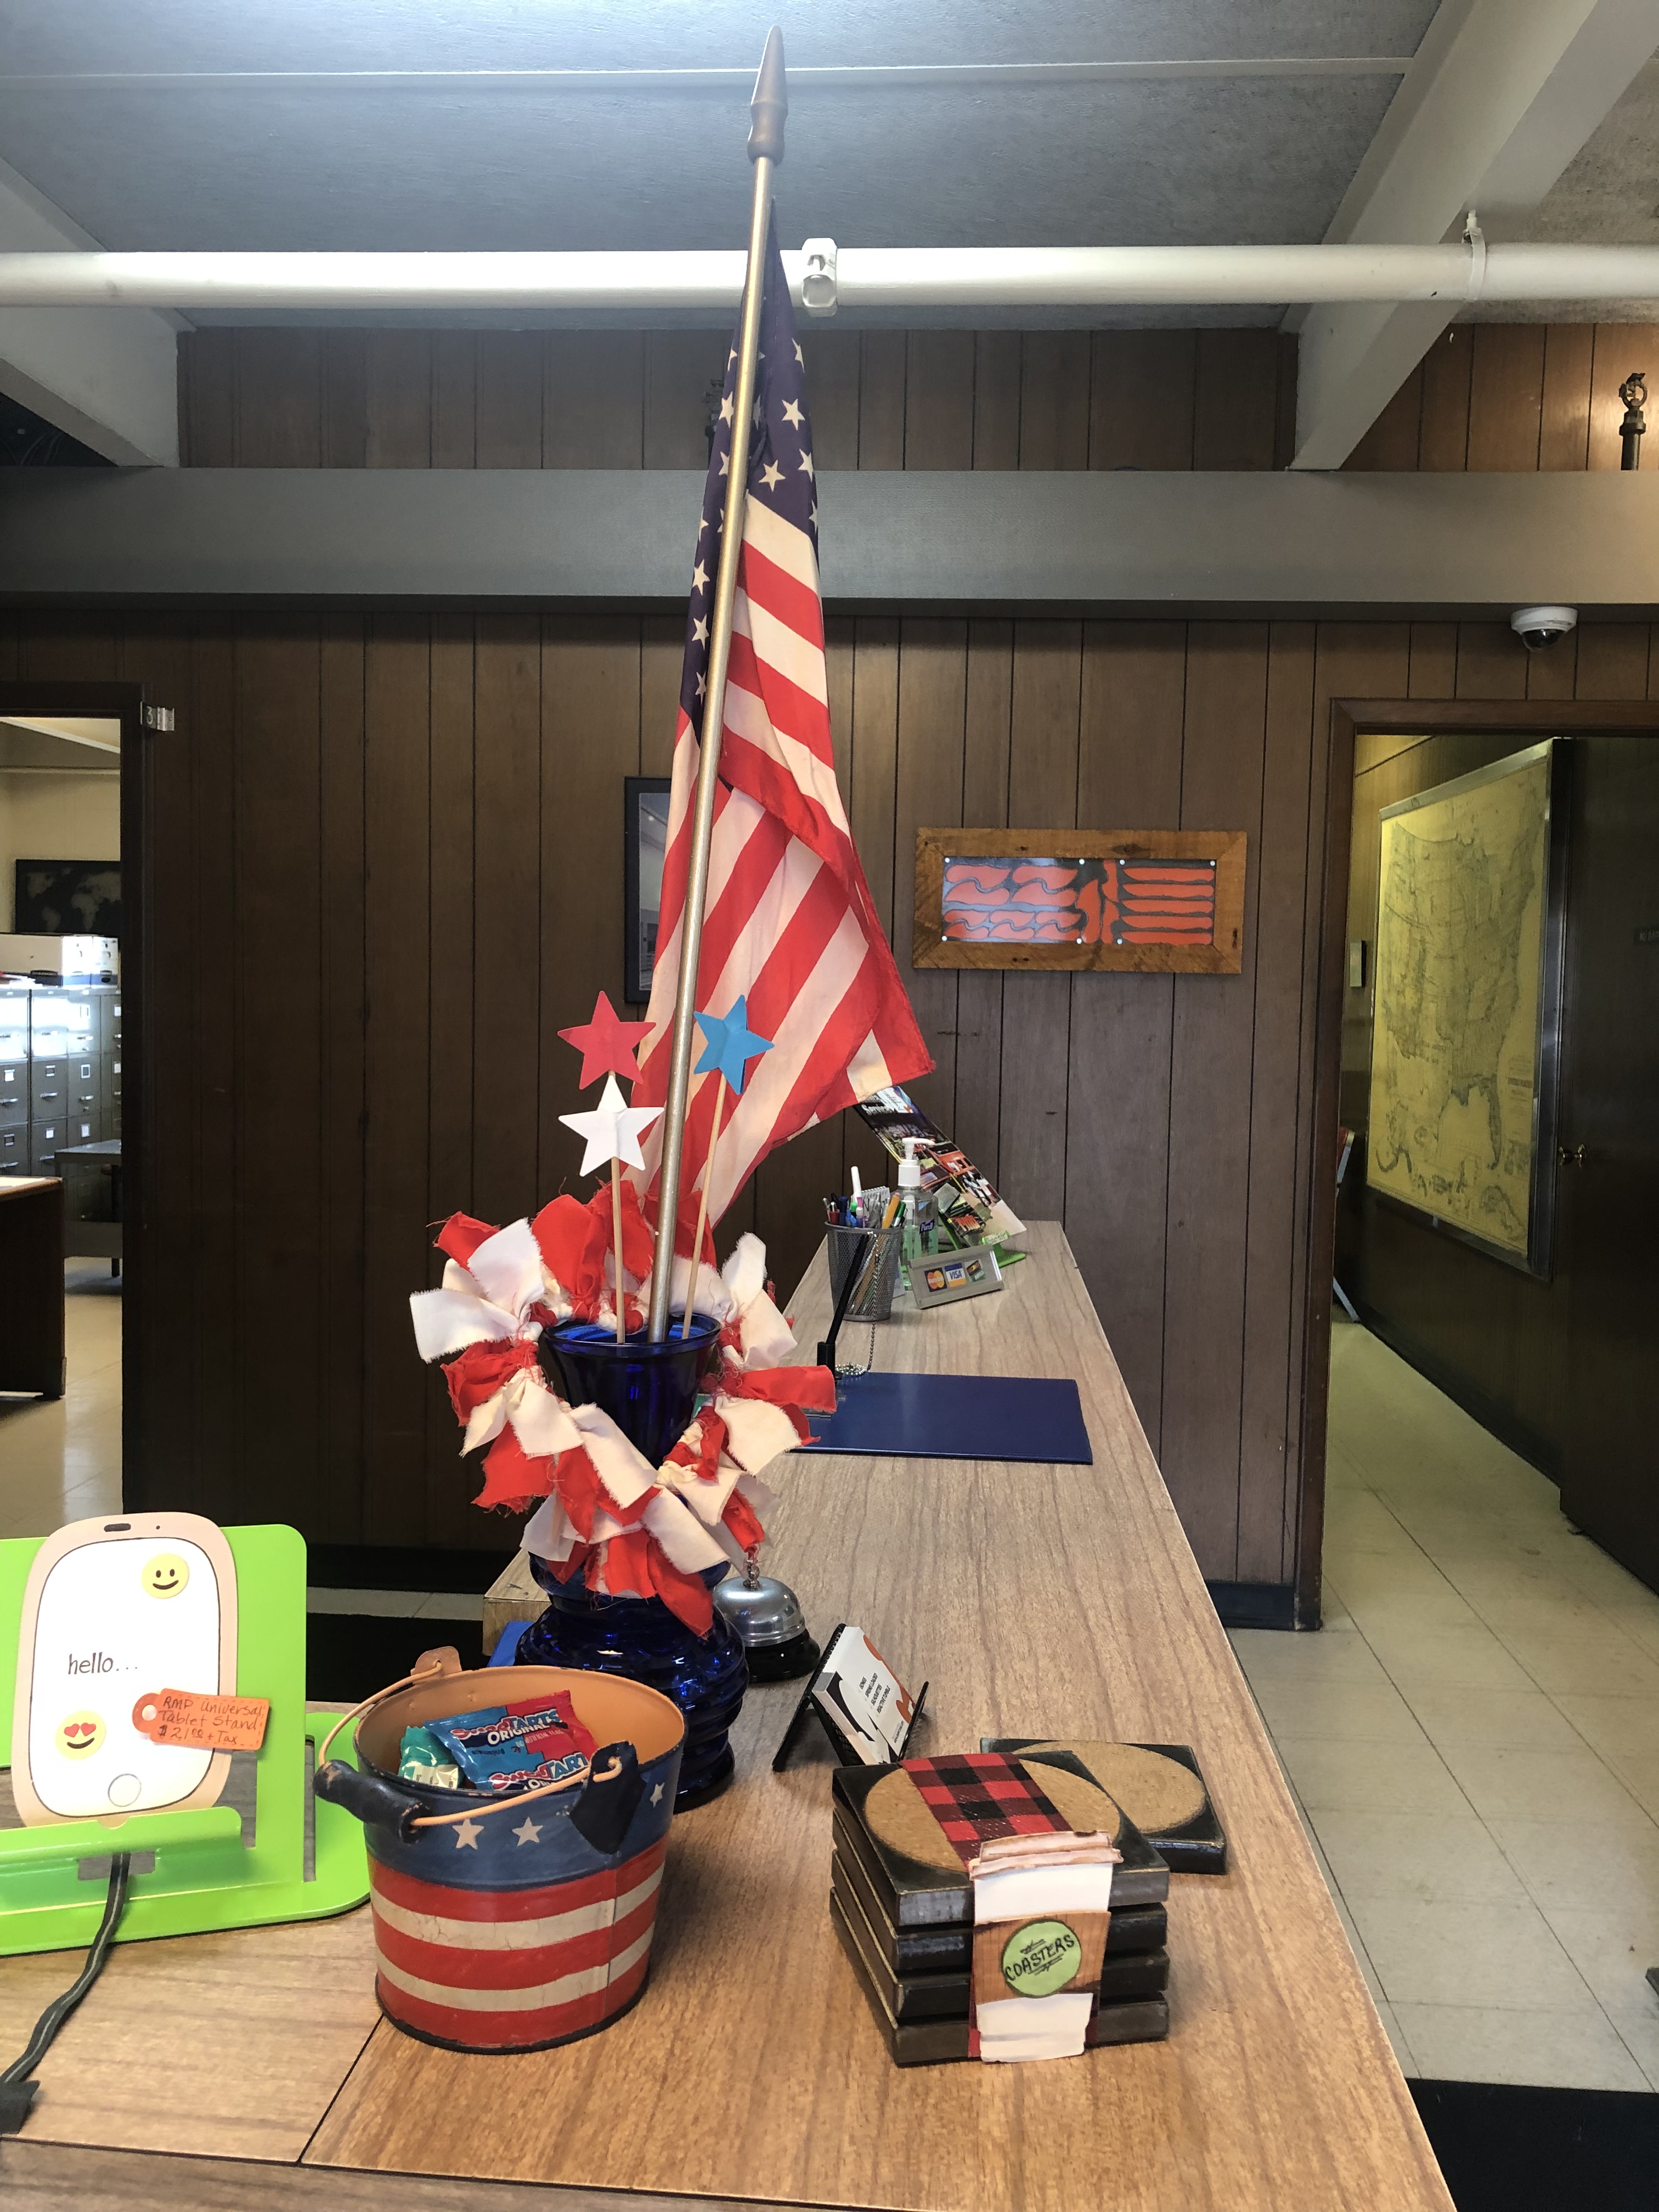
A very vintage flag in a blue vase full of craft flat marbles, wire heart with torn stripes of fabric (that I usually display on Valentines), some die cut stars on skewers from crafts past. A vintage looking bucket of candy.
Theses items displayed make my heart very happy.
Paulette
Hey Crafters!! Happy Mother’s Day!! I hope you have a Wonderful day no matter what you do or who you are with.
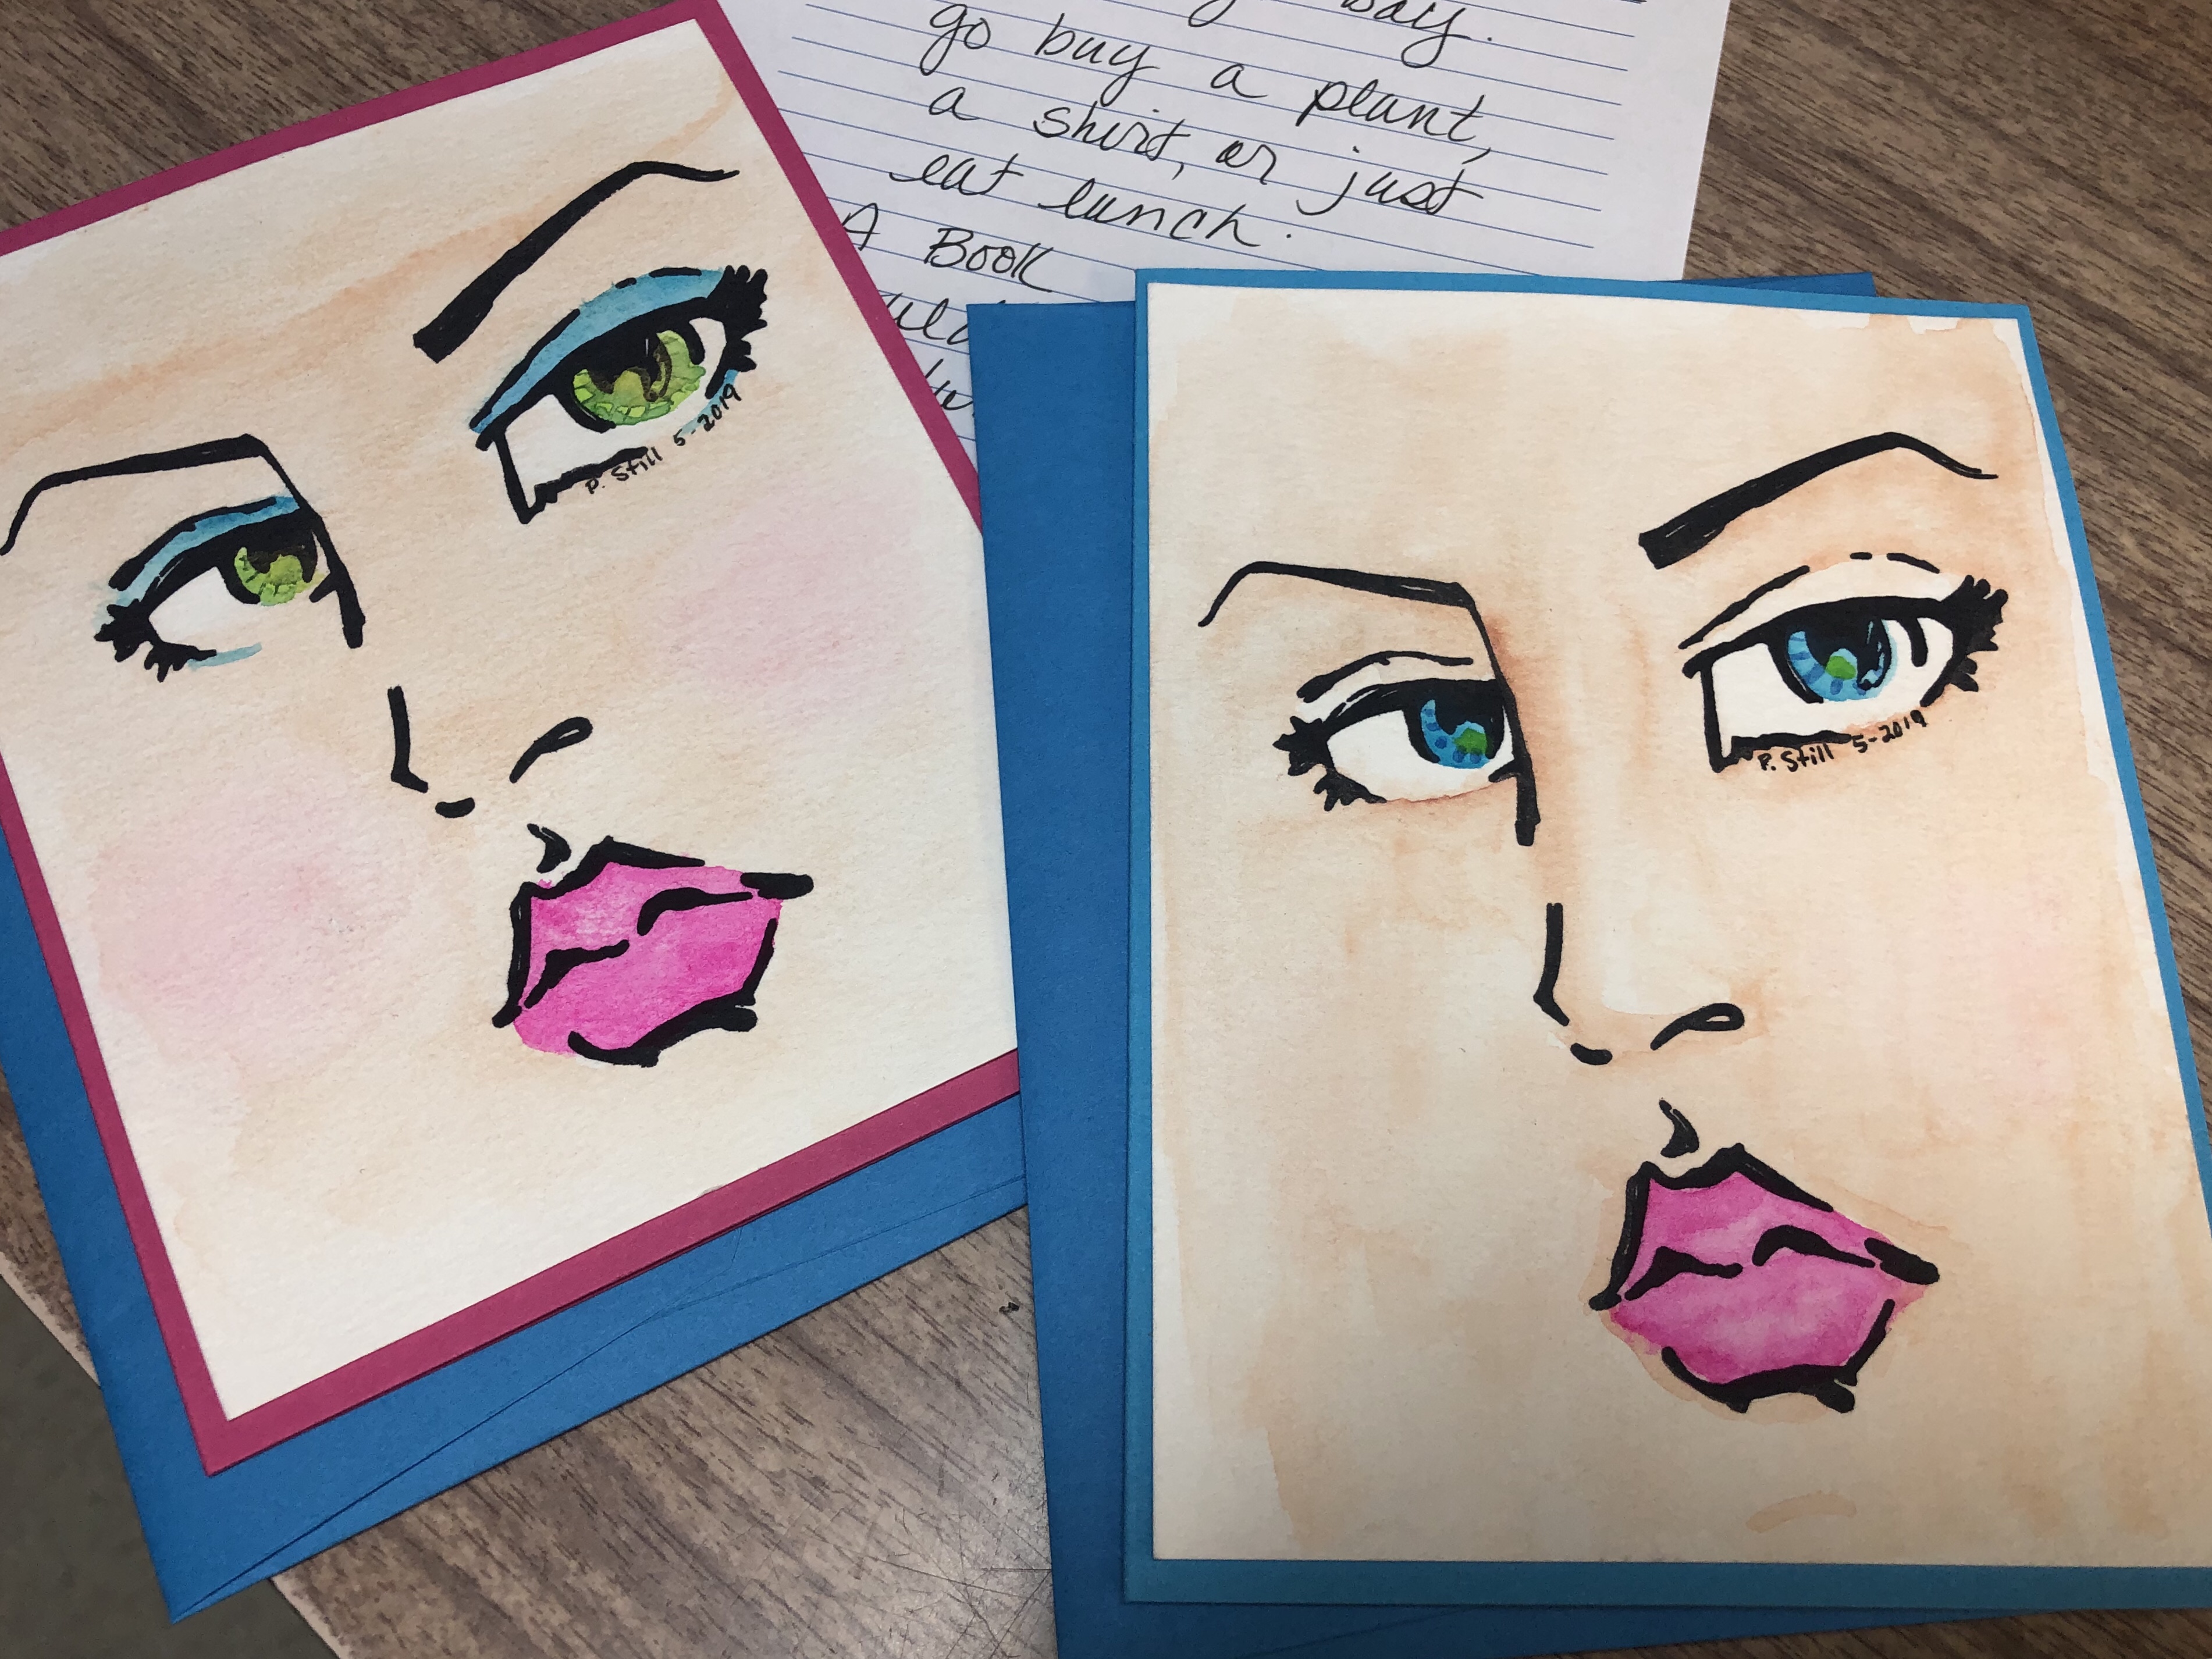 I played around with these Jane Davenport Faces! They are so much fun. I experimented with her water color paints in the cute little artist travel tins.
These went to my lovely Mother in law and her mom. Grandma got the one without eye shadow, she’s 94 or 95.
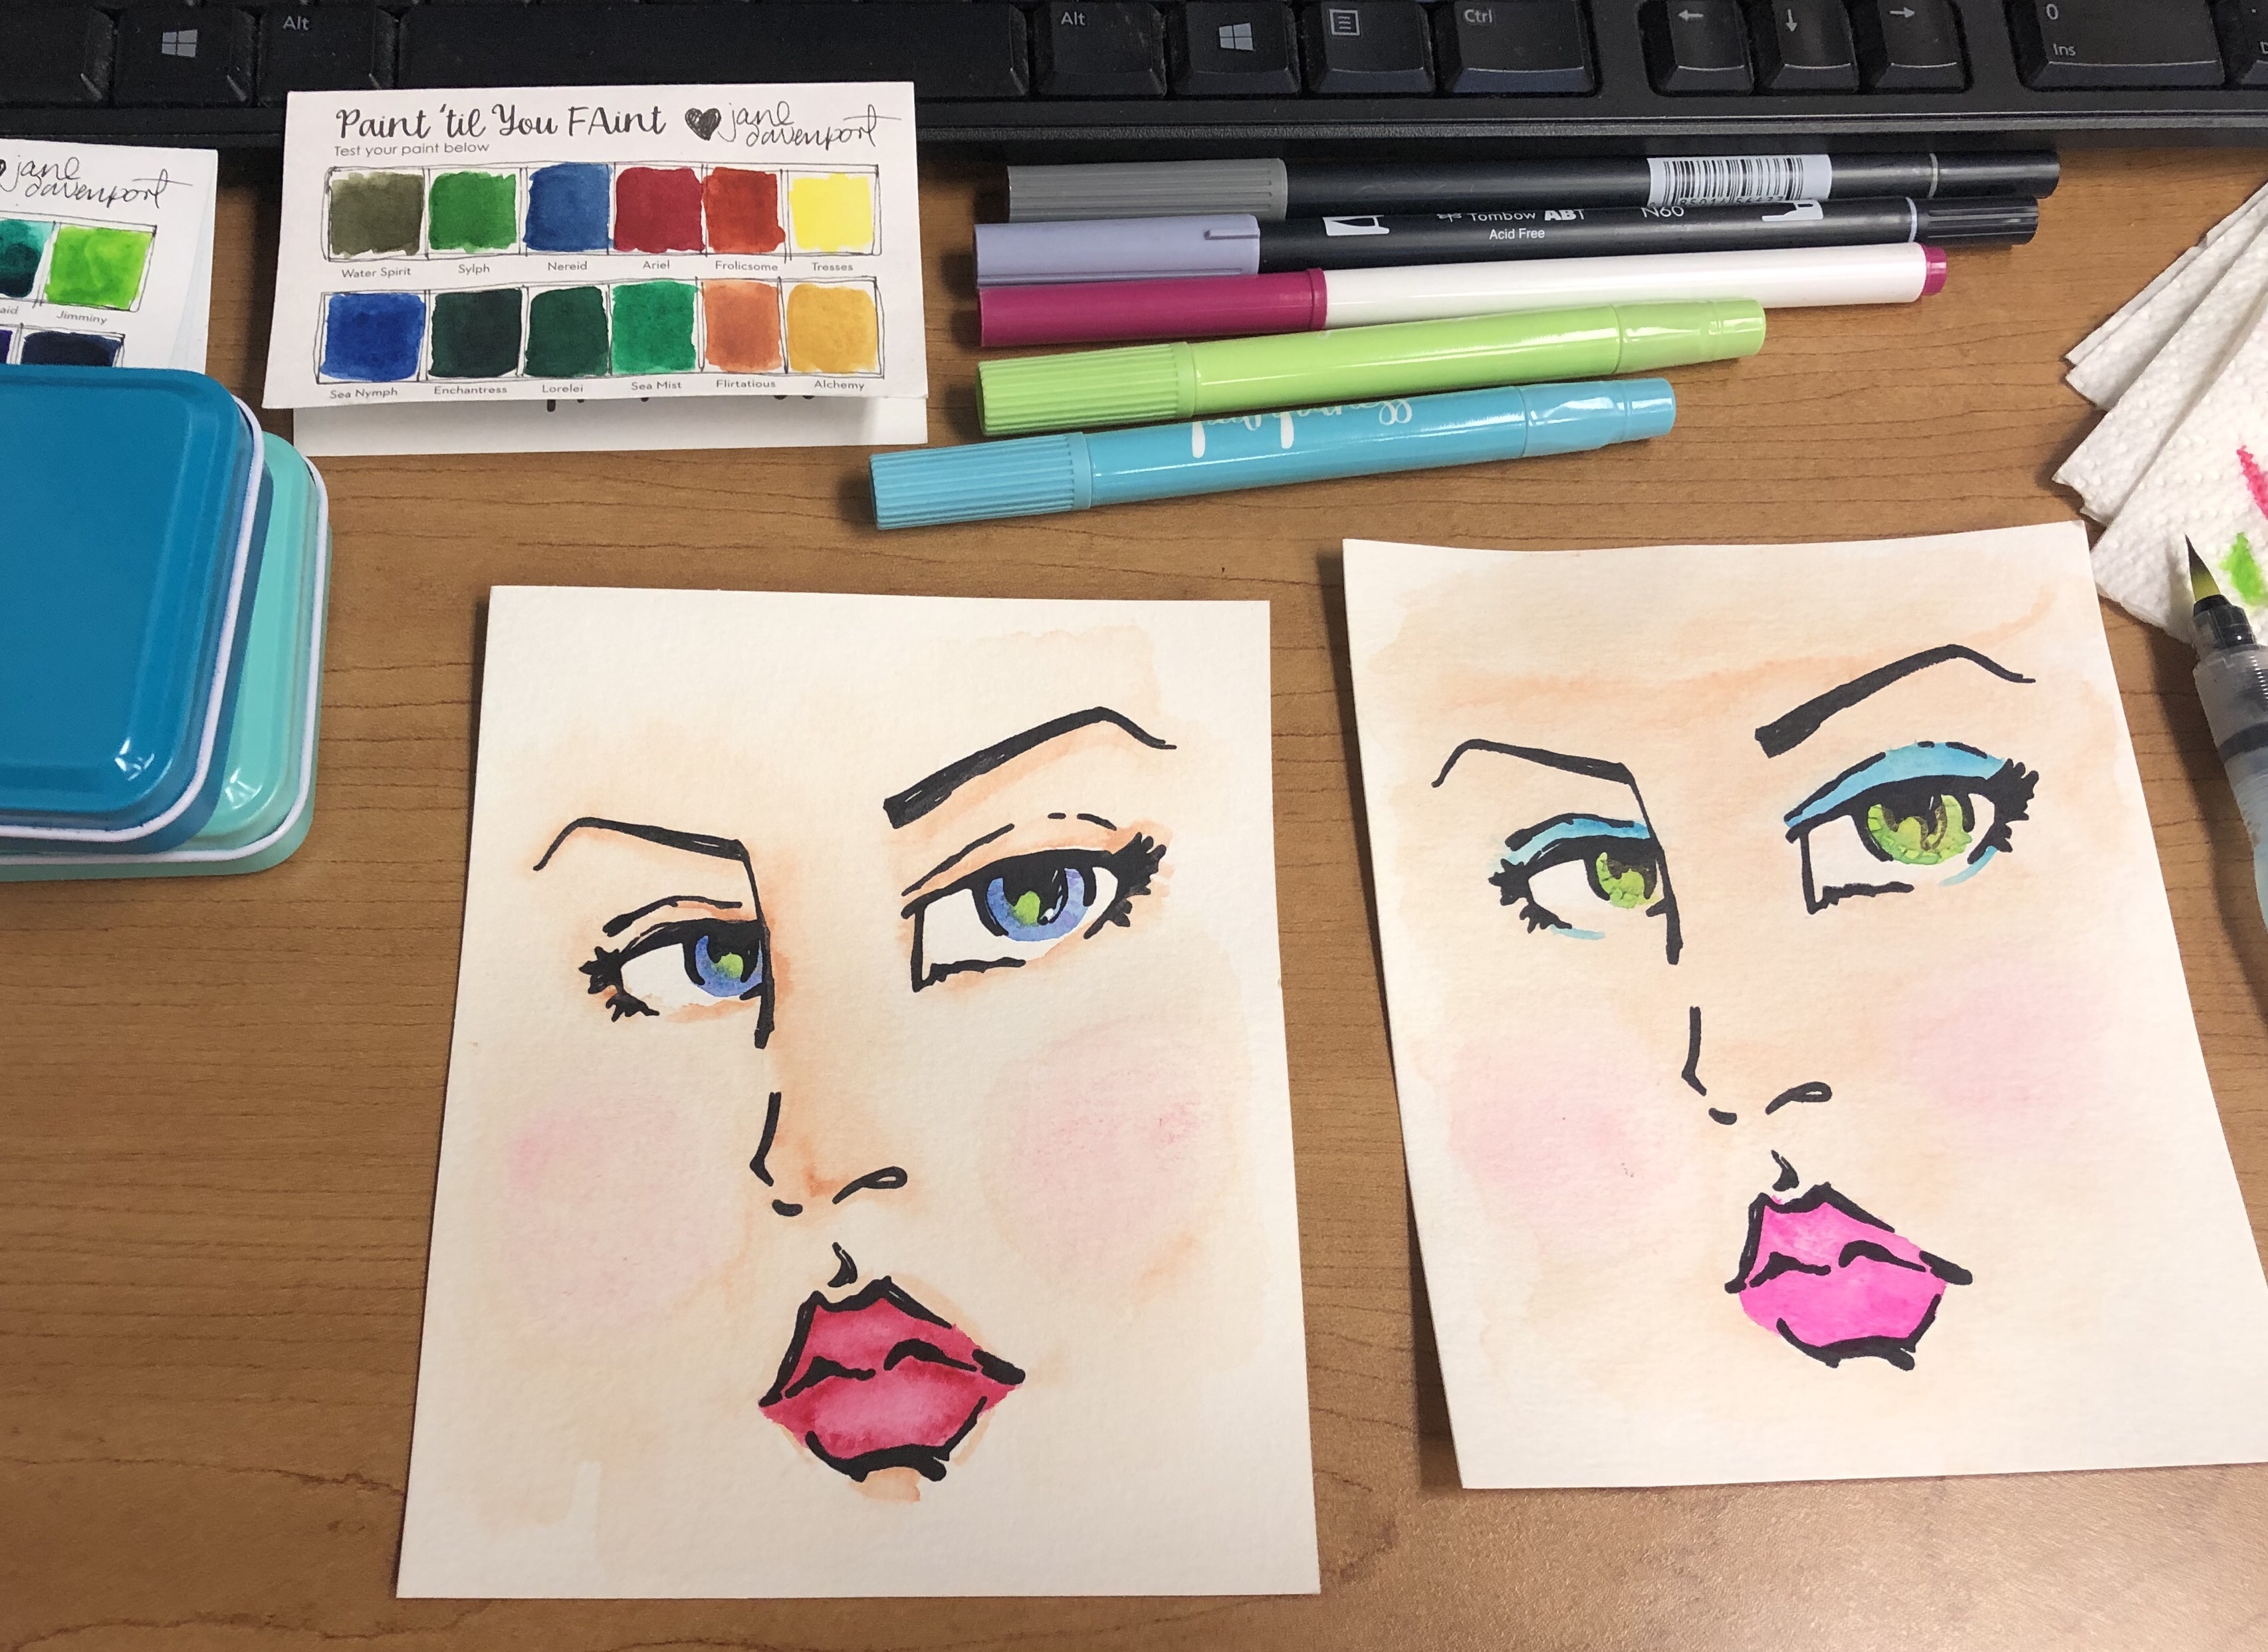 As soon as the paint touches the paper, they come to life. I was experimenting during lunch at work and people were walking by, saying, Wow, what’s that?!
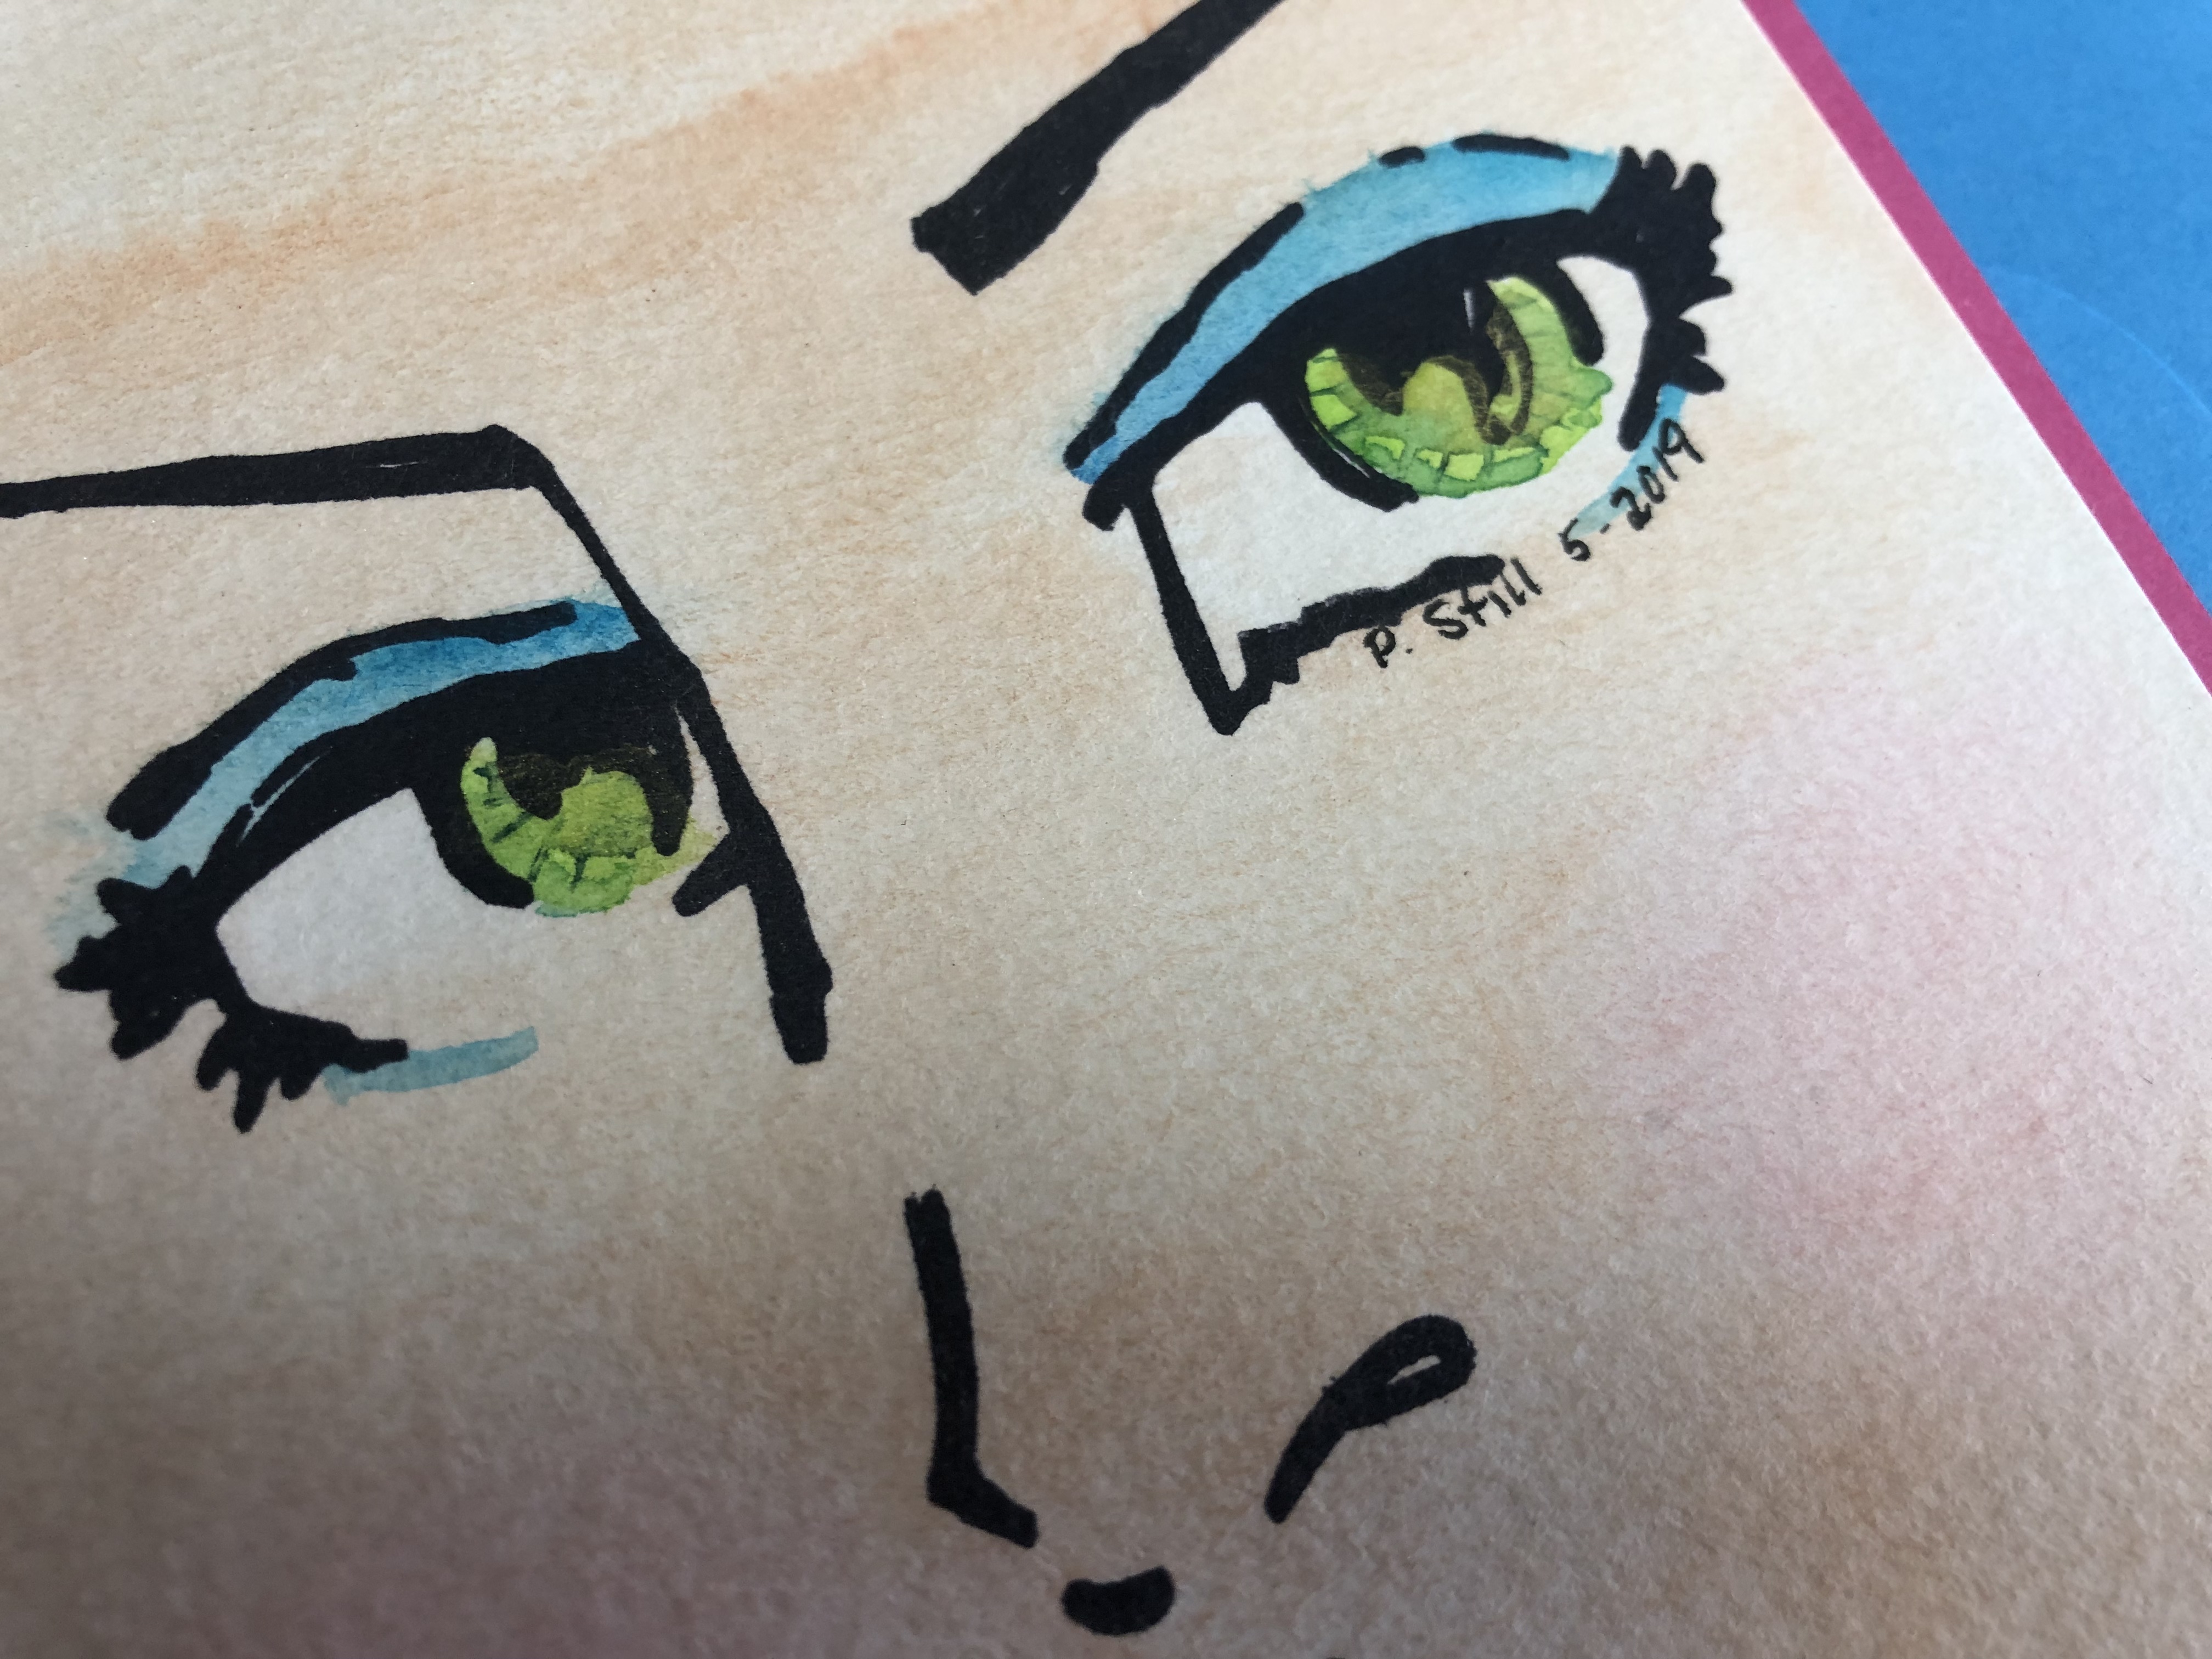
I decided to sign them under the bigger eye on the right.

Purple eye shadow, for my mama who loves purple.
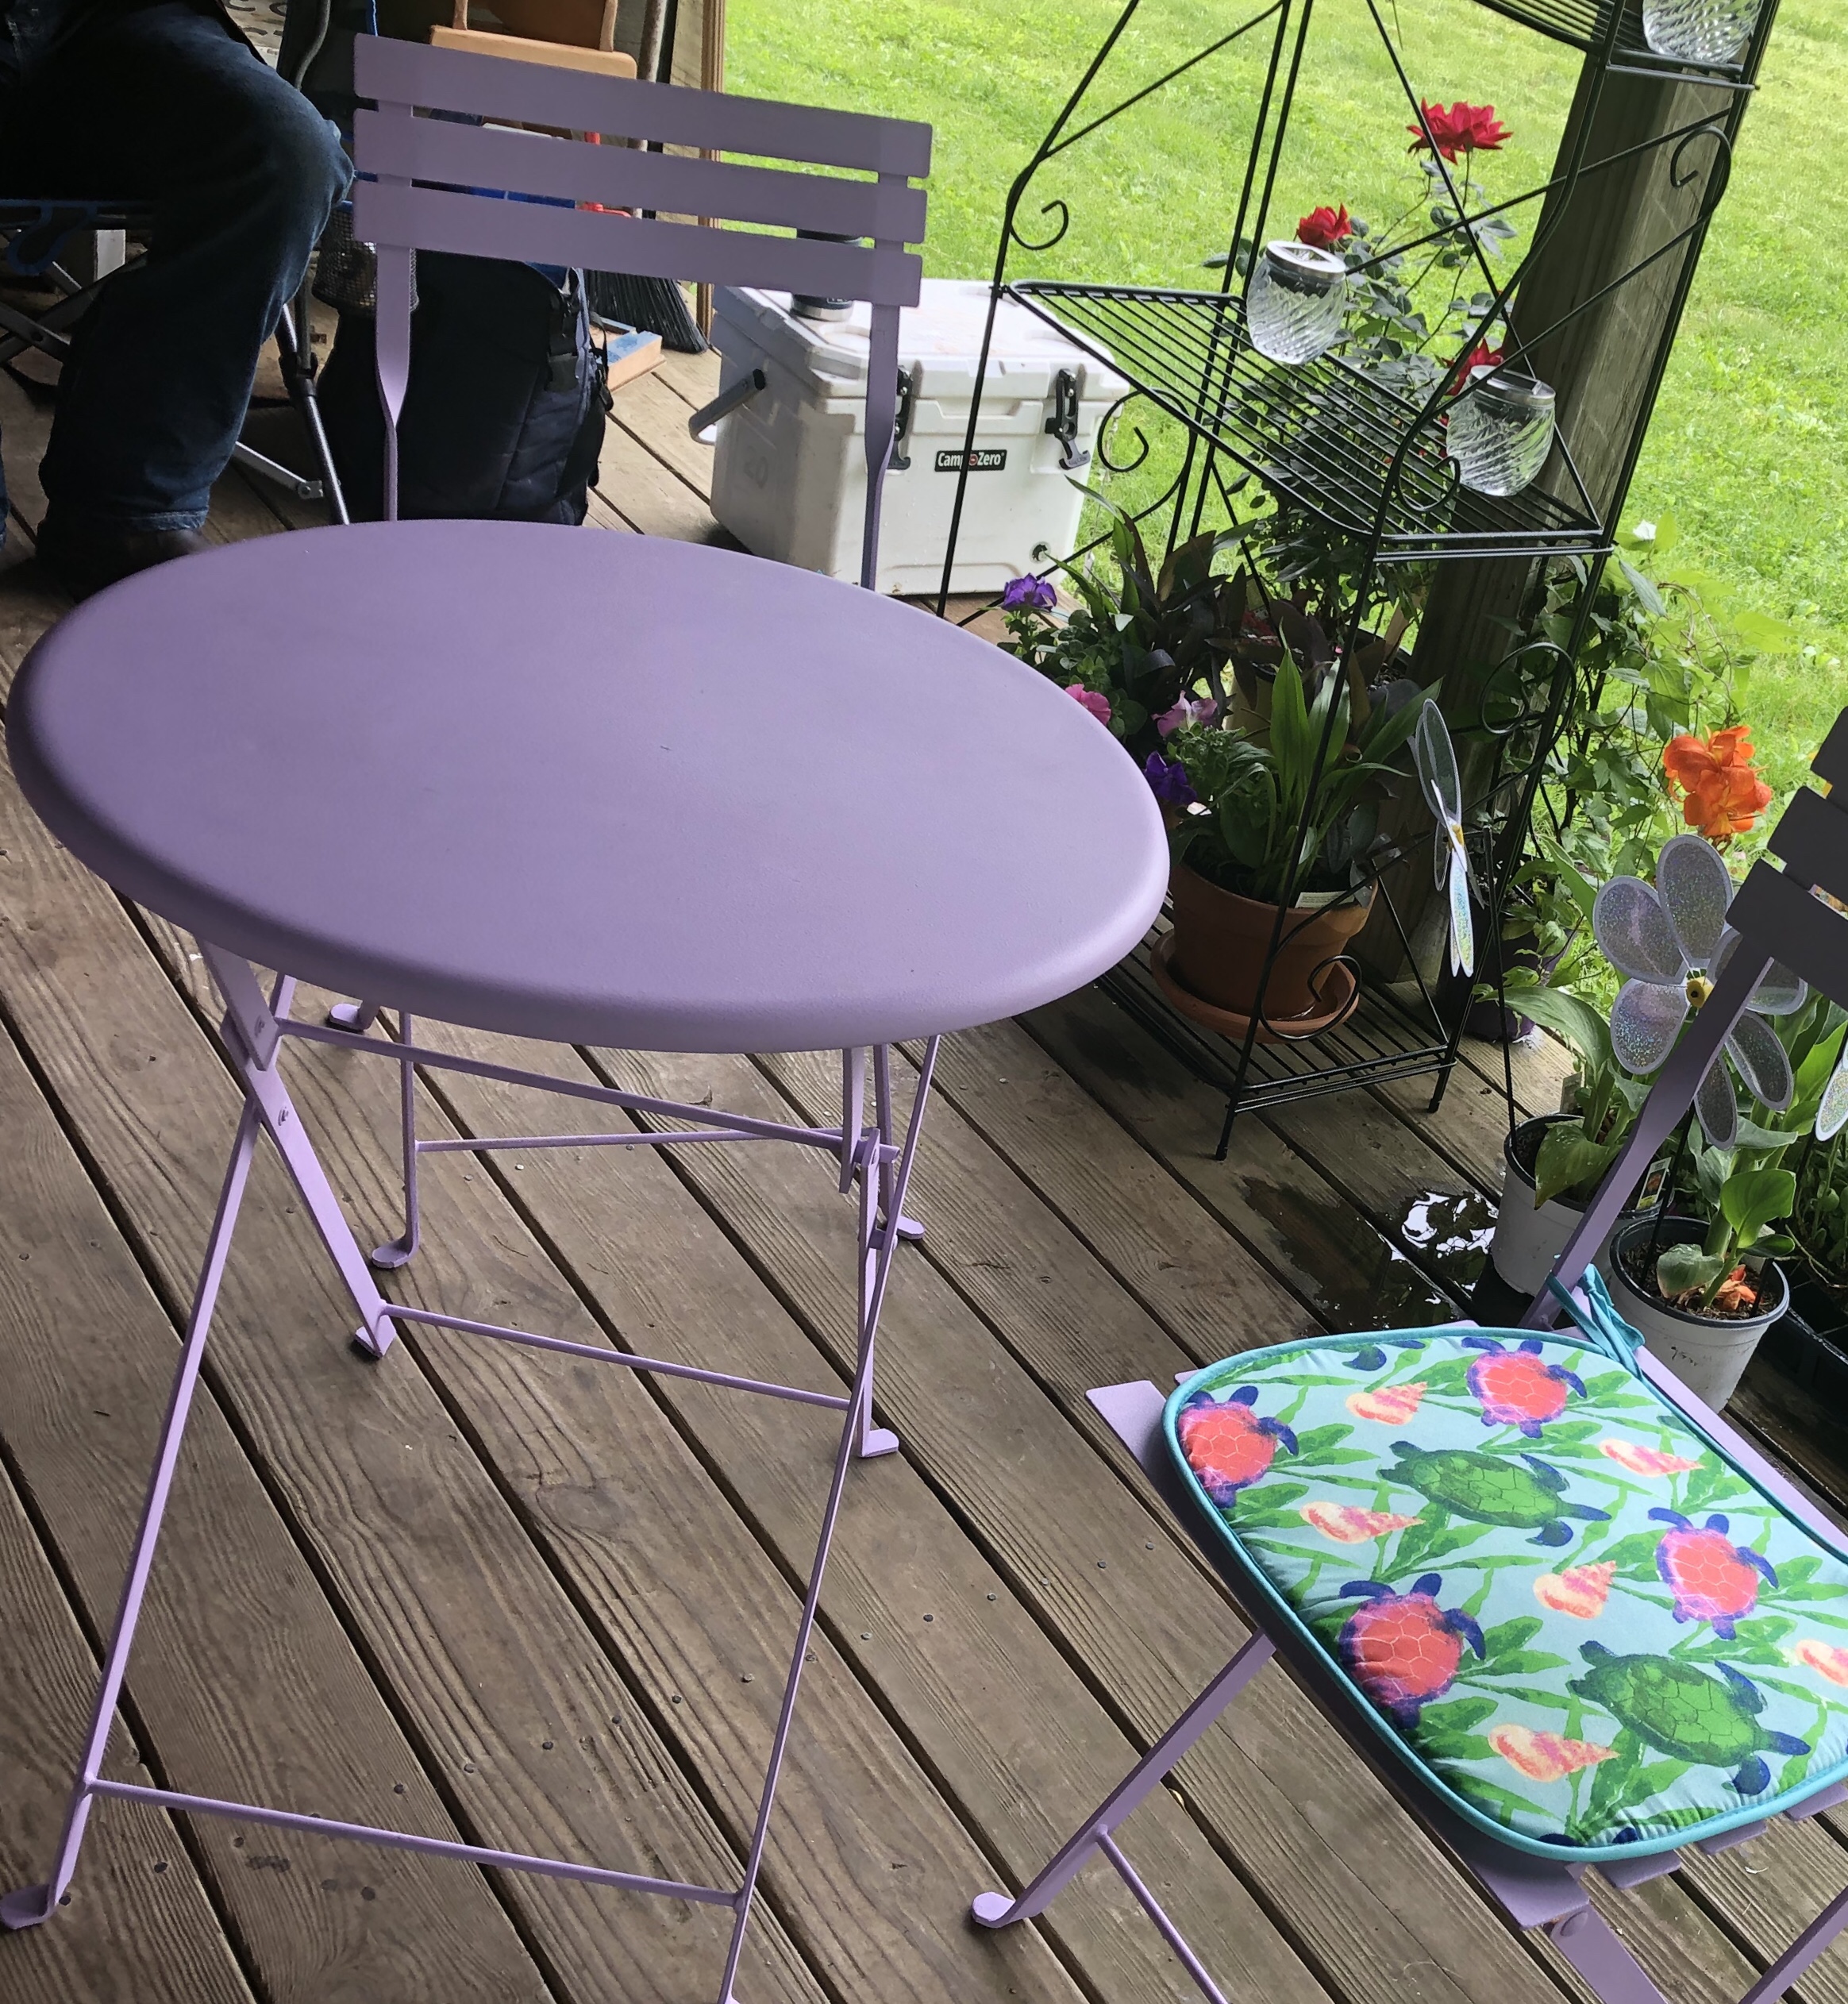
I also did some more “chalk painted furniture” for my Mom for Mother’s Day. She was so excited that she could not stay in the house until we had it all set up. Which, means all the work I put into it, was totally worth it. The chair cushions are from Dollar Tree, where I also snagged some $1.00 garden tools, purple garden gloves, little hanging pretties all for her greenhouse. My daughter donated this table and chairs I gifted her a few years ago for $50. This season, all the stores want $99 for them. 😕 so, I’m thankful to recycle them. I used the paint recipe from the previous post. With the exception that I omitted a little bit of latex paint so I could add acrylic craft paint to get this purple color.
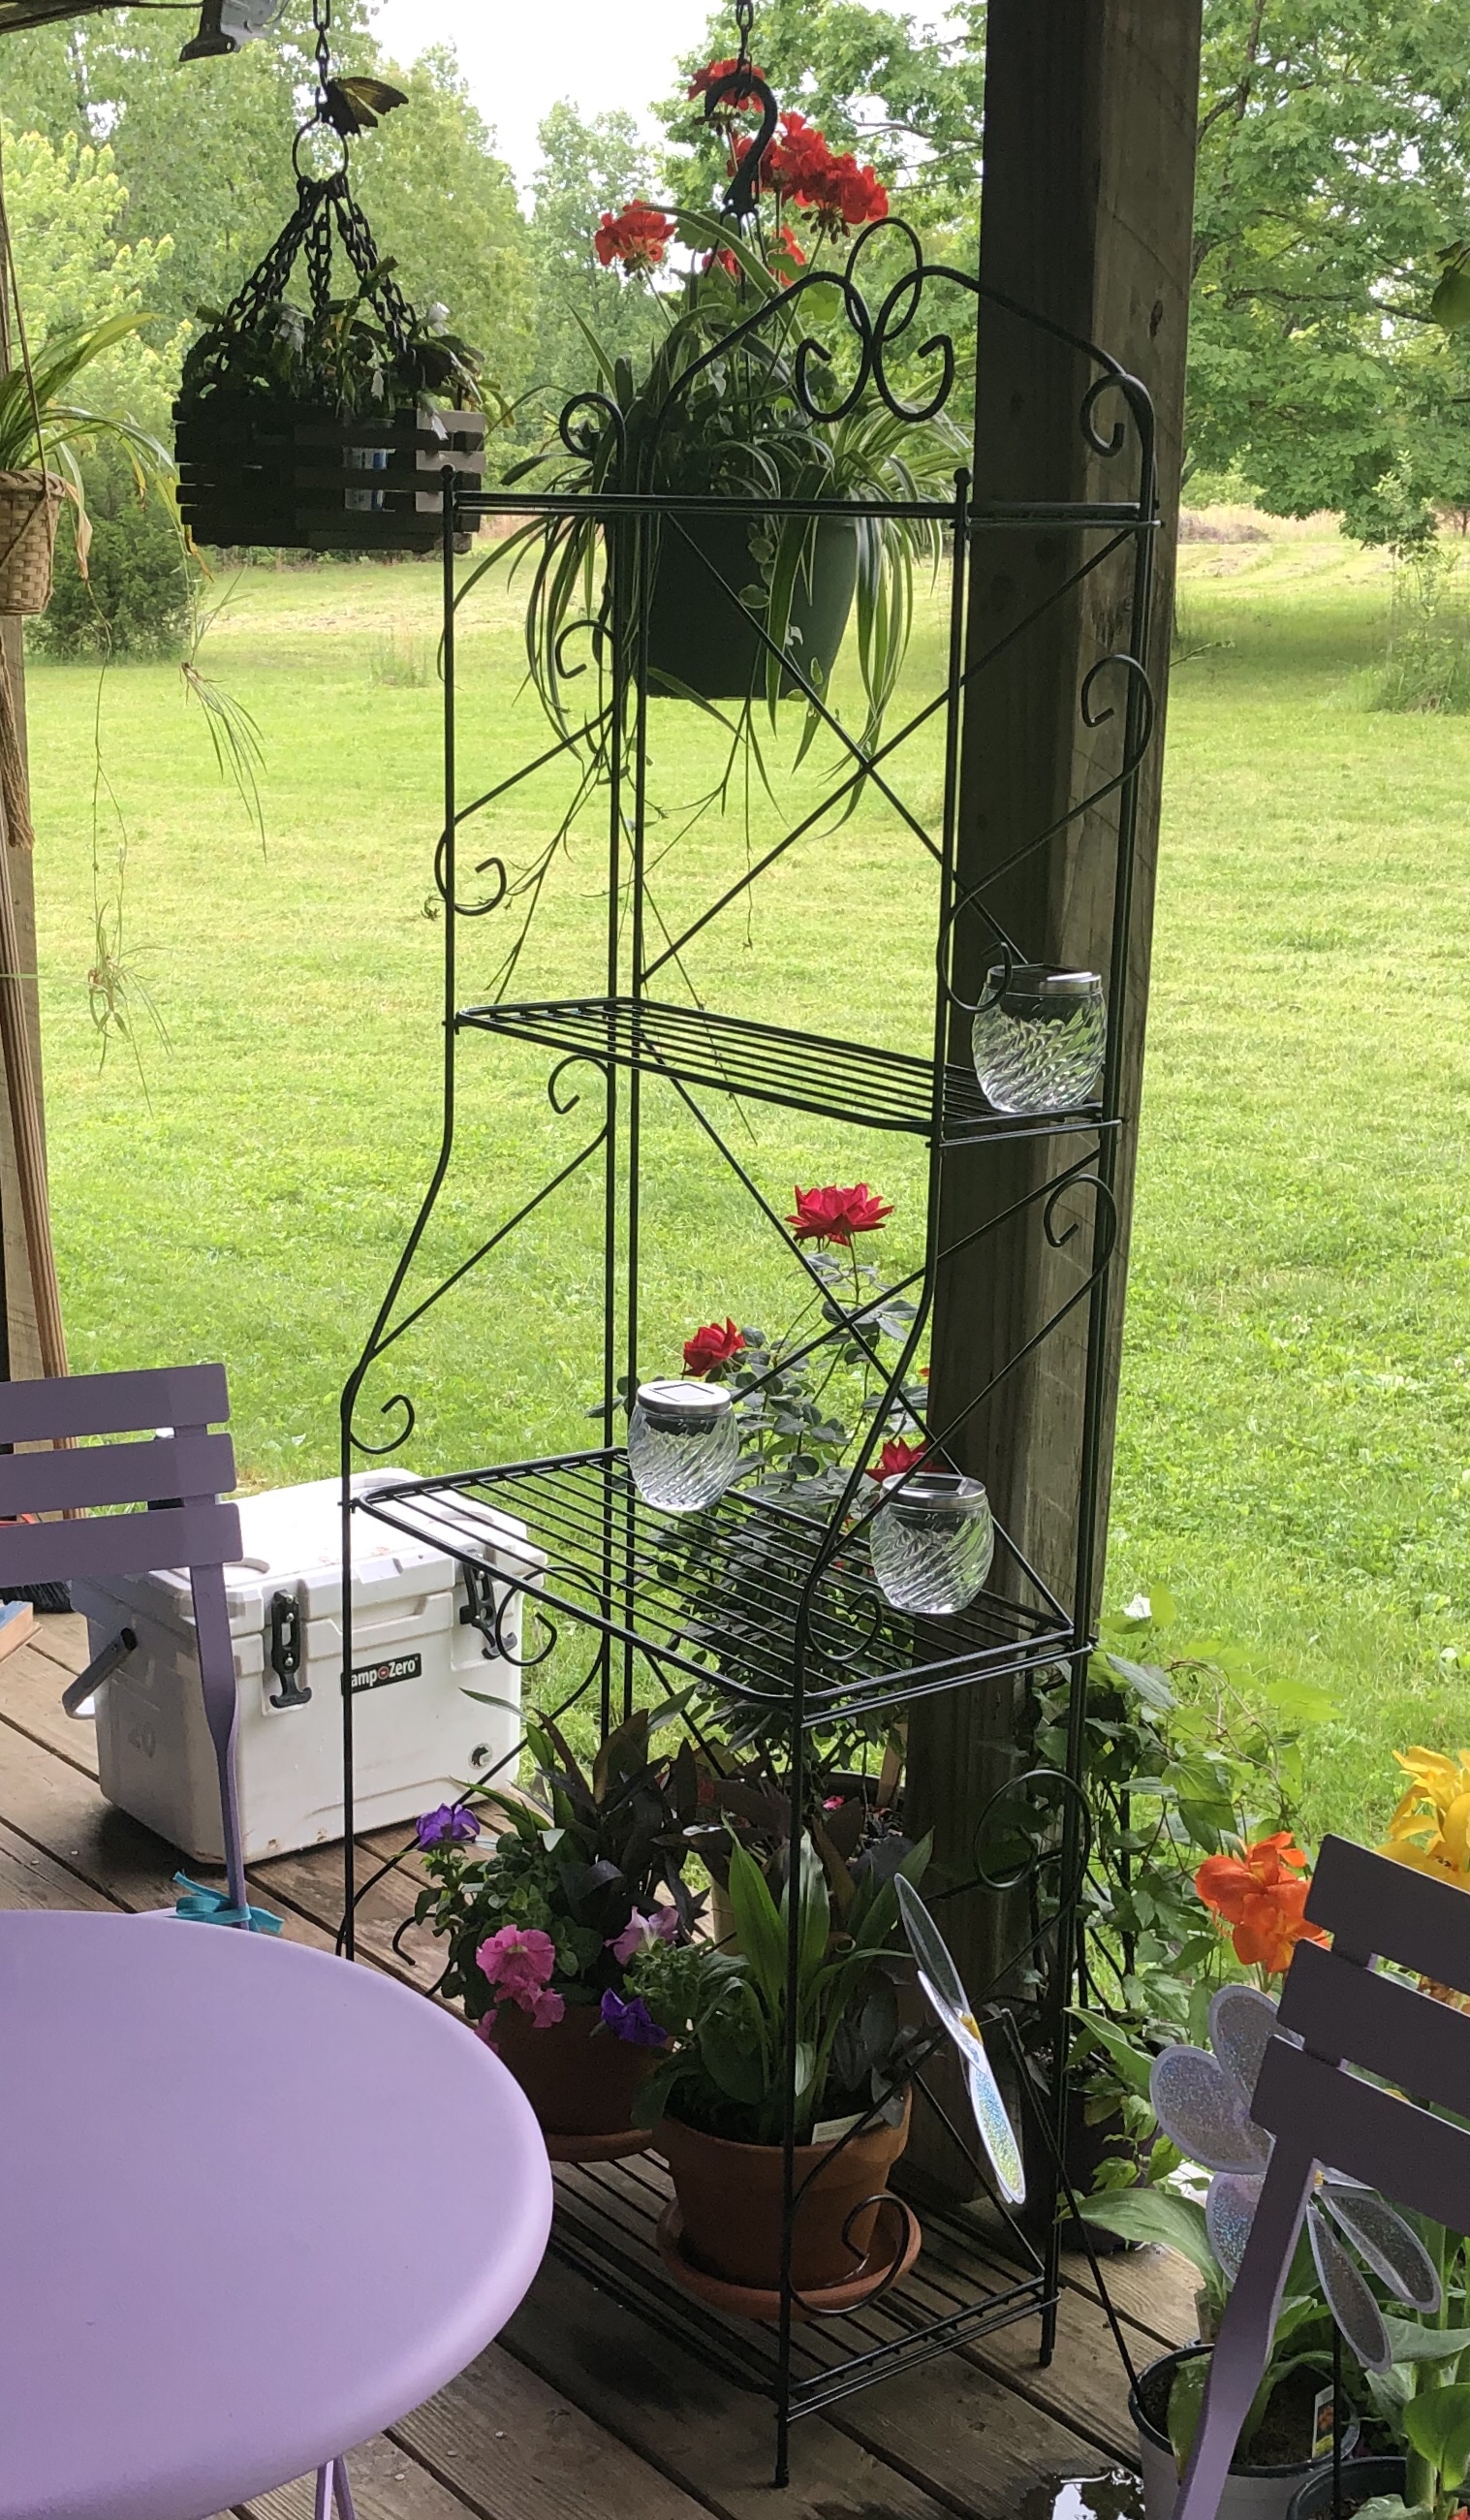 And more potted plants seen on the bottom shelf of the (dainty black rack) I snagged at a second hand shop for a reasonable price and spruced up with spray paint, .99 cents a can at Lowe’s. Clay pots from Lowe’s (3.48 per pot + 3.18 per saucer) were cheaper than what I could see online at WalMart.
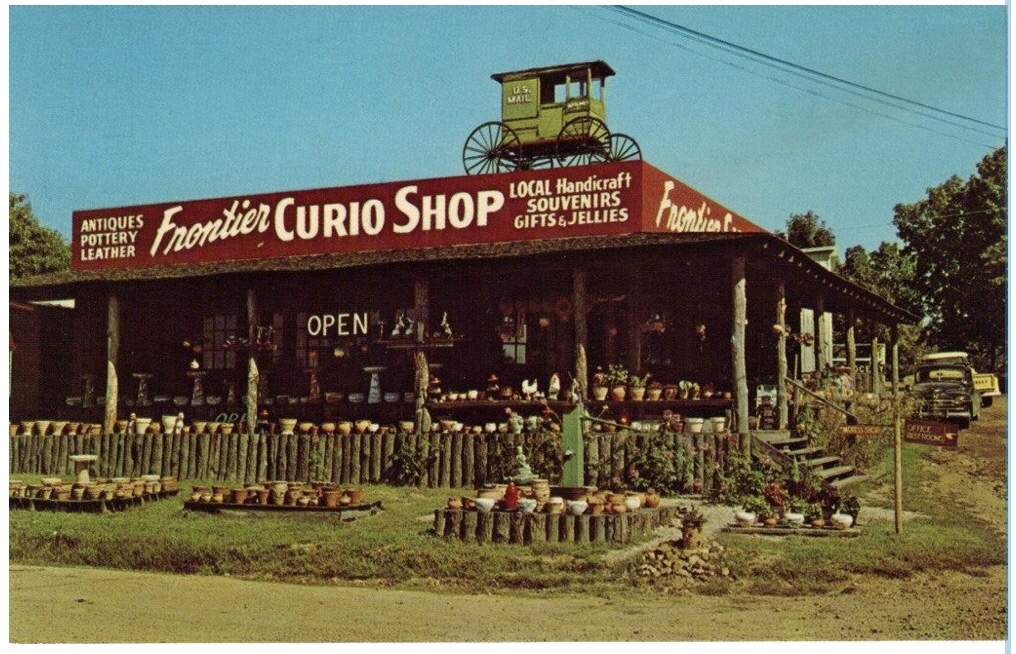
“We” love clay pots going back many years ago, when Nanny had her shop, Frontier Curio Shop in Ozark Acres, Hardy Ark. I miss this building and my Grandmother so much! But her love of plants lives on in all of us.
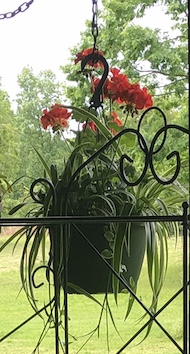
A couple of hanging pots from Menards $8 ea.
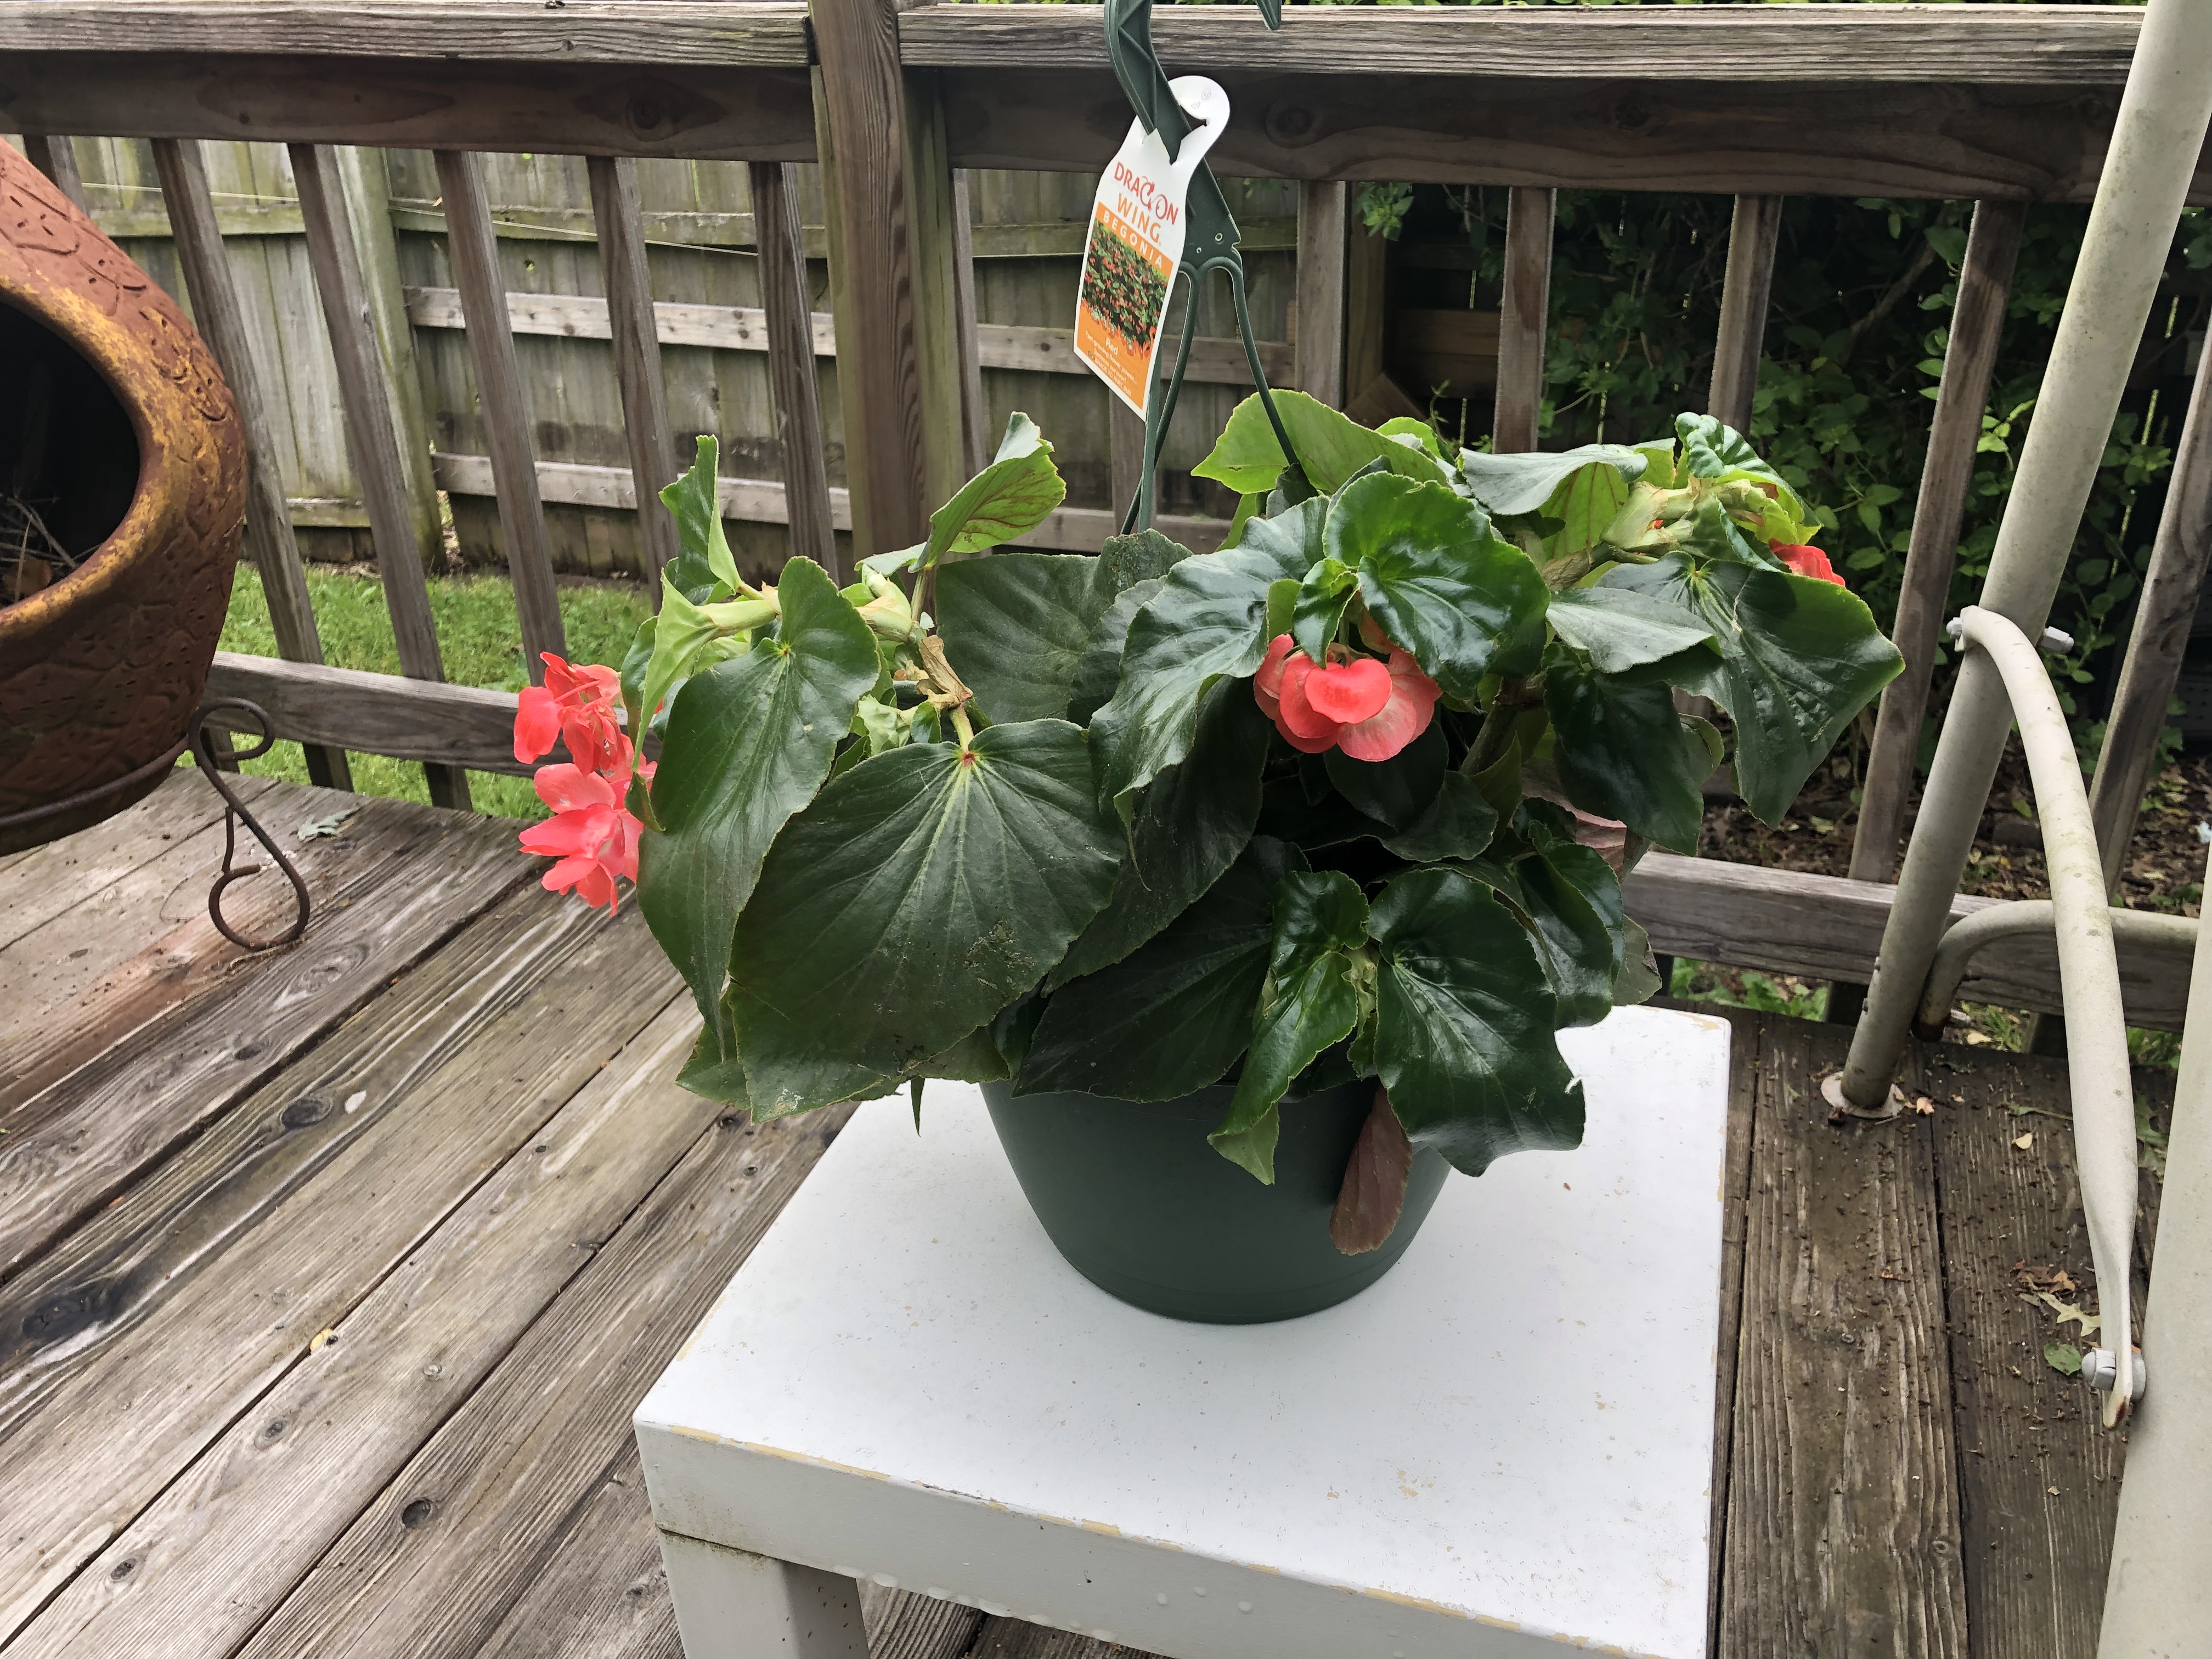
These gorgeous Dragon-wing Begonias are for my girls, Daughter in Law, Amber and Daughter, Katie. These were on Sale last weekend for $5.88, amazing!
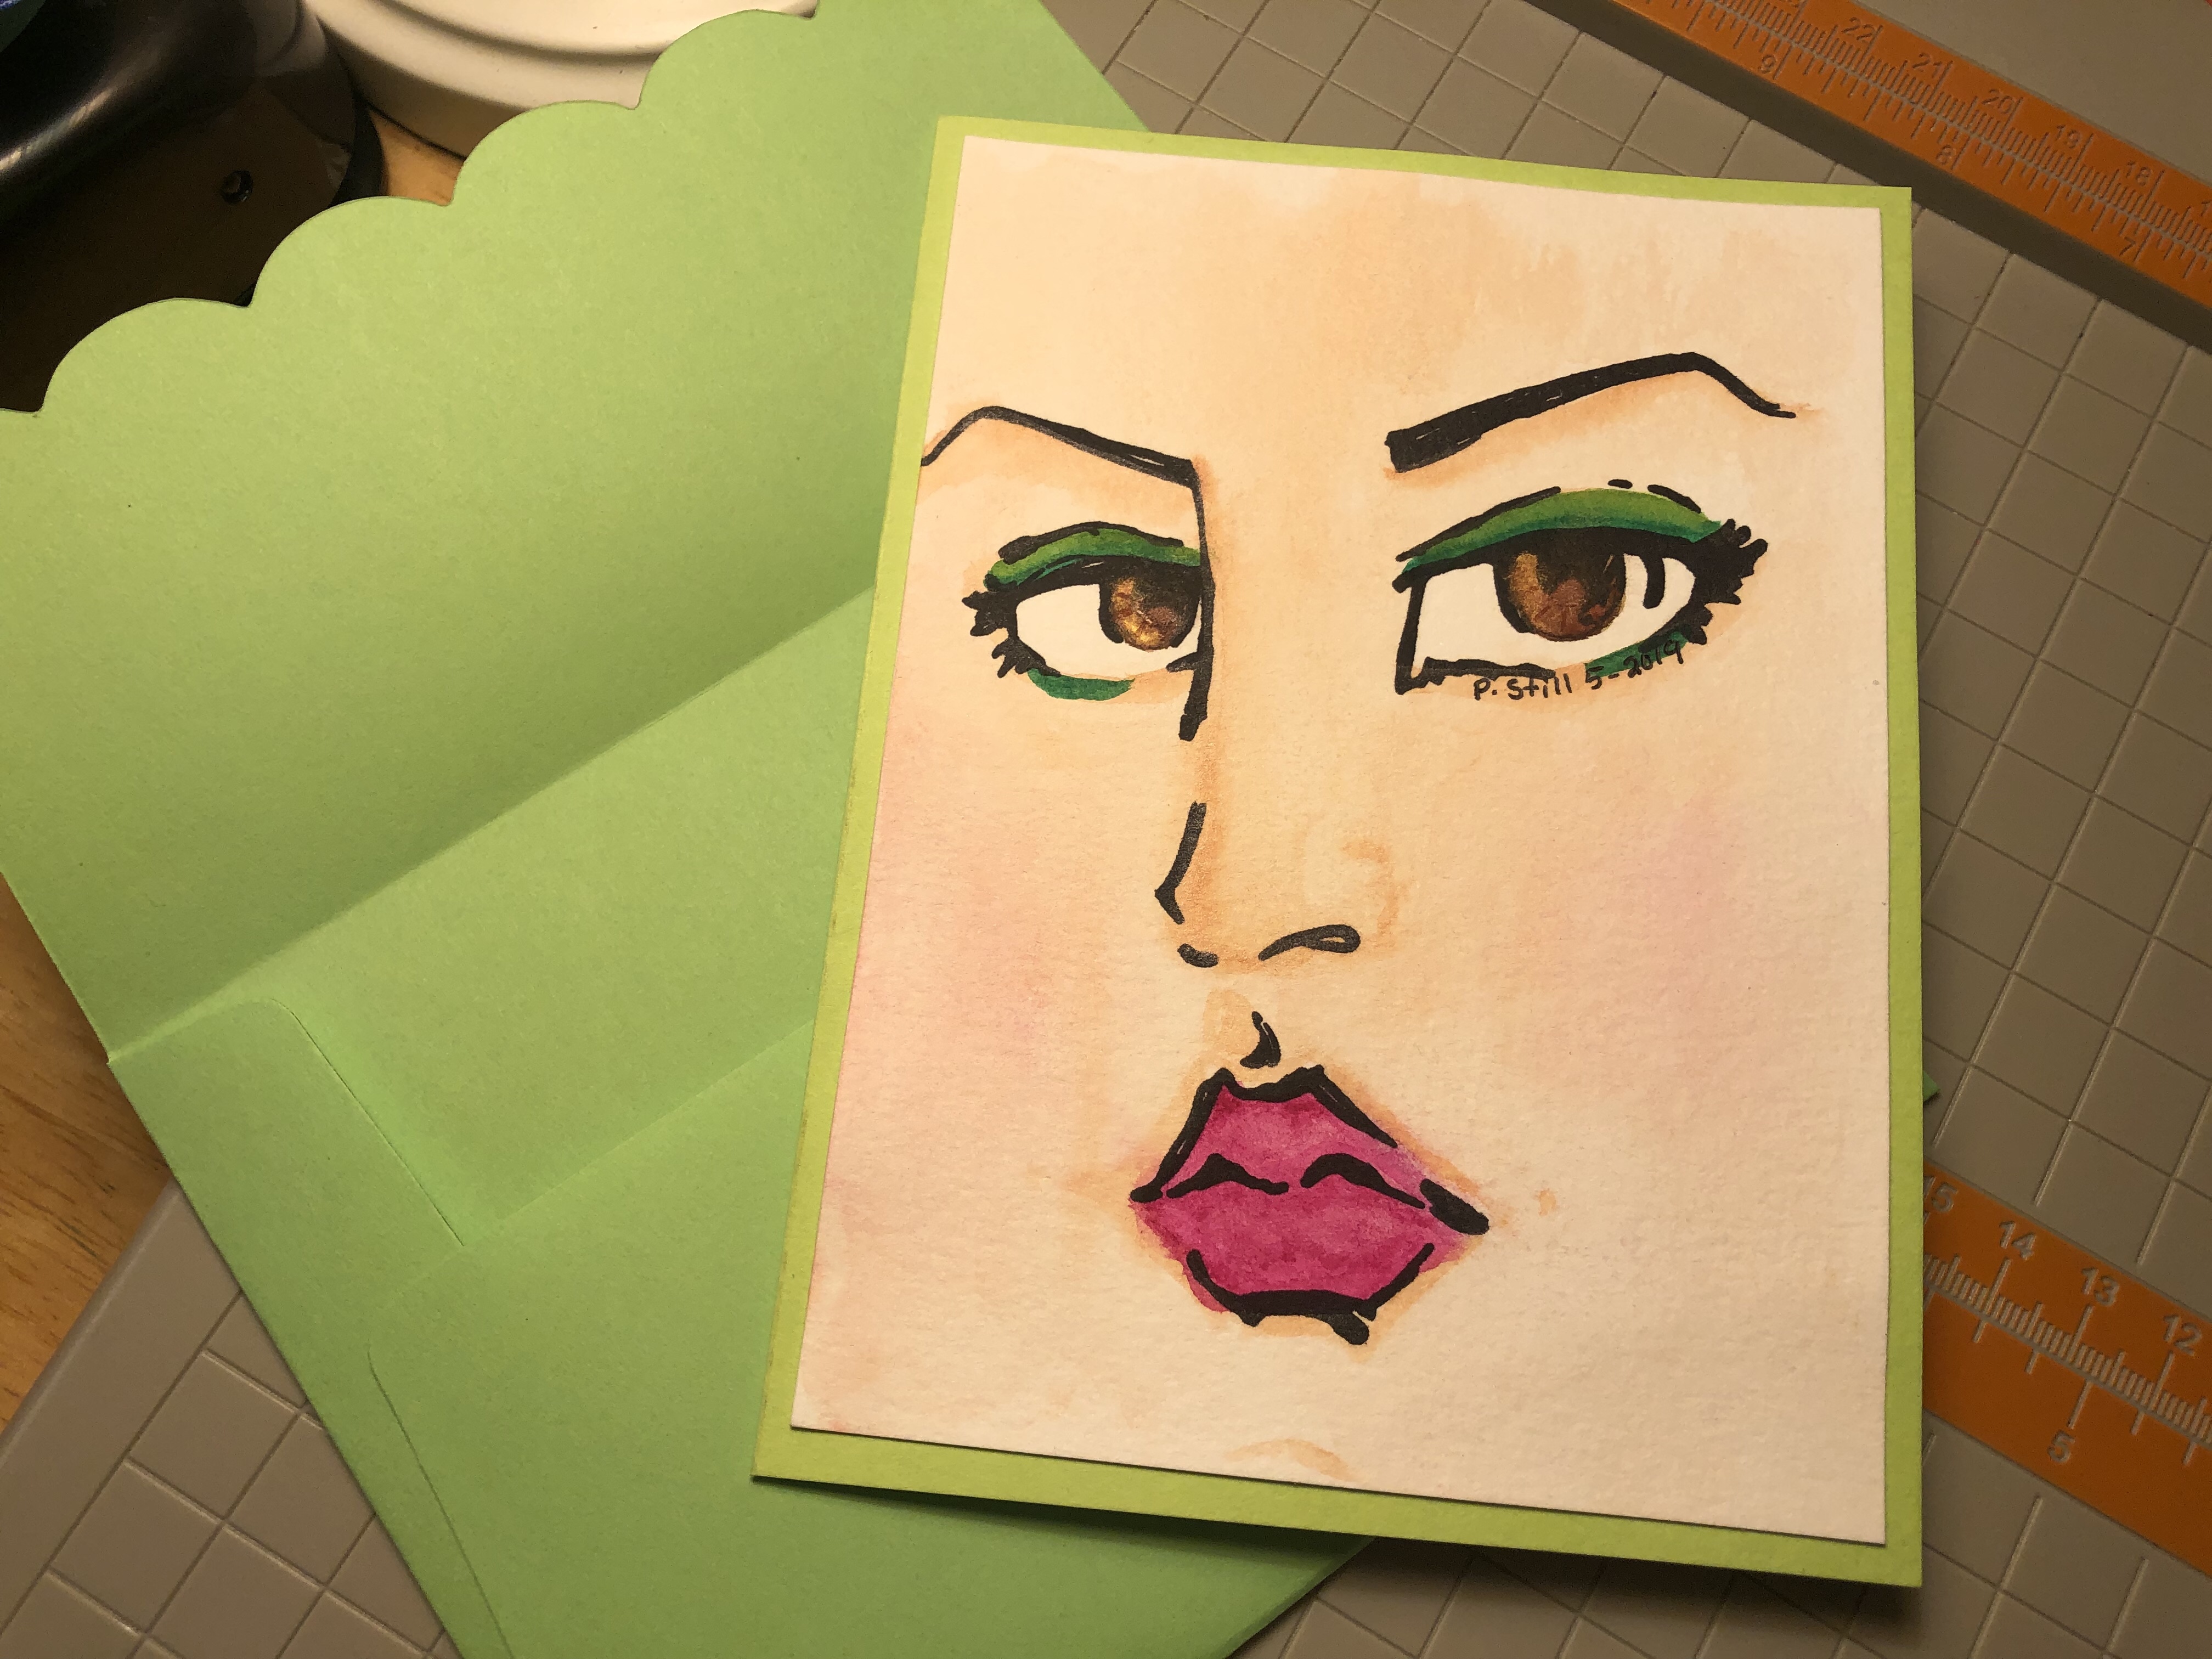
This one for Amber, who loves green. I failed to extend the iris color in the eye to our right. Maybe she won’t notice. I didn’t until I started posting.

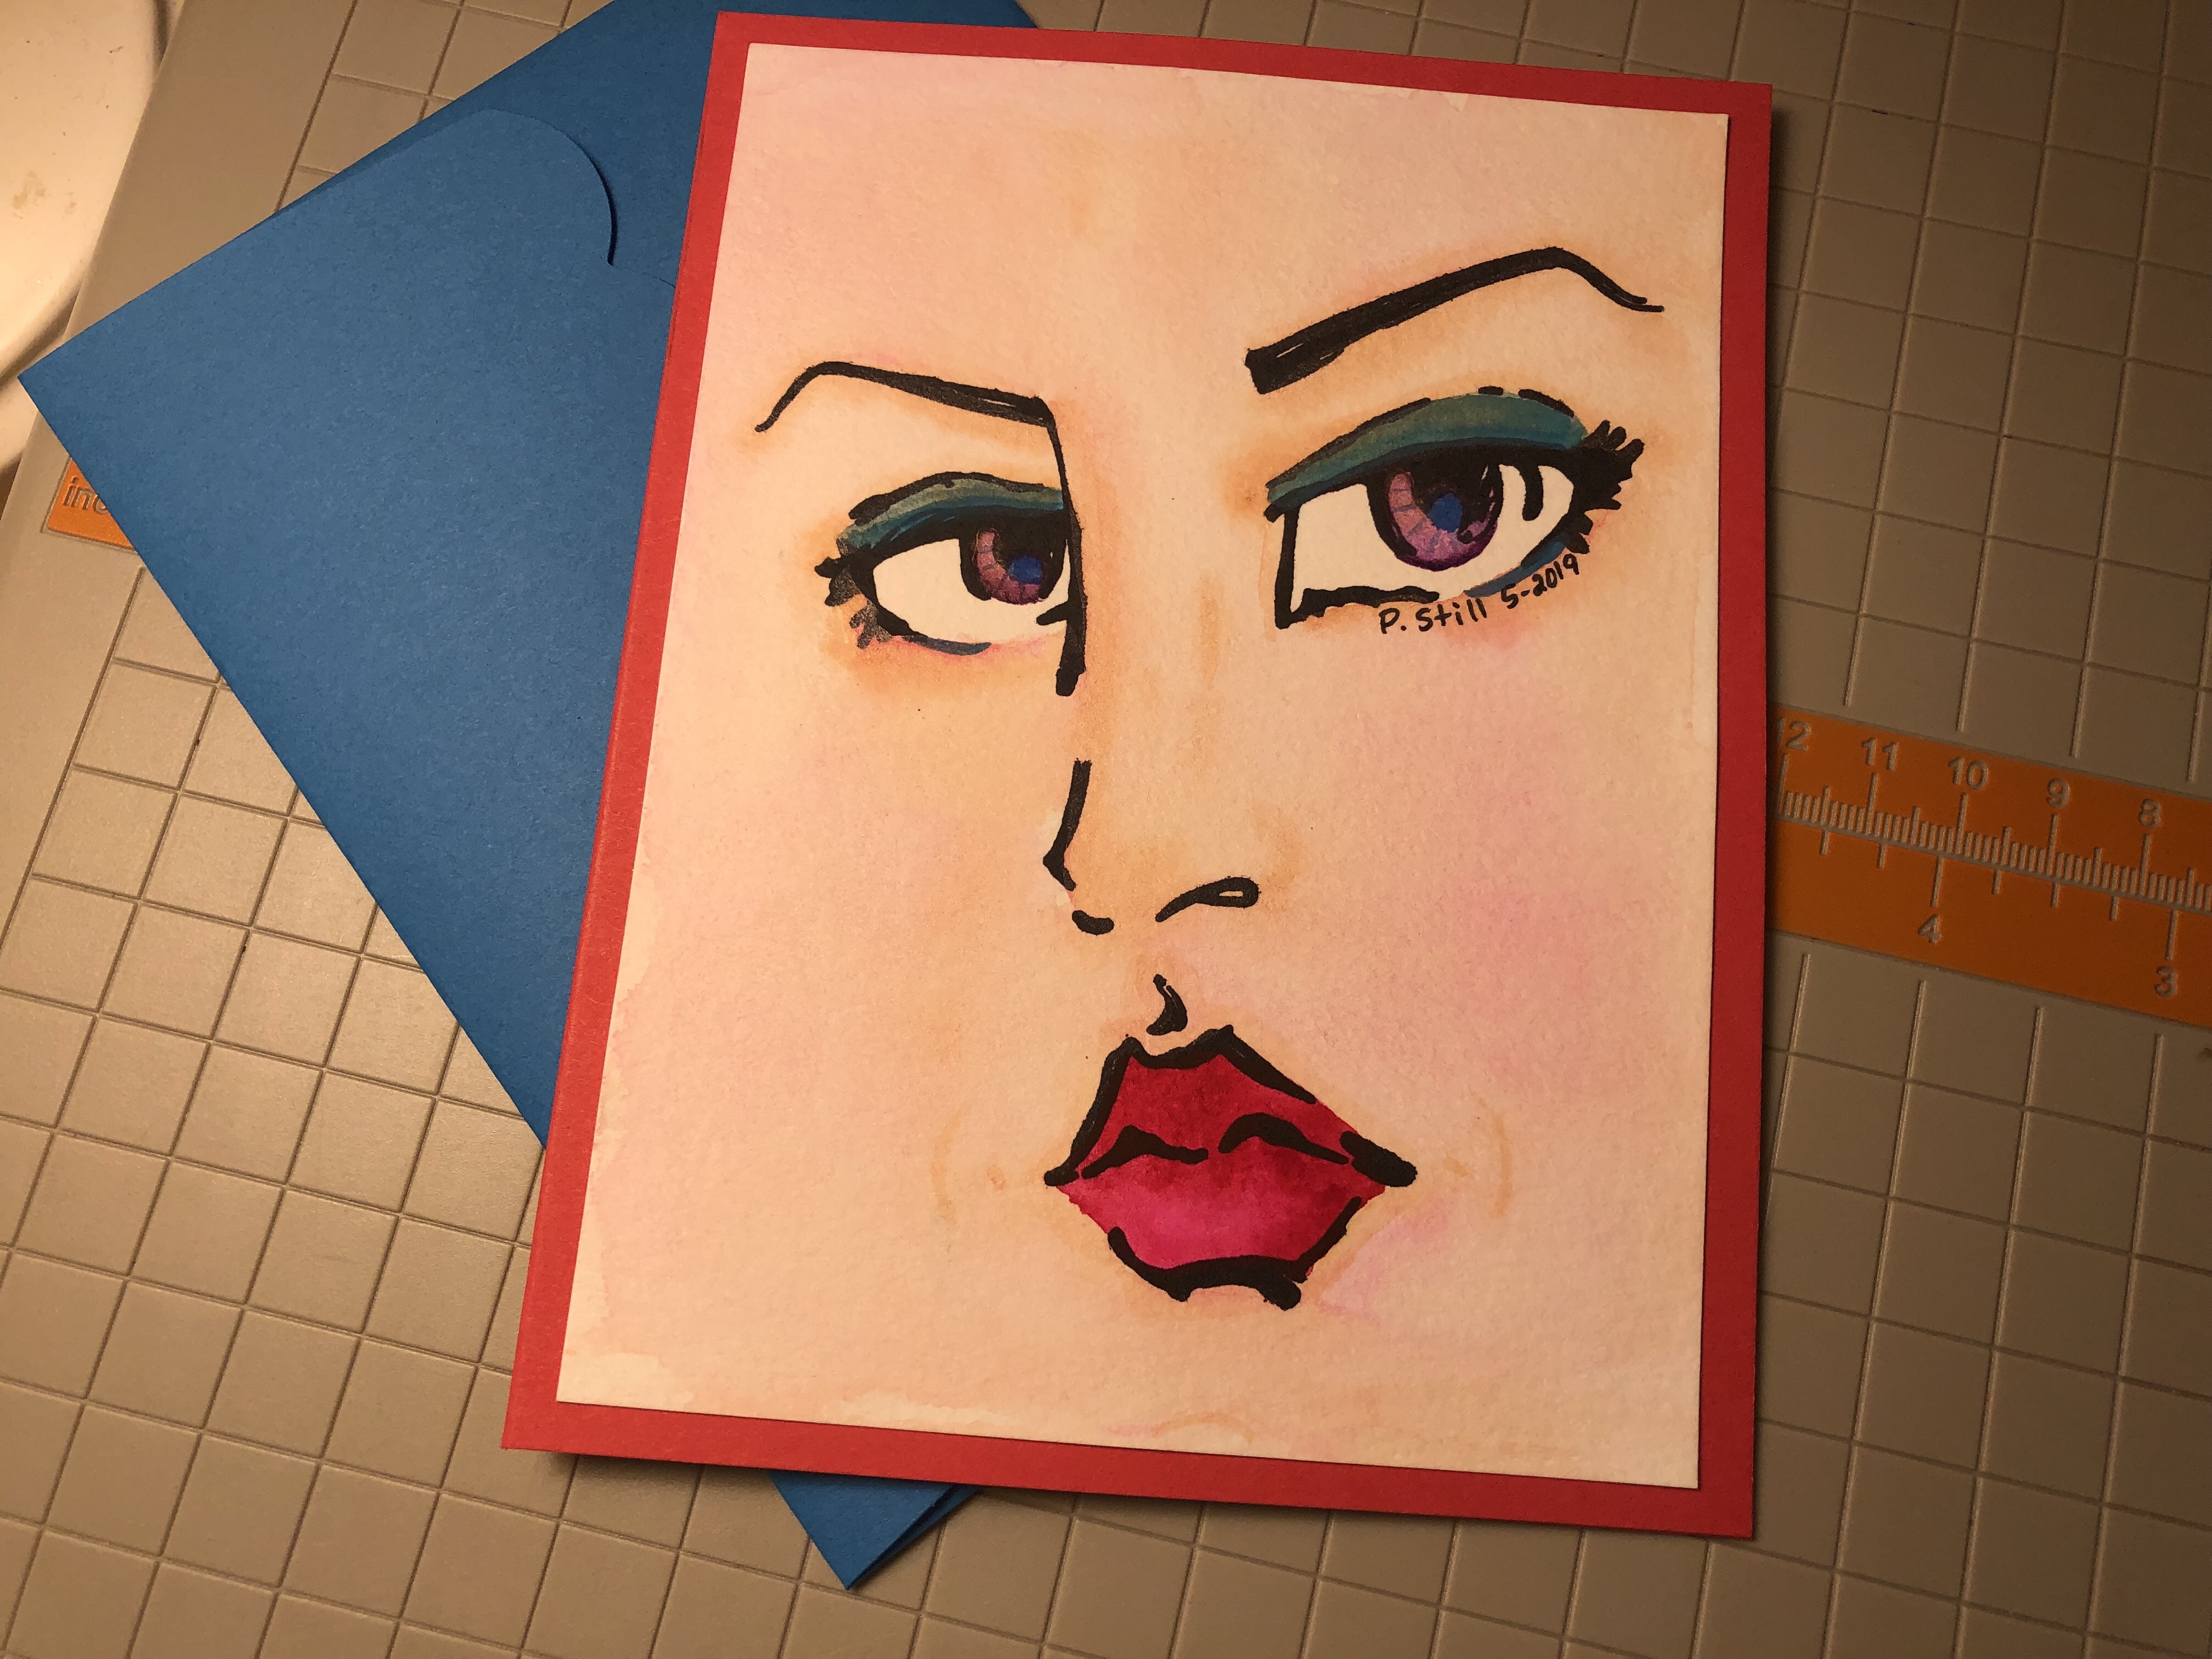
I didn’t extend the iris on this one For my daughter, Katie, either! Oh boy. I was painting these last 2 in a parking lot waiting for the Springfield Cardinals game. That’s what happens when I’m flying by the seat of my pants. LOL. AND IM GOING TO ROLL WITH IT…
If you are new to card making or water coloring, please don’t be too hard on yourself. I find that MANY women are too hard on themselves, including Me.
We are Enough. We are Worthy. The Bible says, She is more precious than Rubies. And we should wear that Godly Honor daily. I know it’s hard amidst every day challenges, but keep Rockin’ it Girlfriends!
You are Beautiful! You are Talented! You are worthy!
Thanks for visiting today!

Hey Crafters!! Have I got a fun project to share today! My daughter had a birthday and a new home in the Fall of 2015. (Eeek) I wanted to do something very special.

The completed cabinet in it’s new home. I had a fun video montage of this journey but accidentally deleted in in the wee hours of the morning, but there are lots of details, including the recipe I used to mix my chalk paint, in this blog post. =D

A beat up old Office cabinet, with keys to lock the file drawers and 4 adjustible shelve, with 4 sturdy L shaped brass pieces to hold each shelf. $75.00
I thought it was solid wood, but it’s press board (sawdust that has been glued and formed back into boards) covered with real wood vener 1/8″ of an inch of real wood slices glued over the press board to make it look like real wood. A good way to tell this would have been to look at the back of one of the shelves or the back of the cabinet. But as you can see here, it was loaded down with stuff and too heavy to move away from the wall. I looked inside the drawers and assured myself it was solid wood, as the drawer faces are real wood. When we loaded it into the burb, I could clearly see the press board edges exposed on the back.
But that’s okay, it was still a good buy at $75.00, since it’s a substancial piece of furniture. 😉 And a very dear retired man helped us load it, while he and his wife stopped by to shop. Which warmed my heart. instantly. Shilvary is not dead…and I thanked and thanked him and shook his hand.

I’m not 100% certain, this was the right paint. An employee helped me and I showed him my recipe, which said, Valspar Signature flat latex paint. (Not paint with Primer or Scuff Shield?) And look for a coupon or sale, I was in too big of a hurry. If you choose to do this, you may want to do a bit more research, but I was flying by the seat of my pants and goggle’d all of this information with grand baby in tow on my iphone while standing in Lowe’s paint dept. And I got some heavy duty quality paint. LOL Go Me! hahaha At this rate, at least it won’t scuff easily. Choose your own battle and budget. ;). If you get plain latex, you WILL need a protectant or sealer like a matte polyurethane or varnish, which is an added cost and an added step.
1 Gallon Valspar Flat Interior Ultra White paint base with Primer and Scuff Shield technology – I chose Swiss Coffee tint from piant chip 7002-16. *(The white paint chips all look alike, I took several and compared them next to some bold color to help me see their true tone). Plaster of Paris $6.78.

Min Wax Natural Paste 1 lb. $9.98. Valspar Flat Black Paint 1 Quart $9.29 (for chalkboard base)Valspar Chalk Board Paint in Black 1. Quart $9.98.
Total for Paint and Cheesecloth = $72.00 before,taxes, which sounds CRAZY! But considering the Valspar Chalky Finish Paint @ Lowe’s is $29.99 for only 29 ounces of paint, I spent $4.00 more for a gallon of paint + the plaster of paris cost @ $6.78. So, for $11.00 more I have a mile of product to mix chalk paint for future projects. I can do my cabinet that I purchased on this journey and something for Amber (my DIL) too, even though my son Jon said, she doesn’t have room! Well, we’ll see about that, since Katie told me, Amber loved the cabinet too. Hahaha…
*The flat black paint was a good base for the Chalk Board Paint (recommended by Katie’s husband who is a professional painter). I did 2 coats Flat Black and 3 coats Chalk Board paint on top of that. Using the flat black should also make the chalk board more durable. I did not tape off the chalk board to paint the white areas because I was afraid it would pull off the chalk board paint. Instead I painted as close as I could with a regular 2 1/2″ or 3″ paint brush and touched up the chalk boardpaint with a fine tip artists paint brush any where the white paint spilled over into the black area. This did take a couple of coats of touchup with the Black Chalk Board paint. (I probably should have sanded between coats, but did not! This was a very long project anyway and this cabinet is still going strong 3 years later) 🙂
Lets get started…

I used painters tape to mask off the inside of the cabinet, so painting the chalk board area would be easy because I’m a sloppy painter – see the next picture for proof!

This project took me about 2 weeks to finish since I’m day care for my grand babies. No matter how long your paint has been drying, you can take an exacto knife and cut between the paint line and the tape line and get perfect removal of the tape every time!

A view of the Top and 4 shelves. I laid the top down to scuff the paint with sand paper. Can you see all of the 29 oz. veggie/fruit cans, on the left side of the table, borrowed from the pantry? LOL This is a great way to paint cabinet doors or shelves, by balancing one shelf on 2 cans. I did this when we renovated our kitchen several years ago and I had a ton of cabinet doors to paint. It allows you to paint multiple layers of paint continuously, without the paint sticking to your counter tops. Plus, you can paint all of the edges easily!

I elevated the base on a couple of short 2 x 4 scraps to keep the paint off of these rugs.

My very techincal handy dandy scuffing tool. The painter’s tape from the chalk board, wadded up into an oval shape with a piece of very rough grain sand paper wrapped around it! I added 3 coats of chalk paint to my cabinet, it was 1 coat too many. Two coats would have been plenty and I will be doing only 2 coats on future projects.

The Minwax said use with 2 layers of Cheese Cloth, I could have skipped it and used some old T-shirt material and will likely be doing that in the future, since cheese cloth isn’t what it used to be….it’s so thin and it wore out way too fast with the recommended layers and I’d already left it semi folded up.

Here is what the top looks like after the Minwax was applied and hand buffed with paper towel. (At some point in time, I’d sat a can on the side of the base. Can you see the distressed circles? I could have painted over them, but by this time I was tired of working on this project! Just keepin’ it real. LOL. And it adds character.

And the base waxed and buffed.
The information you’ve all been waiting for, the chalk paint recipe found at Lindee Katdore’s blog in the comments section of her post. Be sure to click on her name to visit her blog for the original post that inspired my renovation of this cabinet.
When I went back to Lindee’s blog to give Wendy proper credit, clicking on Wendy’s name took me straight to the Lowe’s Video tutorial for this recipe and technique with tips! Wish I had known that sooner…link below this recipe. 😉

Click here for Lowe’s Video on mixing your own Chalk Paint
This recipe does not sound like much, but it goes a very long way. I mixed it twice for this project and gave the base of the cabinet 3 coats and the top of the cabinet and shelves 2 coats. Two coats are plenty!
I wanted to use the wet rag technique that Lindee uses for scuffing or removing paint in sparse areas, but I let my paint dry for about 3 days before I was able to do the sanding.

My daughter filling the cabinet with Fall stuff for a quick photo to share on my blog. Her daughter begging for some chalk! LOL

I had a pic of her new dinning table, it’s one of those counter height tables with tall chairs. I referred to this photo while I was shopping for the cabinet. And I think I did well in keeping with the same style of furniture. She tends to like very clean lined or contemporary styles.

Another view. She is over the Moon with her new dispaly cabinet and she plans to store her table cloths, placemats and table runners in these drawers. I’m so proud of myself for tackling this project and sticking to my guns to find the right piece for her style. It was delivered at the end of October, a month after her birthday.
Supplies:
Valspar Flat Interior paint
Plaster of Paris
Tap Water
Valspar Flat Black paint
Valspar Black Chalk Board paint
Cheese Cloth
On hand – Paint brushes, painter’s tape, paper towels, paint sticks, paint trays (I like to stick my trays inside a Wal-mart bag that is inside out with the handles of the bag wrapped around the legs of the paint tray then use some painter’s tape to seal it to the tray so paint does not get inbetween the bag and the tray – when done painting you can pull the bag off right side out and keep the paint mess inside the bag), mixing cups pre-measured and marked with a sharpie marker (I recycled some clear plastic cups), screw driver to remove hardware before painting. And vacuum cleaner to vacuum the inside of the cabinet thoroughly since it’s been sitting in a large warehouse, we don’t want any creepy crawlies popping out!
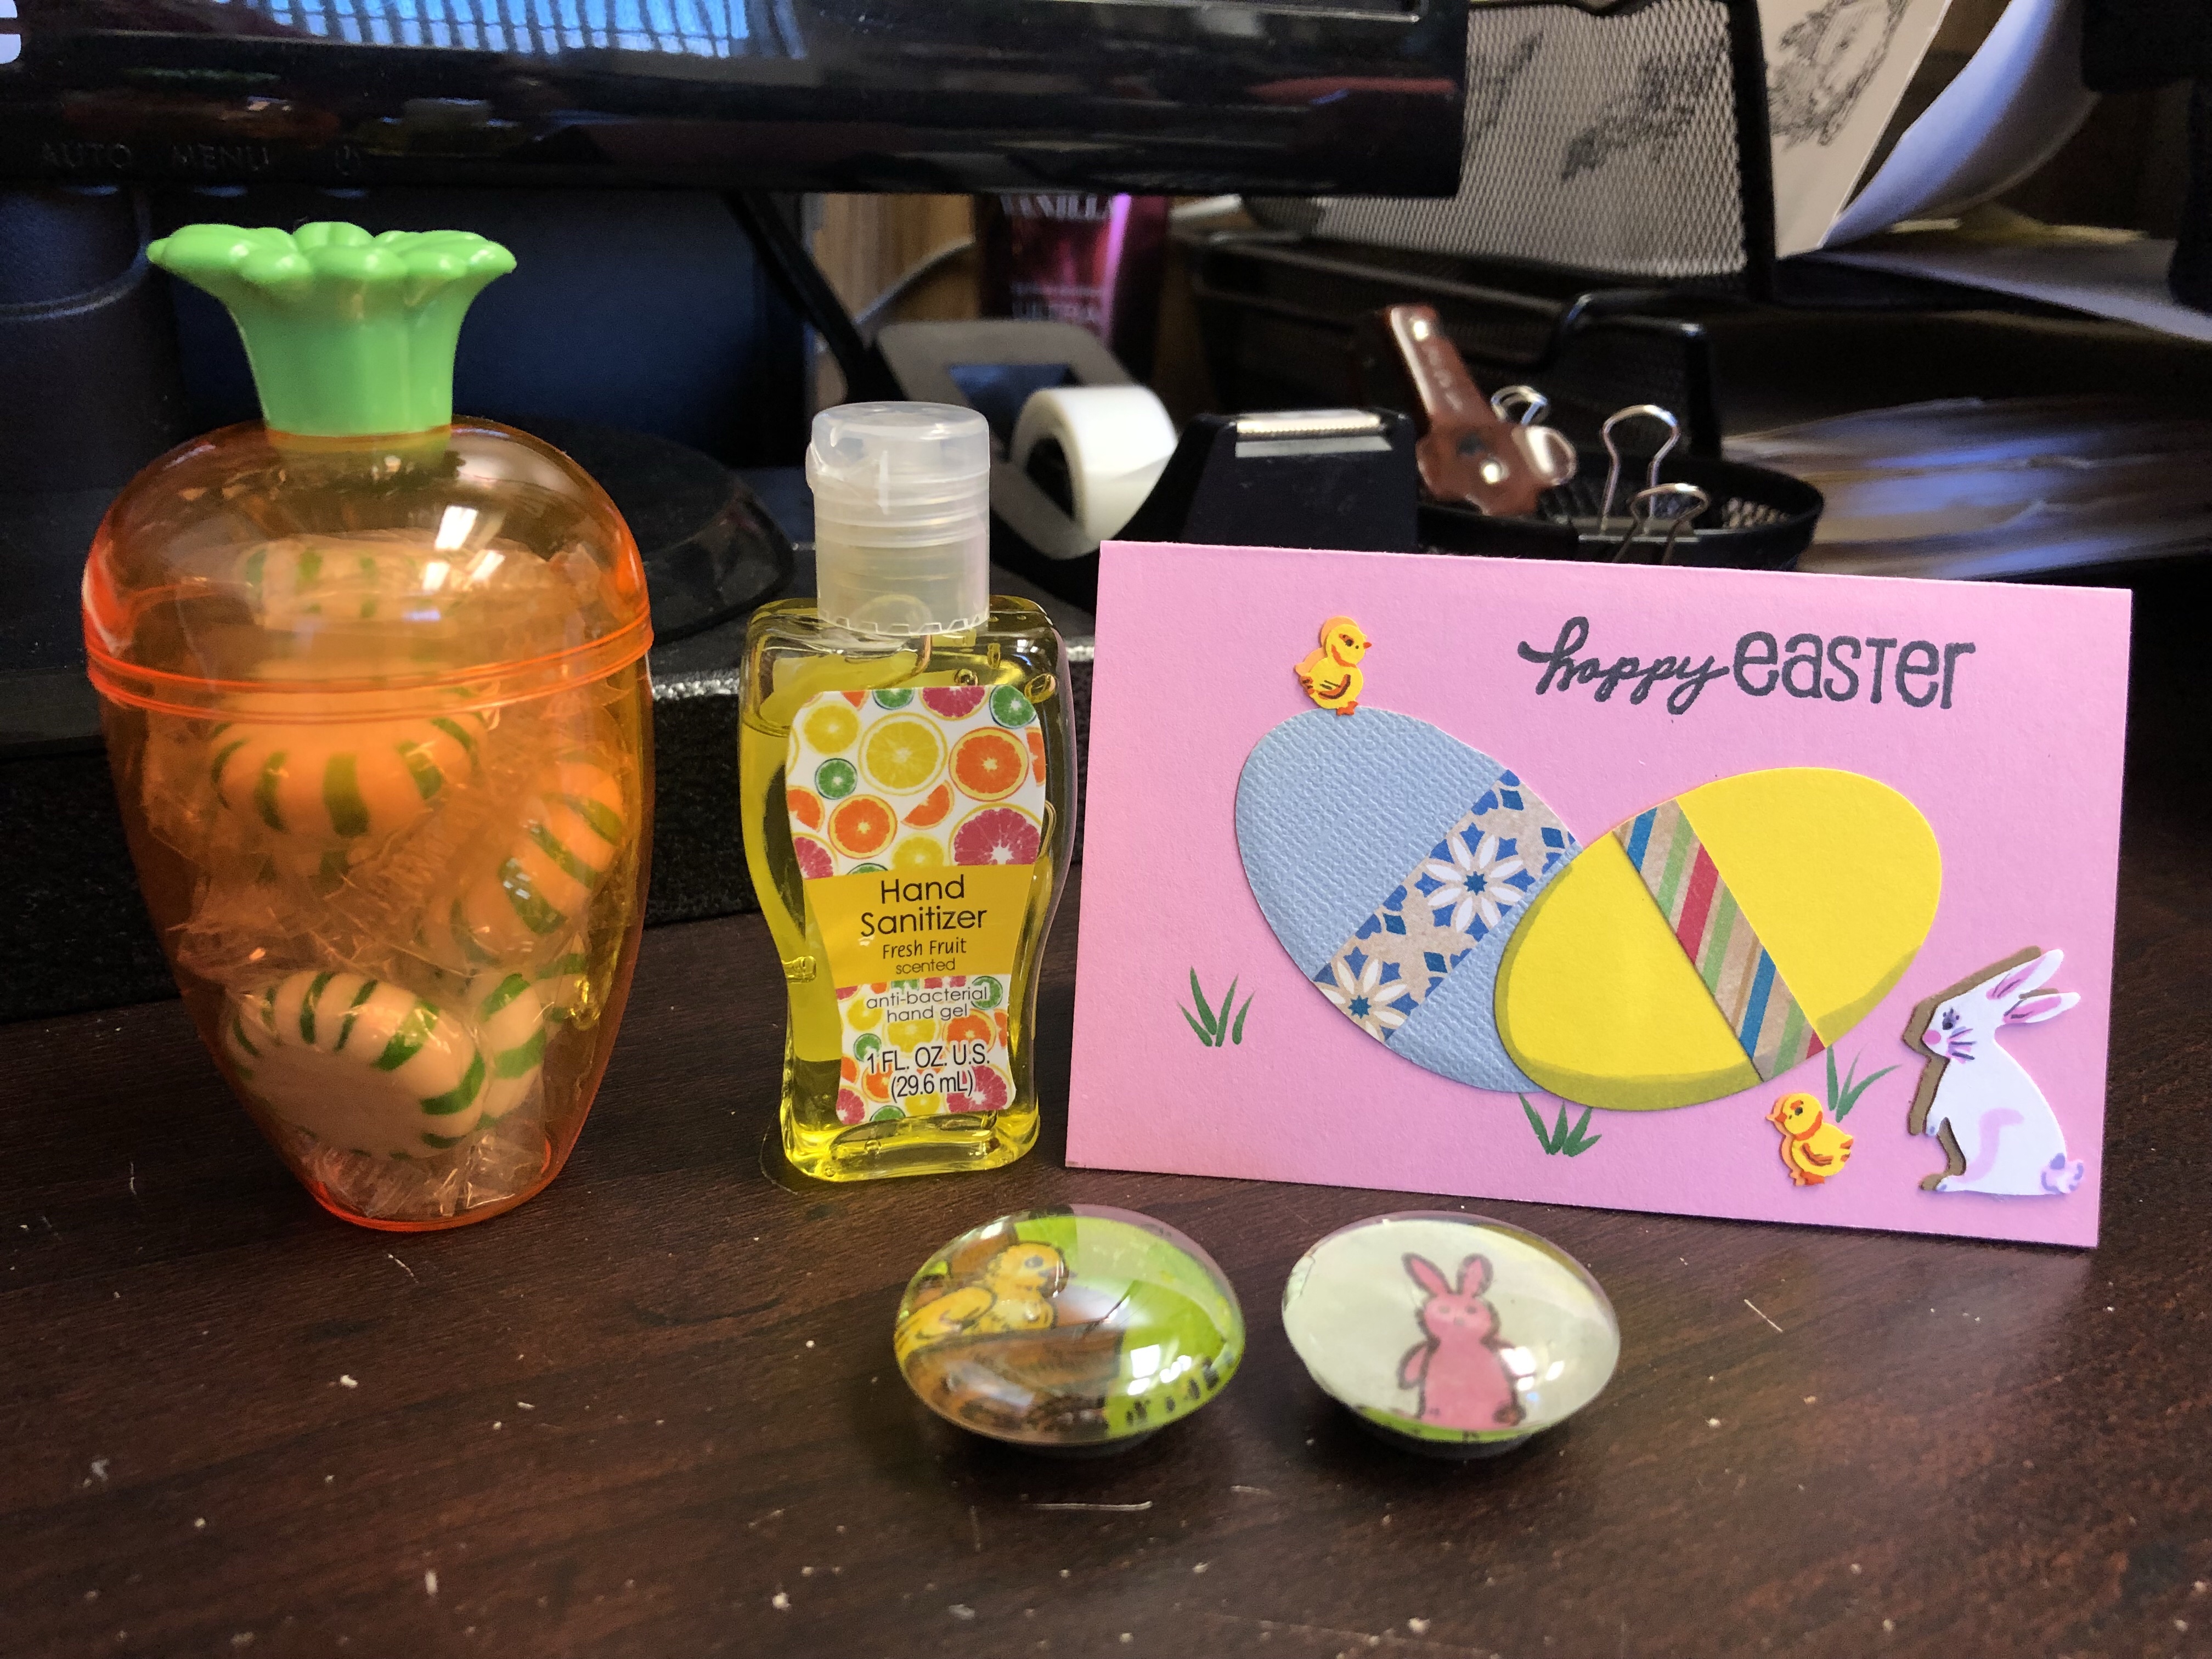
Hey Crafters!! Happy Easter! Just quick little cards and gifts for my coworkers today on Good Friday.
These small cards are a piece of card stock cut at 4 1/4″ by 5 1/2″ scored at 2 3/4″.
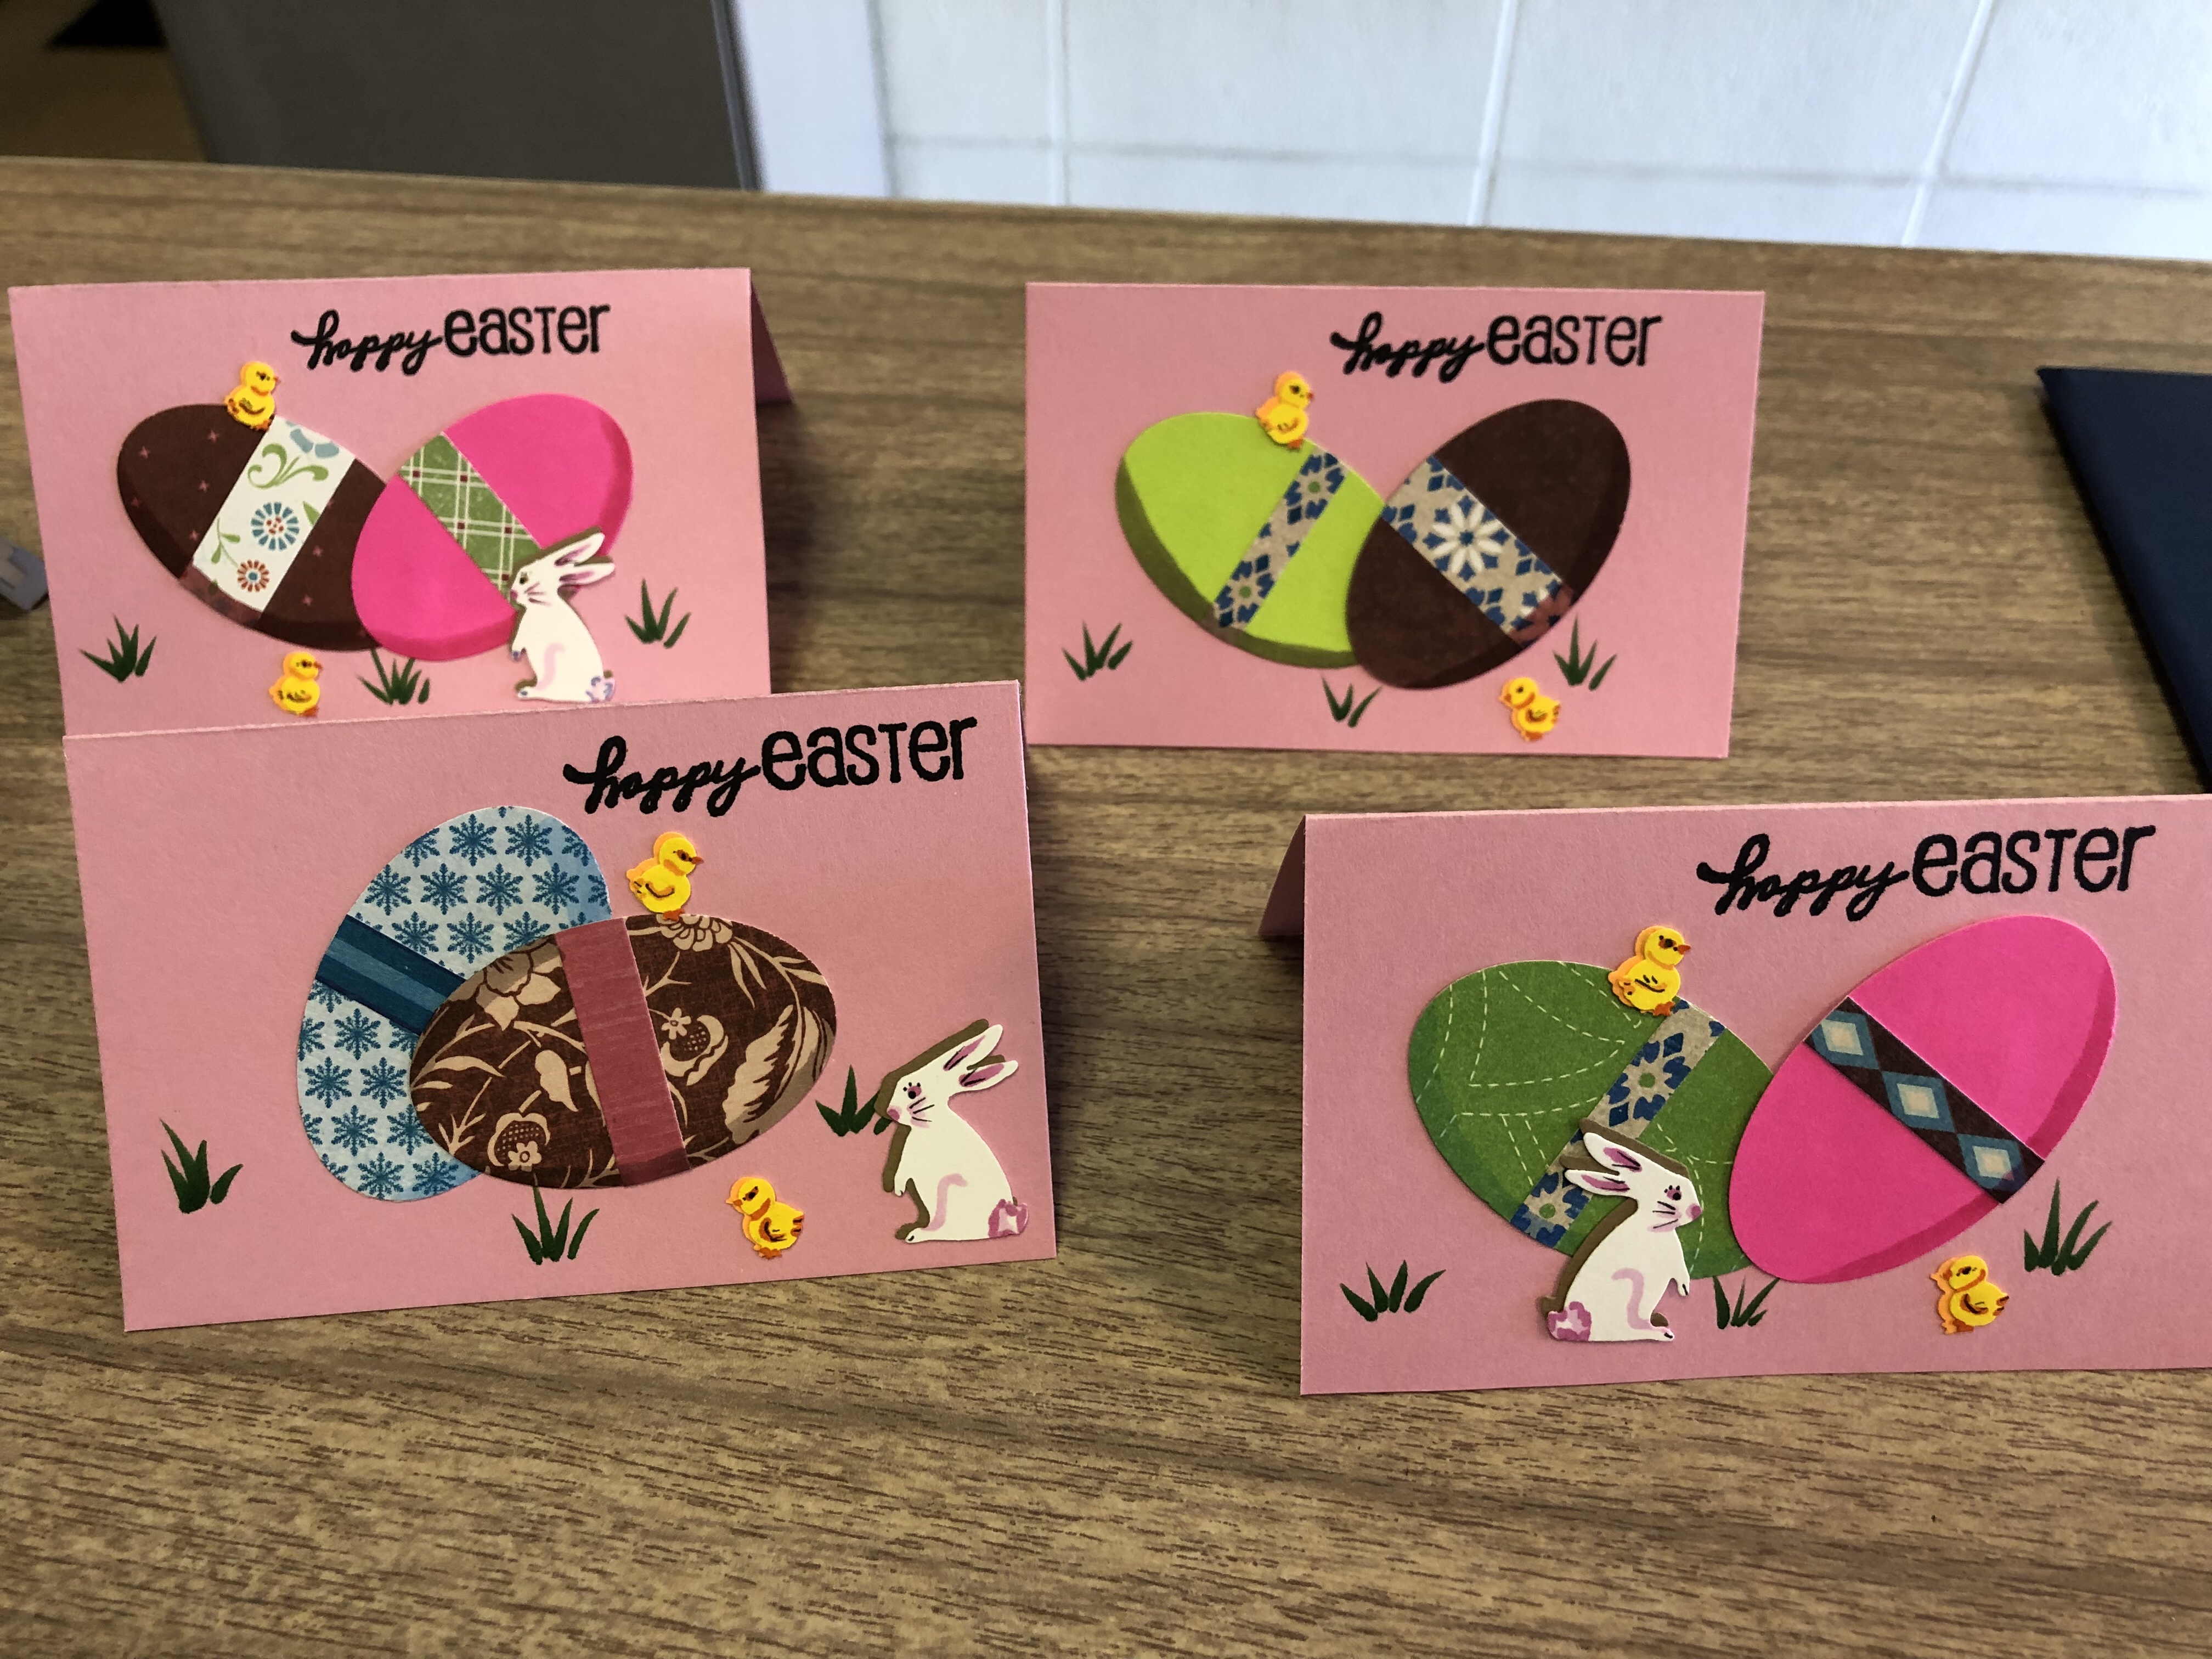
The bunnies are a Martha Stewart punch punched twice, once in brown for a shadow and once in white doodled on with alcohol markers and fine point sharpie.

Chicks are a tiny punch from Michael’s a few seasons ago, also doubled punched for a shadow in orange and yellow doodled on to bring the flat piece to life.
 A few sprigs of grass with a green Copic marker. I also made some shadows on each egg (these are really just small die cut ovals from solid and patterned card stock). And a strip of patterned paper glued on for some decoration.

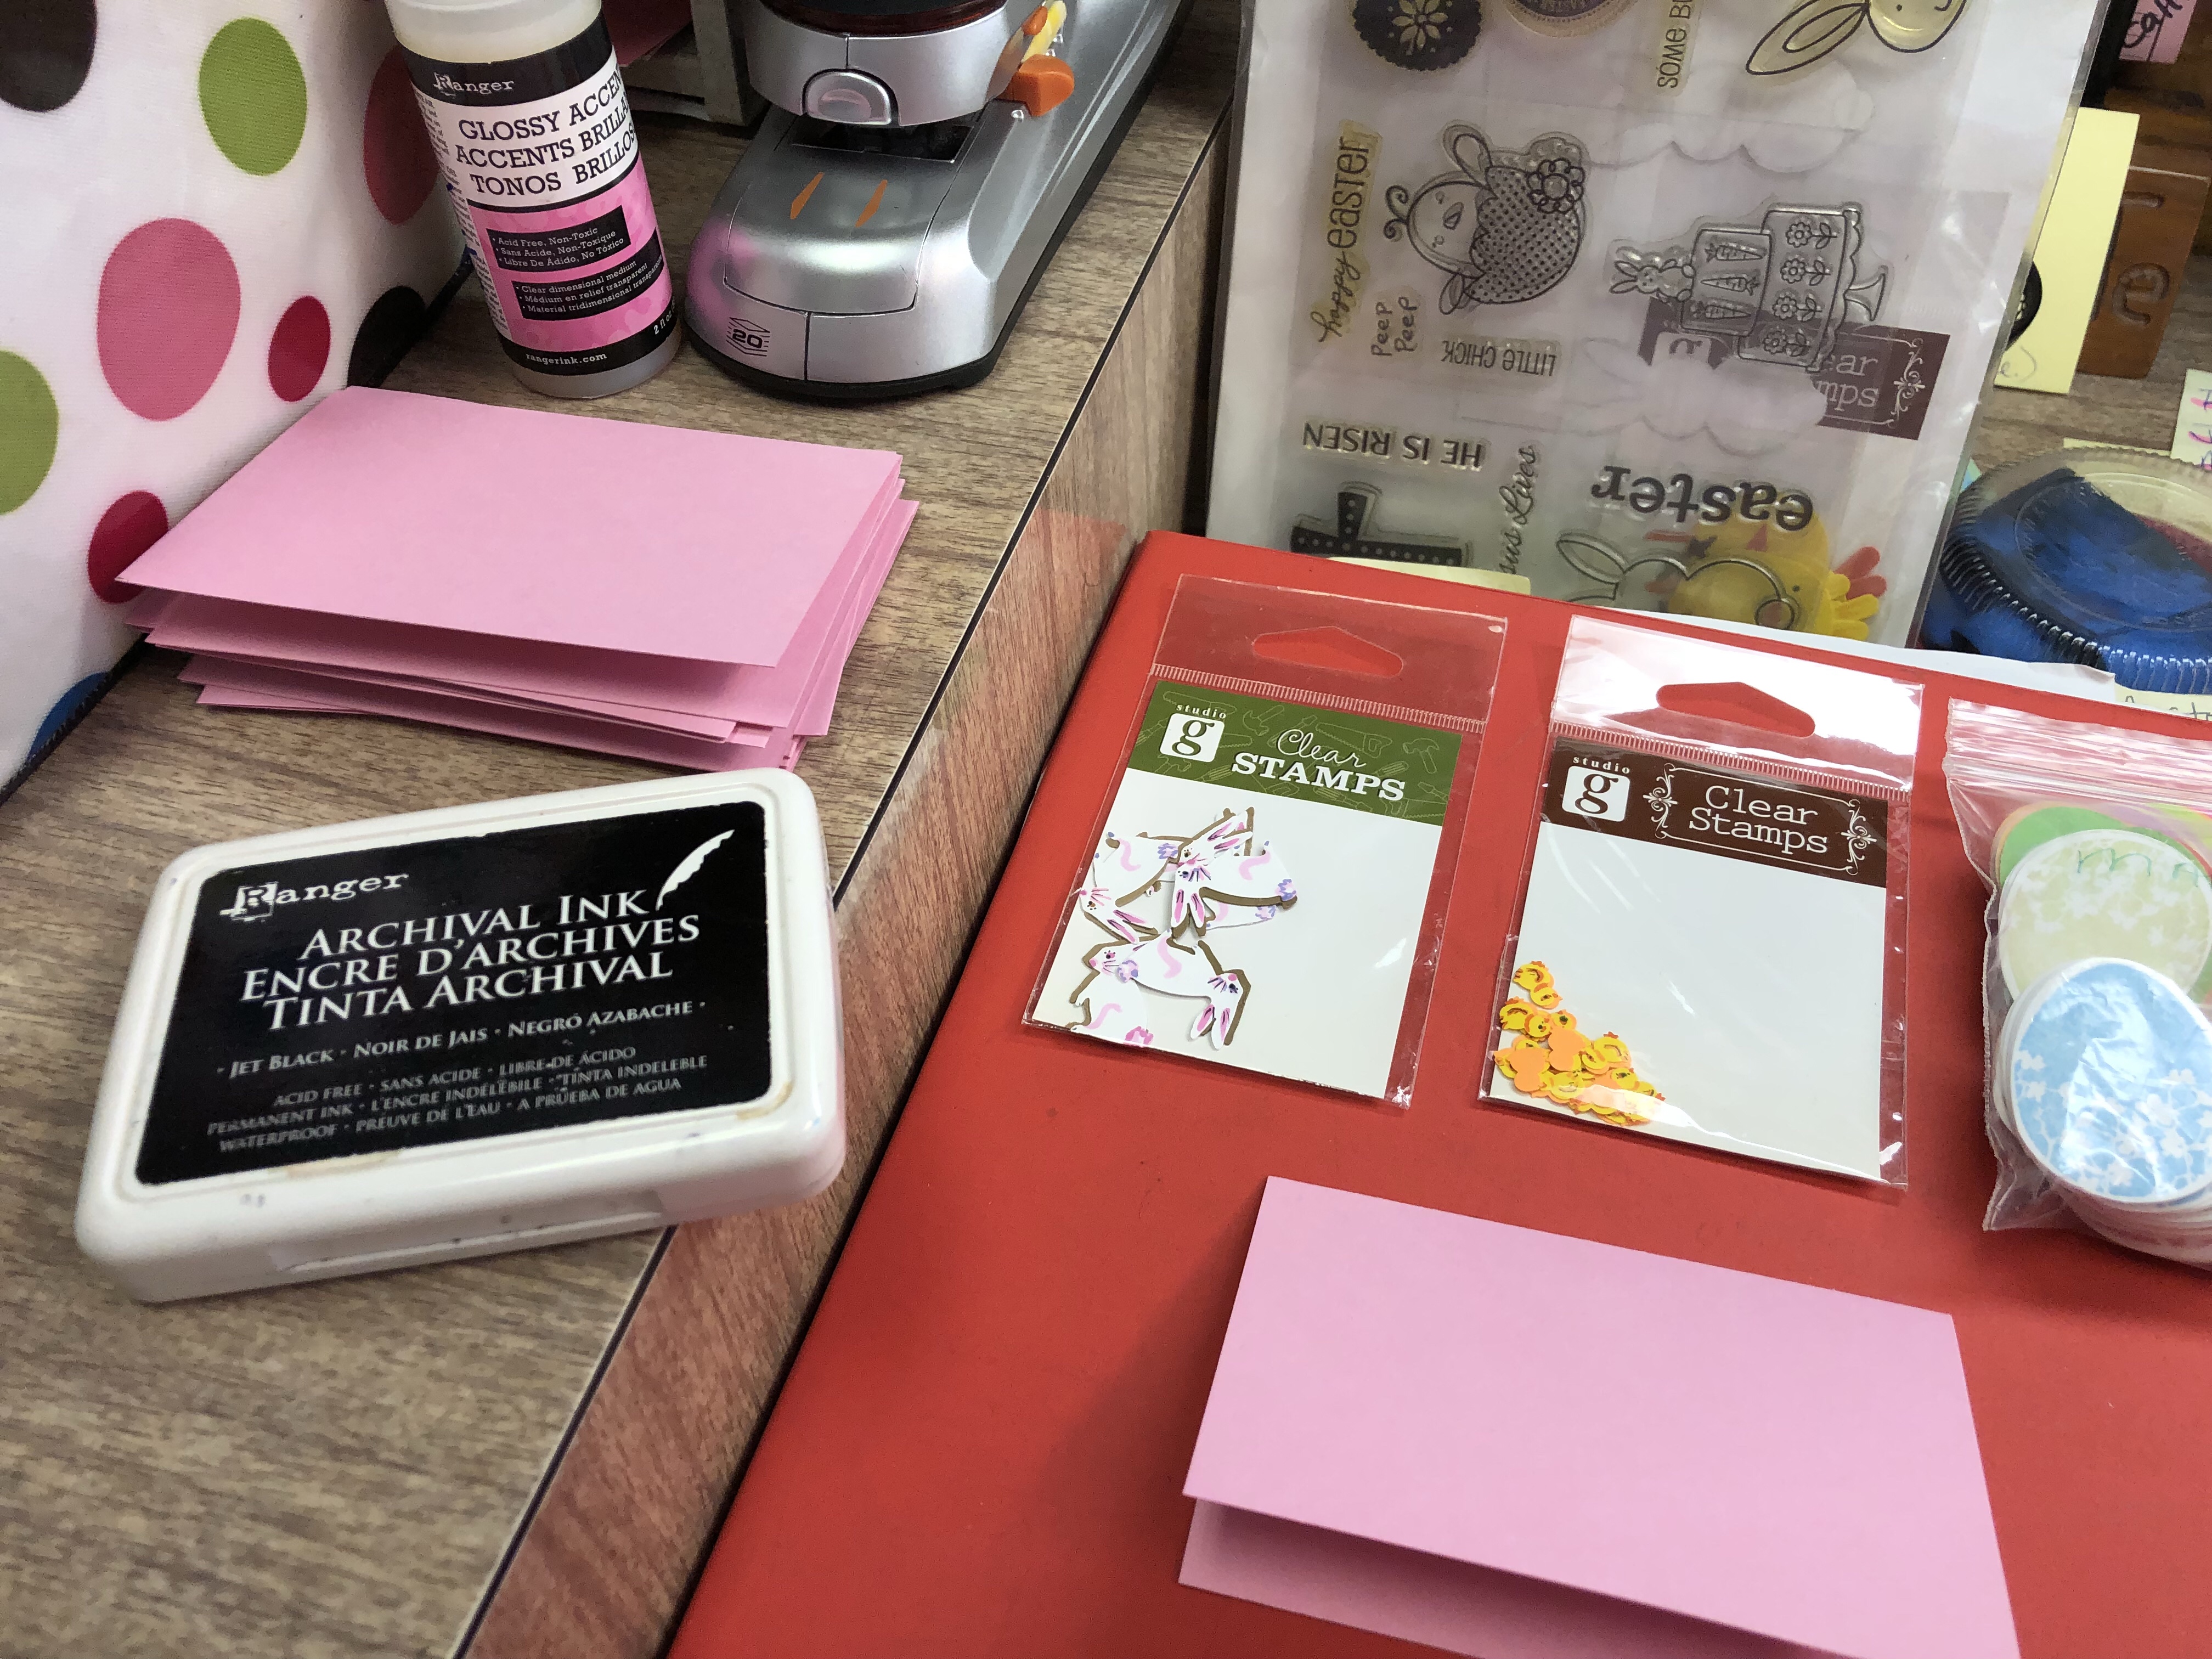
Easter greeting from a $1.00 stamp set from a previous season.
I always keep any extra die cuts or colored images from a previous project and tuck them away in the bucket they fit best in (Easter bucket in this case) so they are easy to find in a pinch.
These magnets are left over from an Easter past and there were just enough to let each person have 2. When I made them before everyone got 4-6 because I made a ton of them!
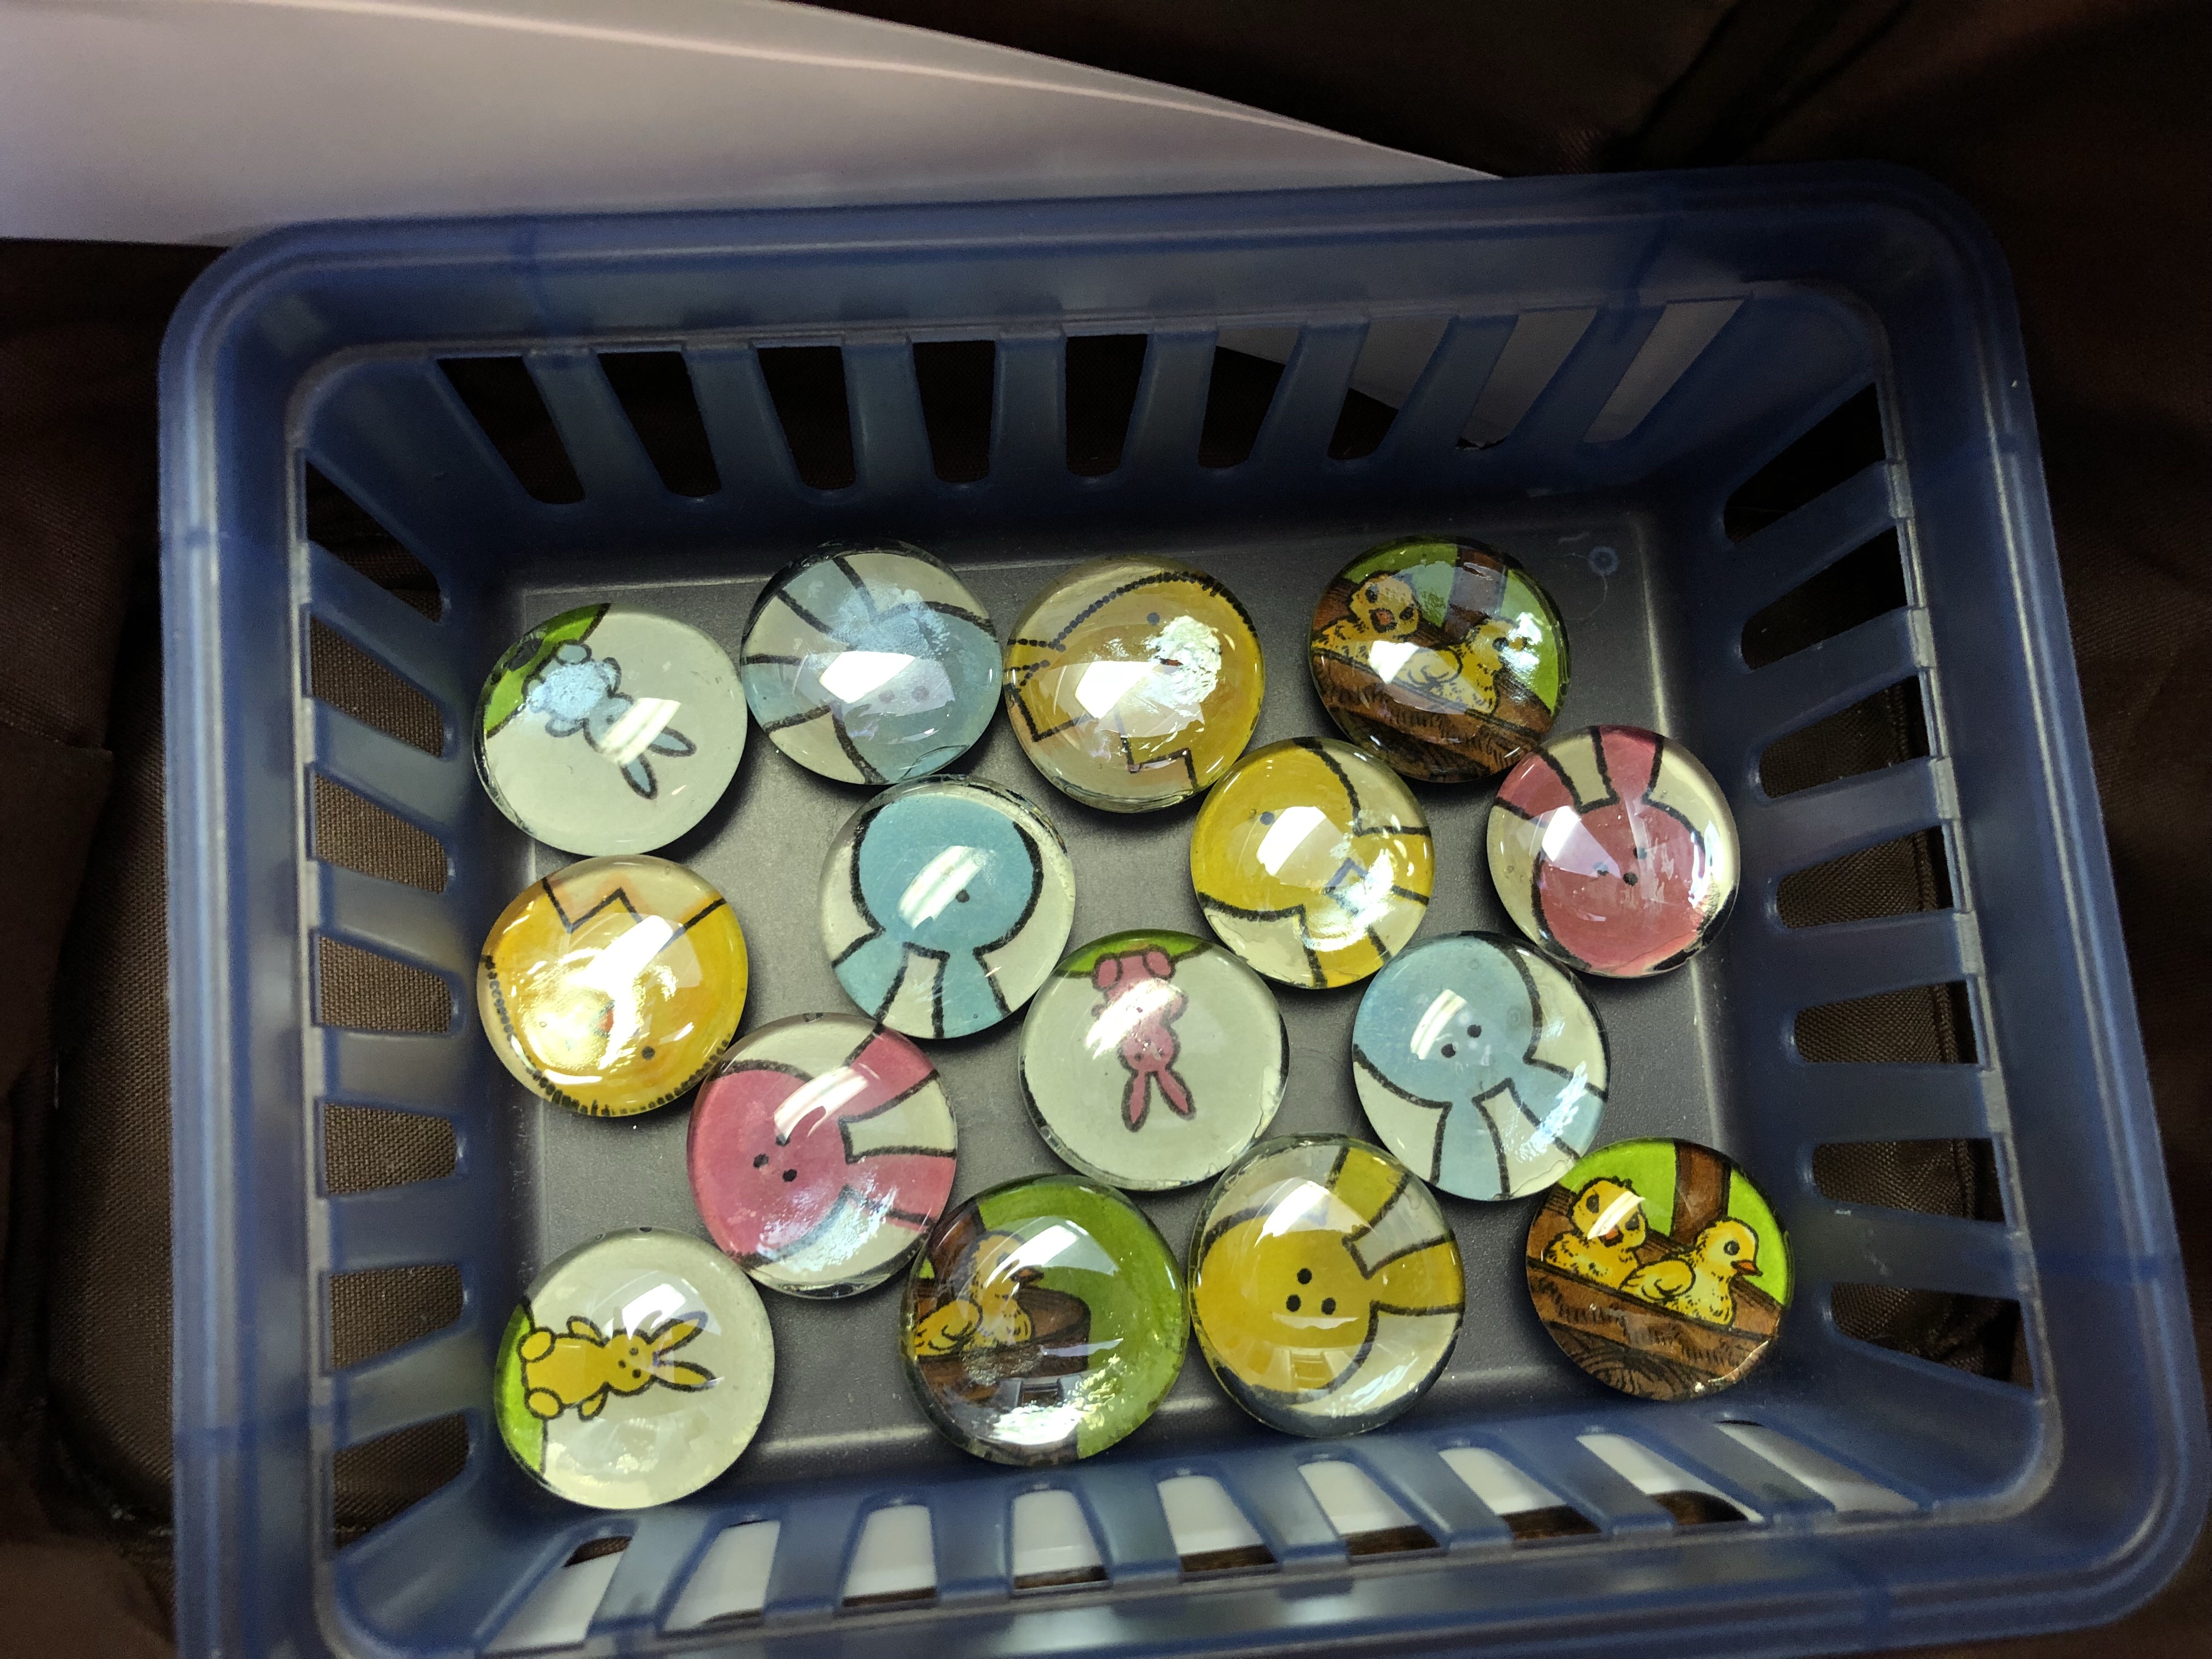
I get my flat marbles at the Dollar Tree, Michael’s or where ever I can find them. I will stamp a bunch of images on a whole sheet of white card stock. Color them. Punch them out with a 1 inch circle punch. Glue them to the marbles with Glossy Accents and let them dry over night on the Tim Holtz craft sheet.
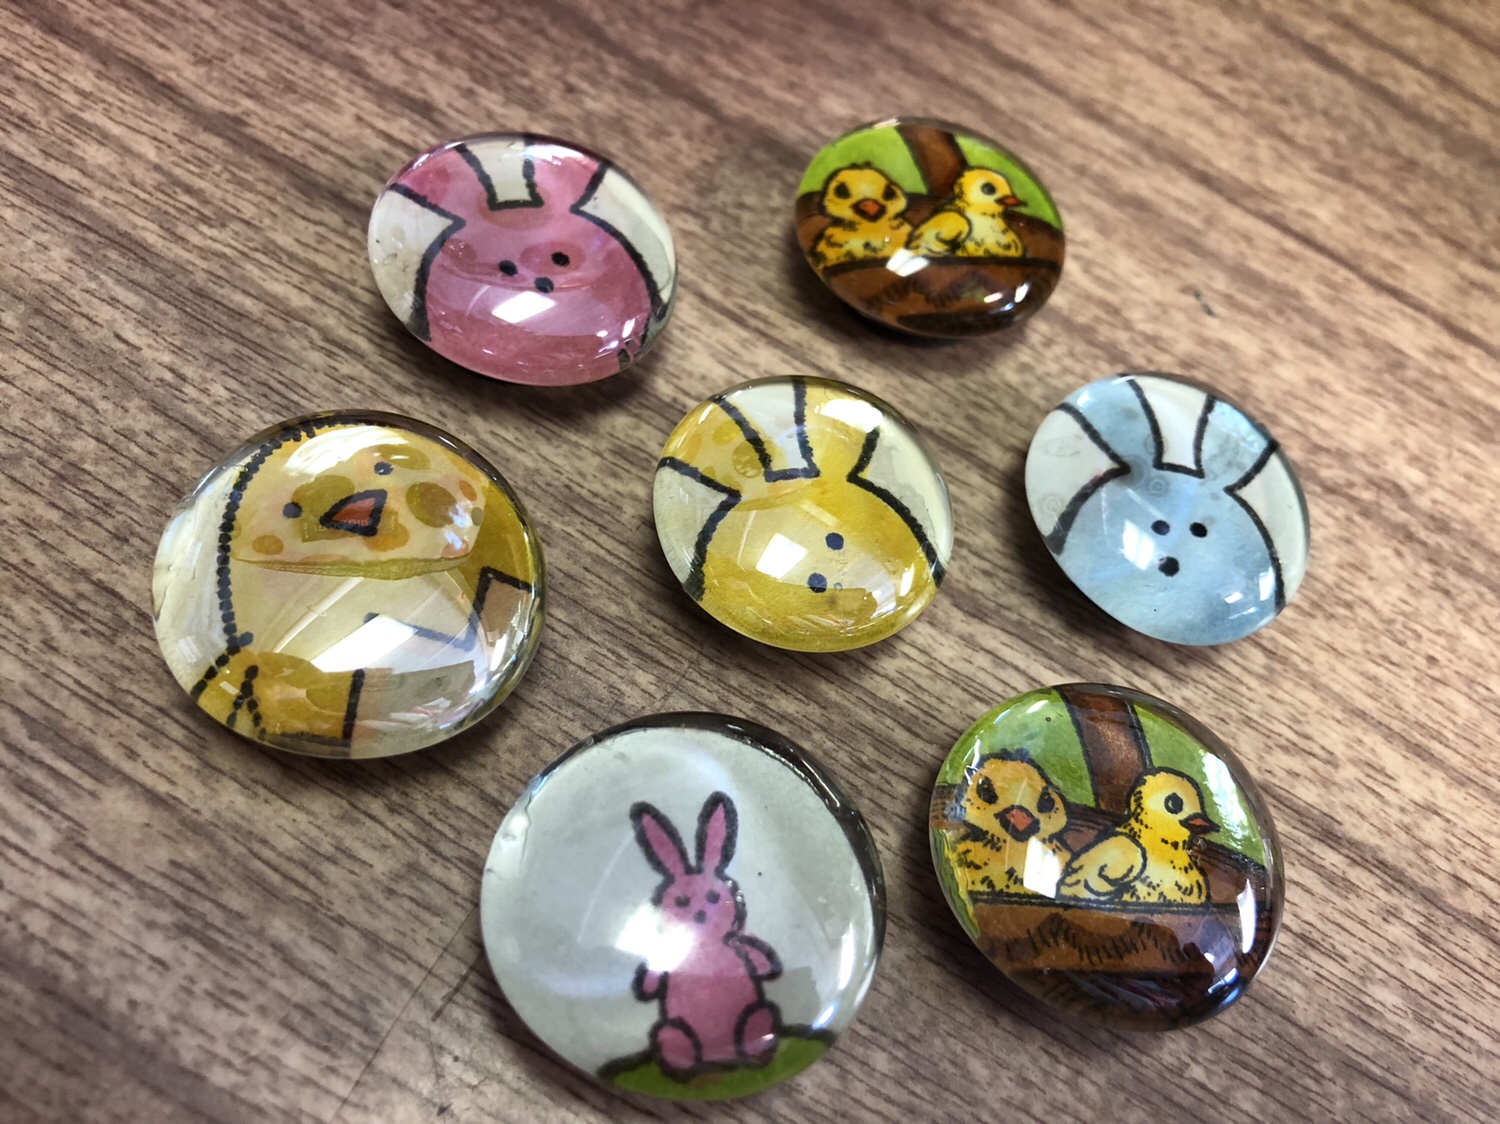
These magnets are from Wal-mart Super center in the craft dept. They come in a package of about 50 for $4-5.
I like to use E6000 to glue them on.

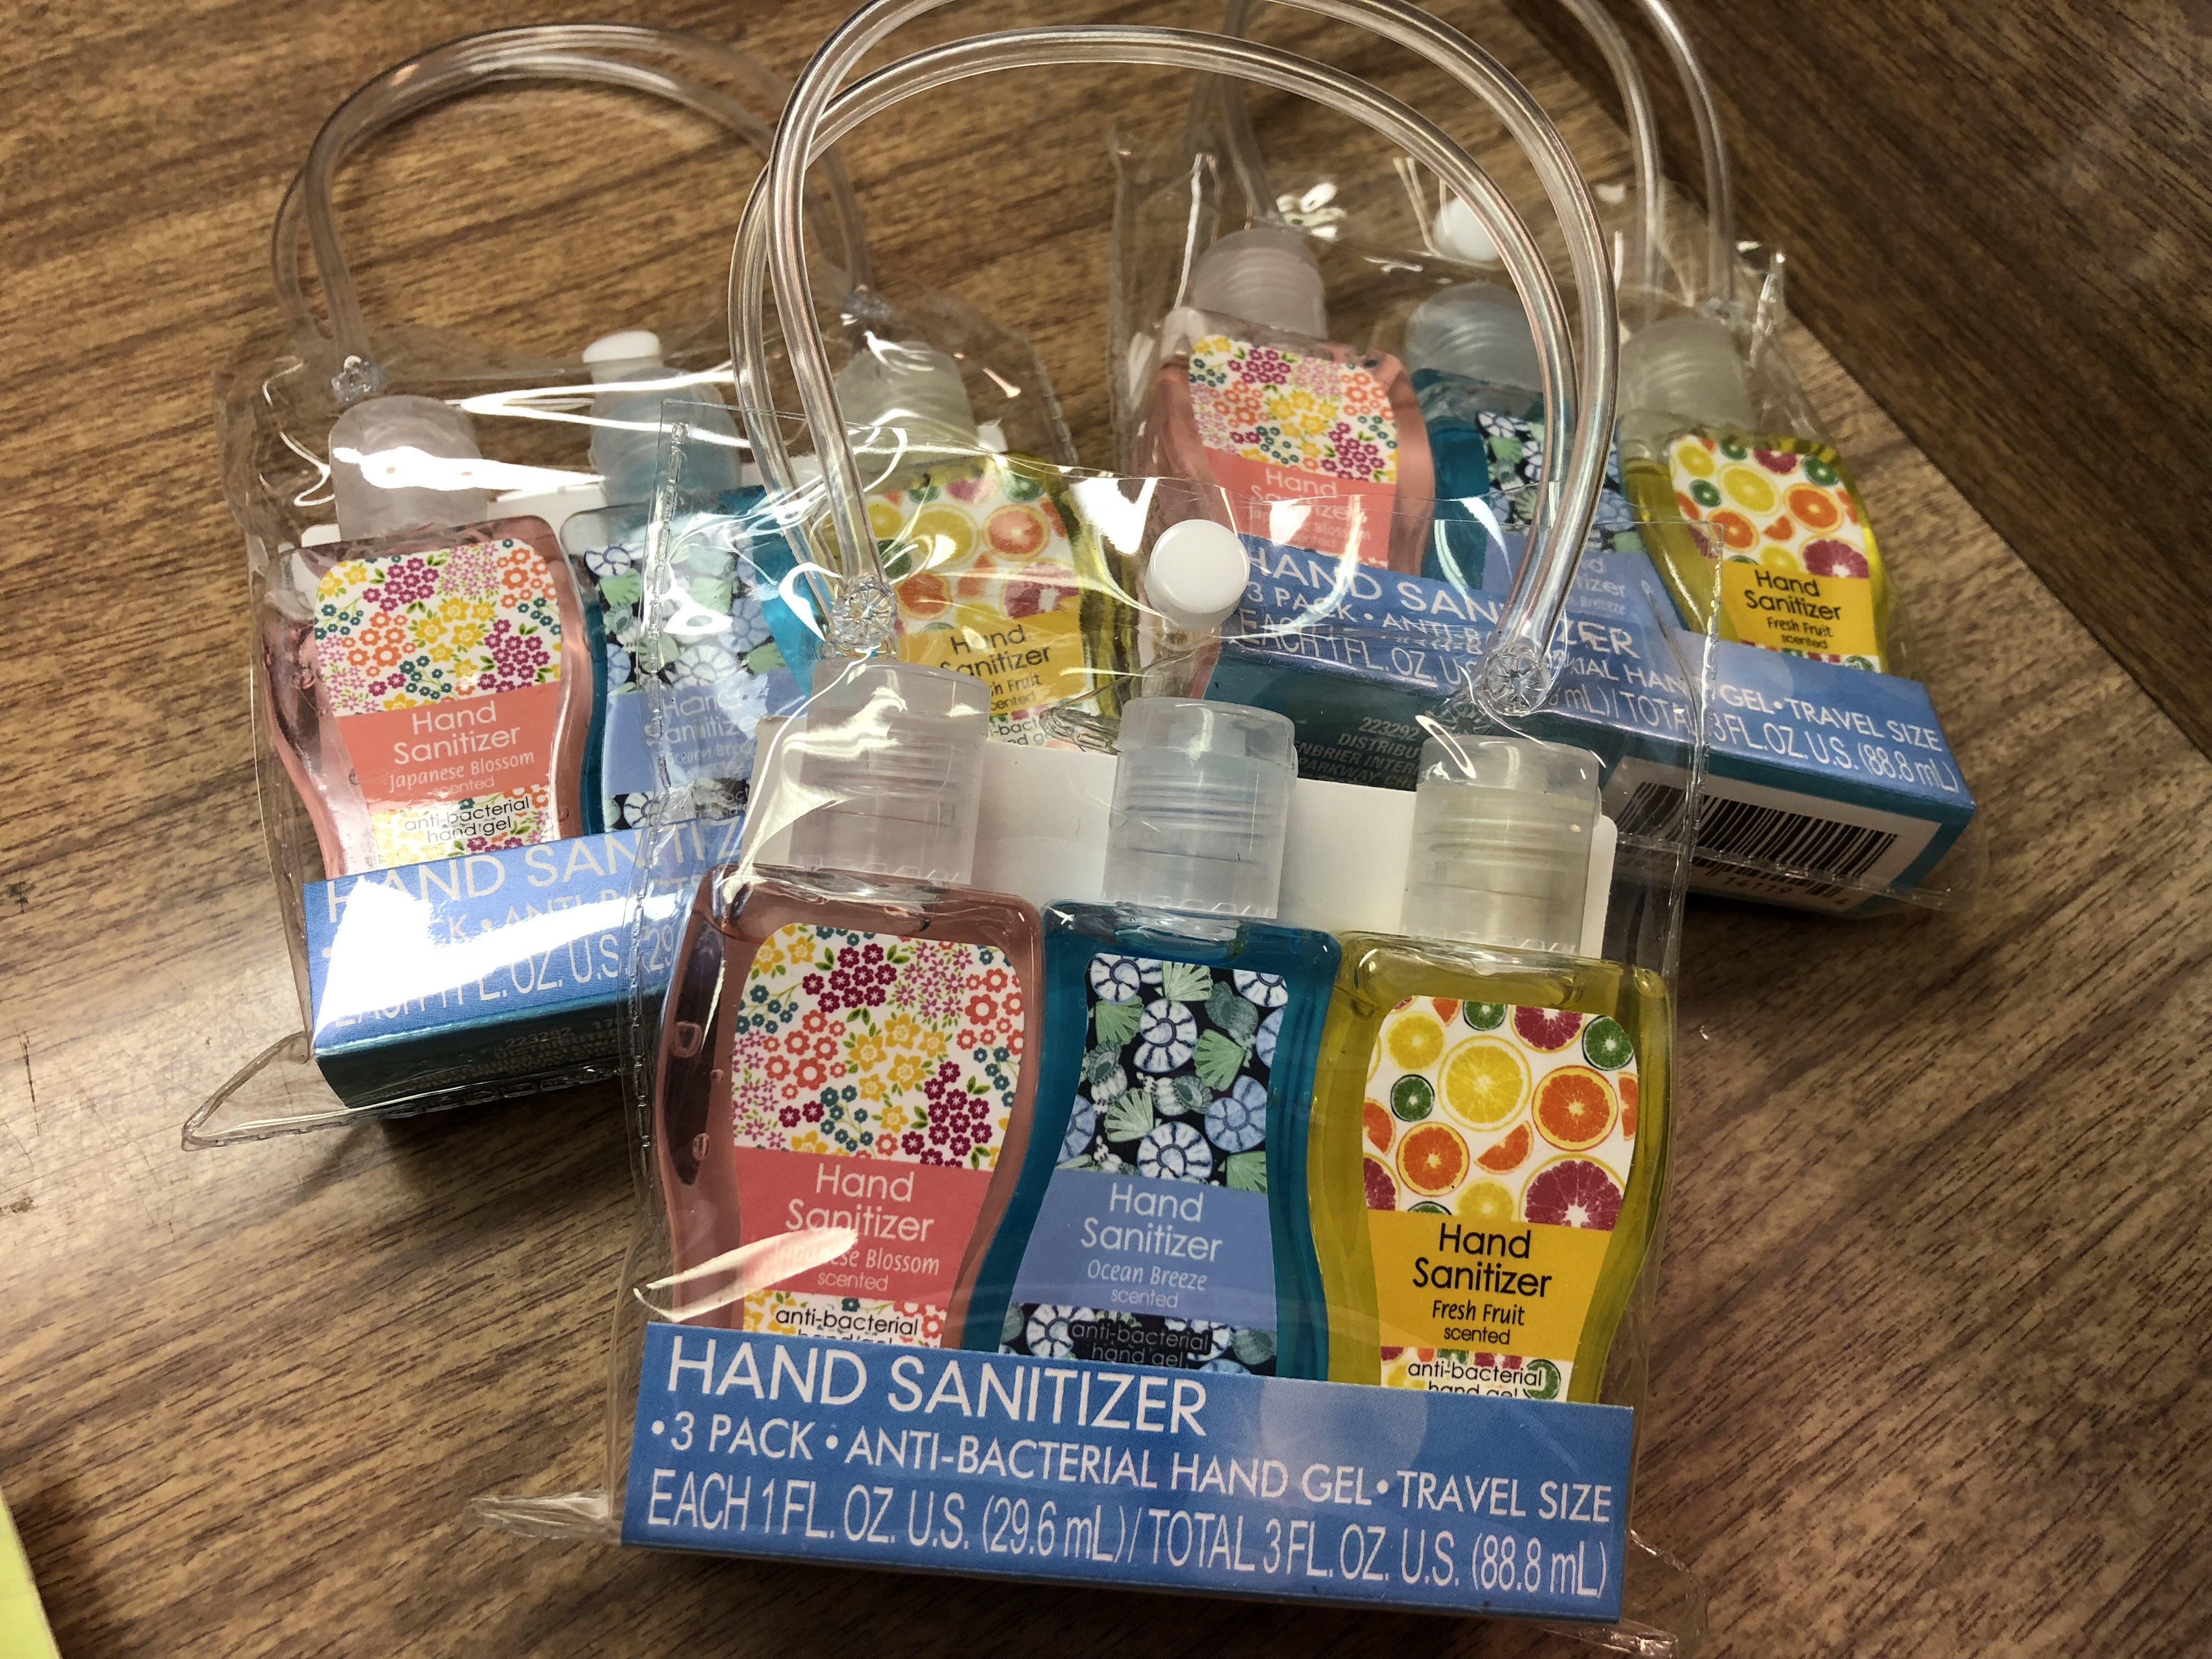
The hand sanitizers are from Dollar Tree for $1.00, a great steal for 3 in each little pouch and I will reuse the little pouches another time.
May you All have a Blessed and Happy Easter!!
Creative Designer
by jill dewey hawkins
Groovy craft projects, crafty recipes and other artsy stuff.
Handmade Art
A creative resource for bloggers, crafters, and more.
Handmade Cards | Paper Crafts | Crochet
Paper crafts of all kinds
Paper Crafting by the Seat of My Pants for the Holidays & Seasons
Paper Crafting by the Seat of My Pants for the Holidays & Seasons
Paper Crafting by the Seat of My Pants for the Holidays & Seasons
Paper Crafting by the Seat of My Pants for the Holidays & Seasons
Paper Crafting by the Seat of My Pants for the Holidays & Seasons
A place to share my paper creations
Paper Crafting by the Seat of My Pants for the Holidays & Seasons
Paper Crafting by the Seat of My Pants for the Holidays & Seasons
Paper Crafting by the Seat of My Pants for the Holidays & Seasons
Paper Crafting by the Seat of My Pants for the Holidays & Seasons
Paper Crafting by the Seat of My Pants for the Holidays & Seasons
Cards, Stamping, Die Cutting, Paper Crafting, Digital Cutting & More!
Paper Crafting by the Seat of My Pants for the Holidays & Seasons
Paper Crafting by the Seat of My Pants for the Holidays & Seasons
Paper Crafting by the Seat of My Pants for the Holidays & Seasons
Paper Crafting by the Seat of My Pants for the Holidays & Seasons
Paper Crafting by the Seat of My Pants for the Holidays & Seasons
Paper Crafting by the Seat of My Pants for the Holidays & Seasons
Paper Crafting by the Seat of My Pants for the Holidays & Seasons
Paper Crafting by the Seat of My Pants for the Holidays & Seasons
Paper Crafting by the Seat of My Pants for the Holidays & Seasons
Paper Crafting by the Seat of My Pants for the Holidays & Seasons
The latest news on WordPress.com and the WordPress community.
